Import configuration
Last updated
The html.to.design Figma plugin gives you two layers of options: what to import (viewports, themes and languages) and how to build it in Figma (auto layout, styles, components and enhancements).
What to import: viewports, themes and languages
The summary under the URL field (Viewports, Themes, Languages) opens Multi import options. They apply to the Web, File and Editor tabs (languages to the Web tab only).
- Viewports: Desktop
1920, Laptop1440, Tablet1024, Phablet768and Phone390px. Tick several, and double-click a width to change it. At least one stays ticked. Default:1920. - Themes: Light and Dark, to import the page with each color scheme. Default: Light.
- Languages: up to 3 of 38 locales, for sites that serve each language. html.to.design doesn’t translate content. See Import webpages in any language.
html.to.design imports every combination of URL × language × theme × viewport, each in its own frame. Reset defaults goes back to the default settings.
How to build it: import configuration
Before an import, the Import options dialog lets you choose how the page is rebuilt. Tick Don’t show this again to skip it; hold ⌘ (Mac) or Ctrl (Windows) while you import to bring it back.
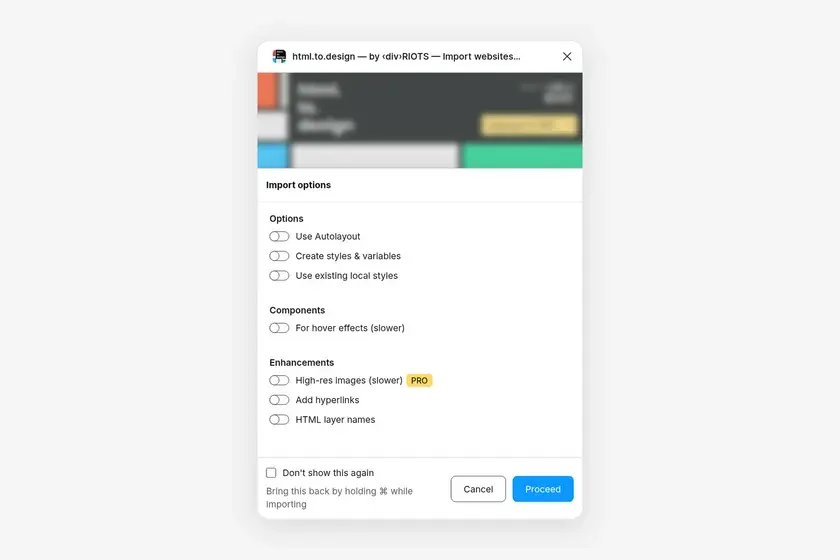
Options
- Use Autolayout: creates frames with auto layout when possible, so your design resizes like the page does.
- Create styles & variables: creates text styles, color styles and local variables from the page. Figma Design only.
- Use existing local styles: applies the styles already in your file to the import. Figma Design only.
Components
- For hover effects (slower): imports the page’s hover effects as components with 2 or more variants, linked with a prototype interaction. Turns on auto layout.
Enhancements
- High-res images (slower): imports the highest resolution available for each image. PRO. See Improve image quality.
- Add hyperlinks: creates a Figma hyperlink for each link on the page.
- HTML layer names: names the Figma layers after the page’s HTML elements.
Configurations per domain
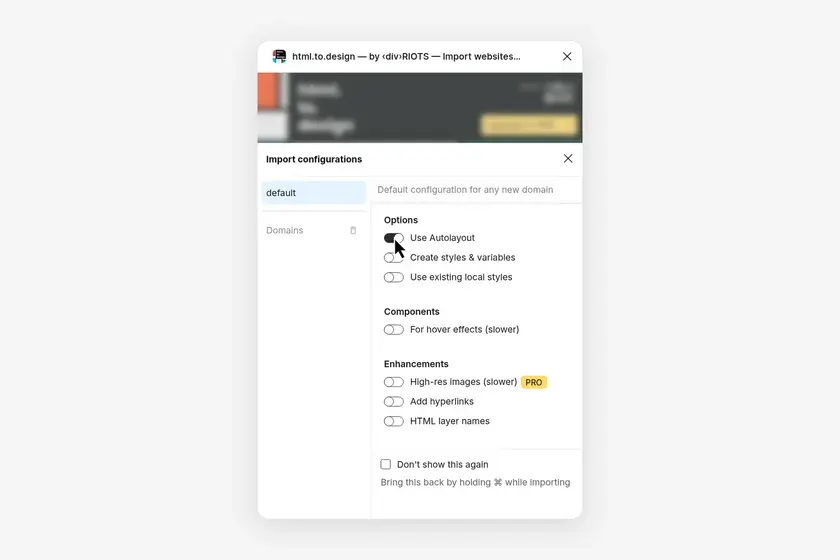
html.to.design keeps one import configuration per domain: the options above plus your font mappings (which local font replaces a missing one). Open them from the sliders icon in the plugin’s bottom bar. The list on the left holds:
- default: the configuration for any new domain.
- MCP: once you’ve used MCP, the configuration for imports from your AI tool, which never shows the options dialog.
- Domains: one entry per site you imported, with its missing font mapping. Delete this configuration to start over, or use the trash icon next to Domains to delete them all.
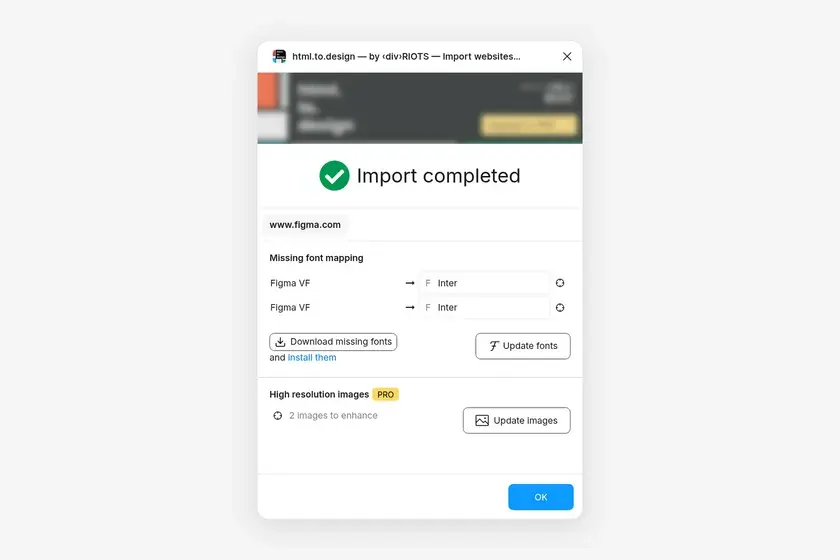
After the import
- Import completed sums up the import and offers to replace missing fonts (Update fonts) or download them.
- Select an imported section and use the plugin buttons in Figma’s right panel: Re-import url (PRO), Import high-res images (PRO), Enhance import and Import link(s).
- Links between imported pages become prototype interactions, and same-page
#anchorlinks scroll to their target, ready to present.
Frequently asked questions
How do I import a page in desktop, tablet and mobile sizes at once?
Open the import options from the summary under the URL field, tick several viewports (1920, 1440, 1024, 768 and 390 px by default, each editable) and import. html.to.design imports one frame per viewport.
Can html.to.design create Figma styles and variables from a website?
Yes. Turn on Create styles & variables to create text styles, color styles and local variables from the imported page. Turn on Use existing local styles to apply the styles already in your file instead.
Why do my imports remember different settings for different sites?
html.to.design saves an import configuration per domain, for example your font mappings. New domains start from the default configuration. Manage them from the sliders icon at the bottom of the plugin.