MCP - Connect your AI tool to Figma
MCP (Model Control Protocol) is an open protocol that standardizes how applications provide context to LLMs. Think of MCP like a USB-C port for AI applications.
With html.to.design, send AI-generated designs to Figma via MCP from the following:
- Claude (paid)
- Claude Desktop (free)
- Claude Code
- Cline
- Codex
- Continue
- Cursor
- Roo Code
- VS Code
- Windsurf
- Zed
- Any generic MCP client
Quick start
- Open the html.to.design plugin in Figma and switch to the MCP tab.
- Make sure you’re signed in (the status dot must be green / “Ready”).
- Click Add to AI and pick your AI tool from the dropdown.
- Follow the in-modal steps — each client has either a one-click install button or a copy-pasteable config snippet.
The sections below are the deep-dive guides linked from the setup modal’s Stuck? links. They cover both the one-click installation flow (where supported) and the manual fallback.
The MCP server URL is:
https://mcp.to.designClaude (paid)
🚀 One-click install: In the plugin’s Add to AI modal, select Claude (paid) and click Add to Claude. This opens claude.ai with the html.to.design connector pre-filled — confirm and you’re done.
If the one-click flow doesn’t work, set up the connector manually:
1. Start Claude
Either directly on https://claude.ai or with Claude Desktop.
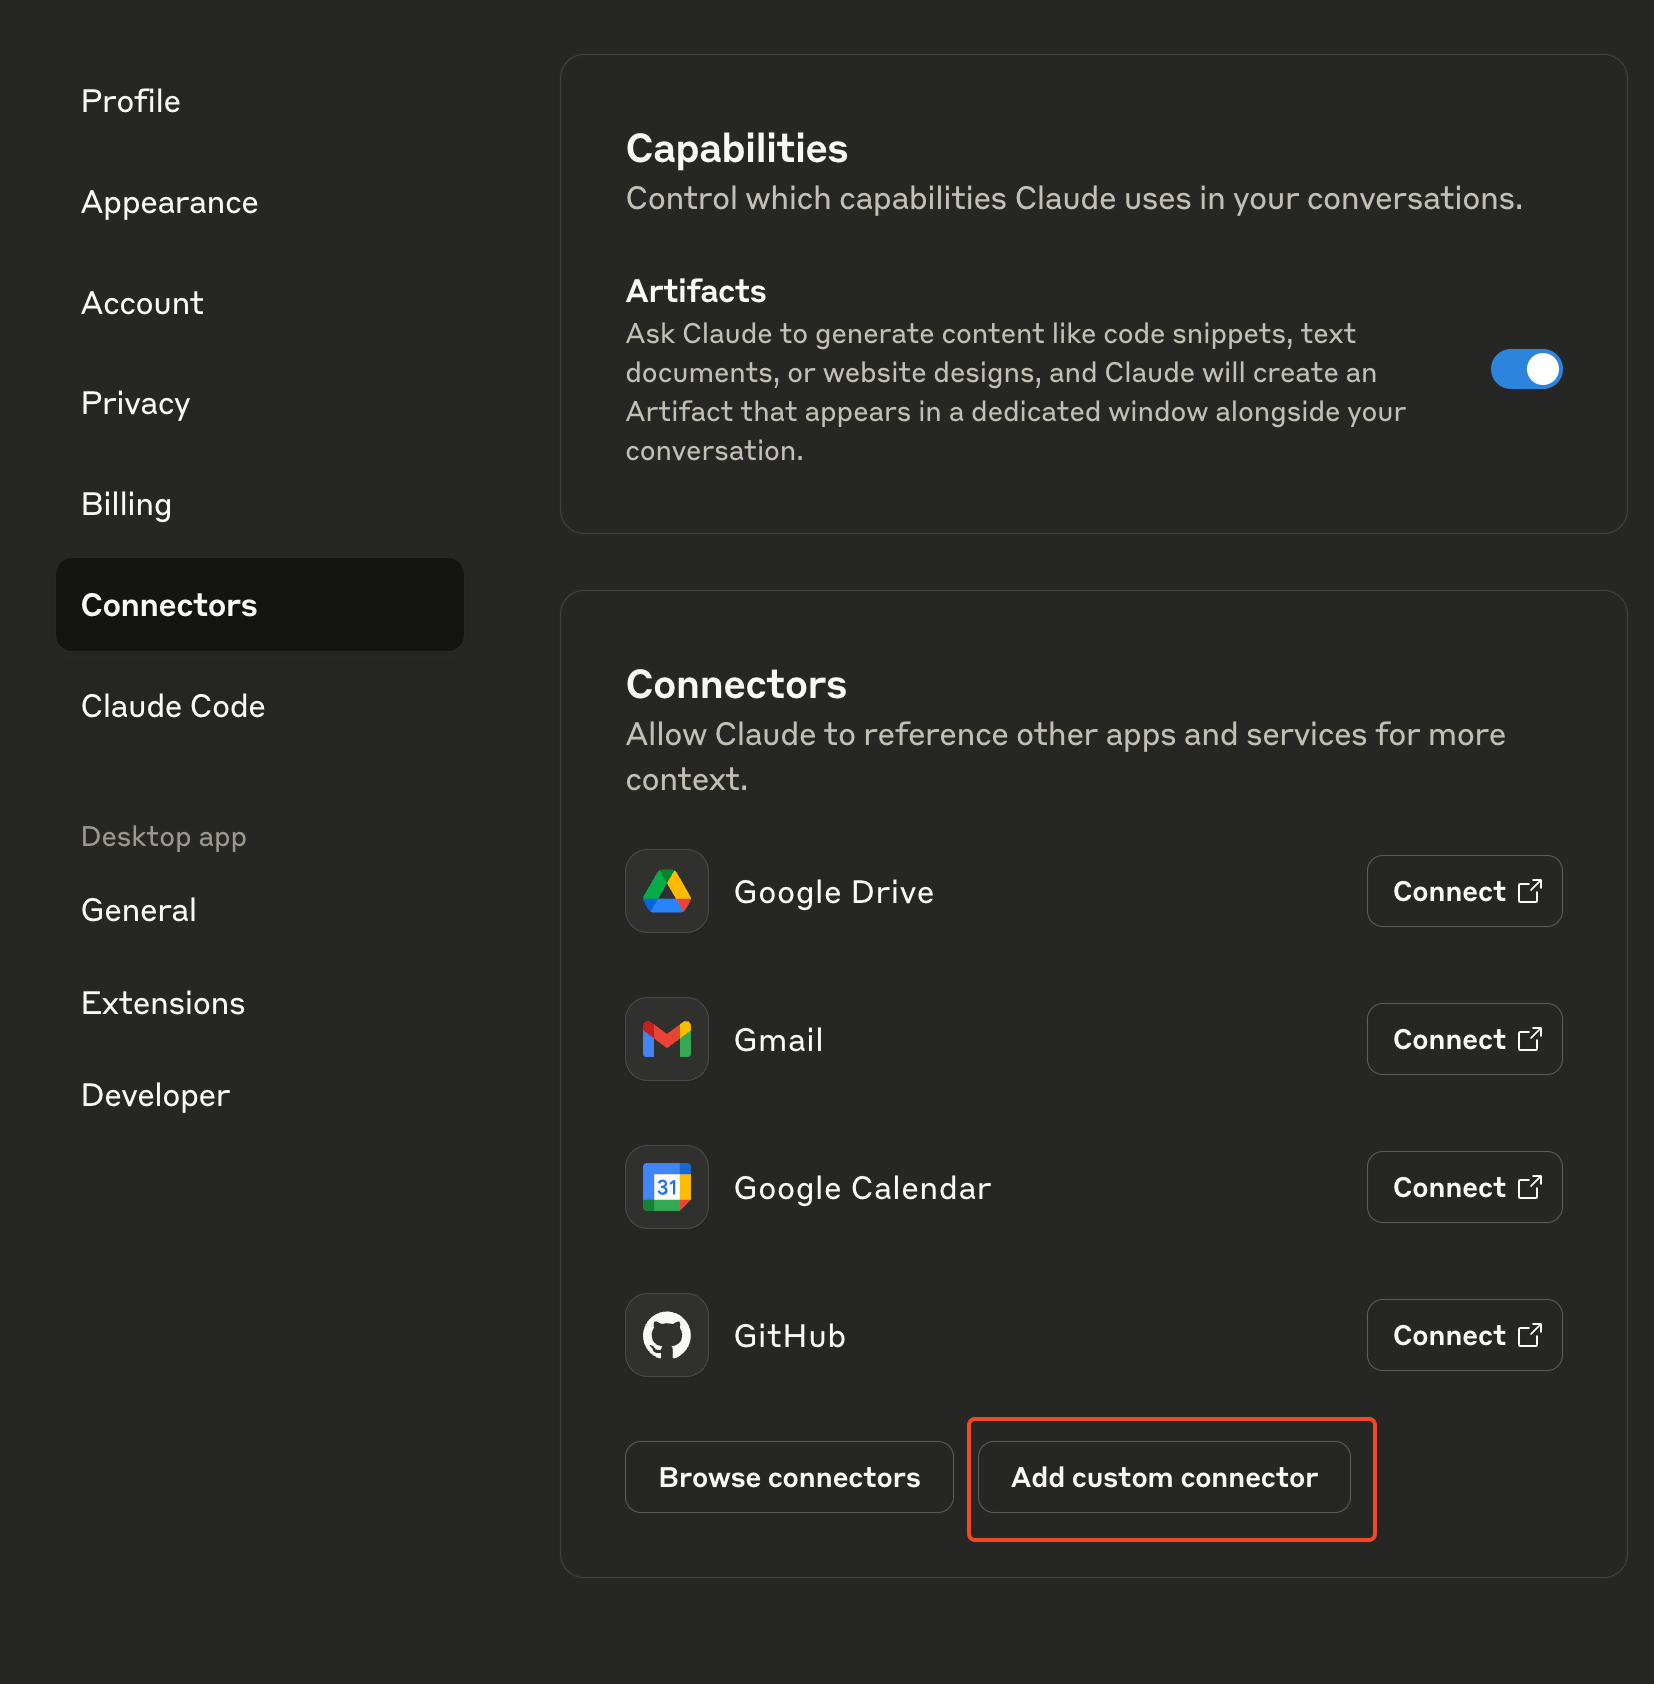
2. Open connectors configuration
Click the tool icon and choose Manage connectors:

3. Add a custom connector
In the connectors screen, select Add custom connector:
4. Fill in connector information
Use html.to.design as the name and https://mcp.to.design as the URL:
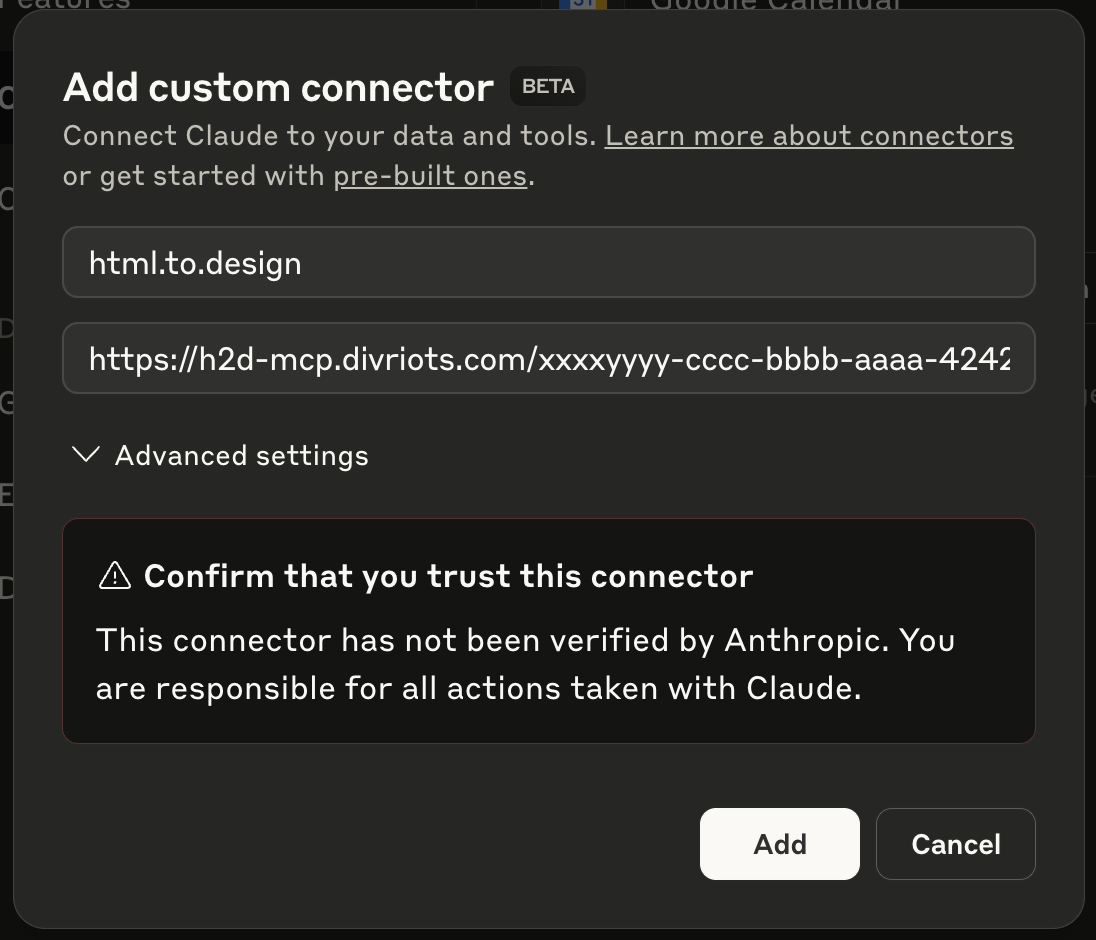
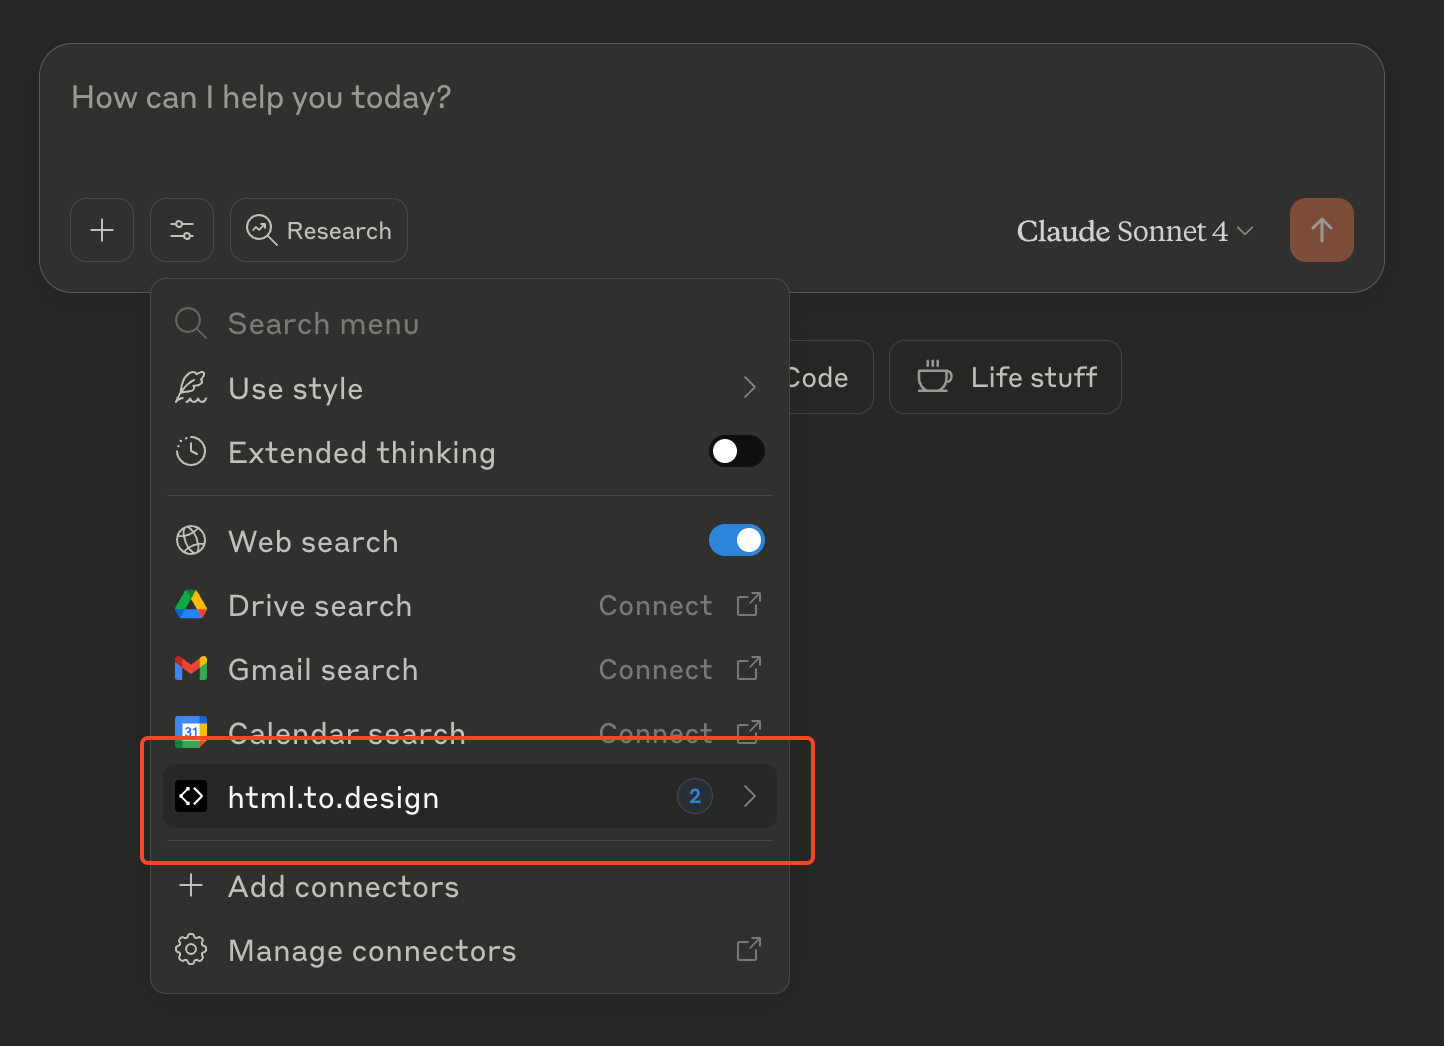
5. Verify the connector
Head back to the tools menu — html.to.design should now be available:
Claude Desktop (free)
Free Claude Desktop doesn’t speak remote MCP natively, so it bridges through mcp-remote (which runs via npx).
1. Install Claude Desktop and Node.js
- Claude Desktop
- Node.js (provides
npx)
2. Open the config file
In Claude Desktop, open the Claude menu → Settings… (not the Account Settings inside the app window):
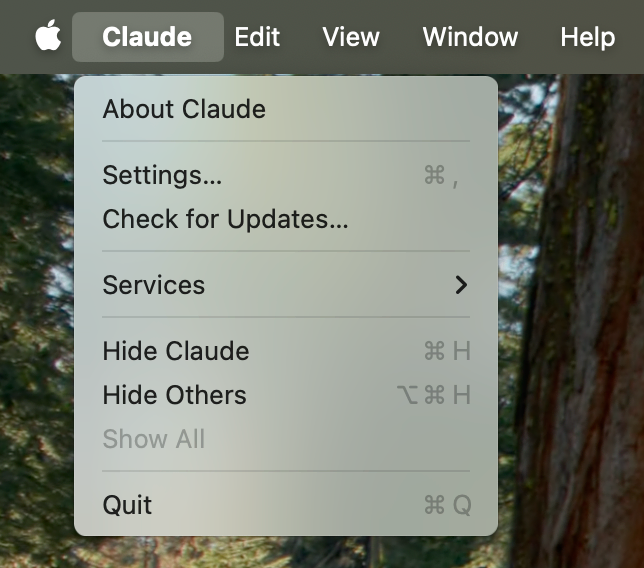
Click Developer → Edit Config:

This creates (and reveals) a config file at:
- macOS:
~/Library/Application Support/Claude/claude_desktop_config.json - Windows:
%APPDATA%\Claude\claude_desktop_config.json
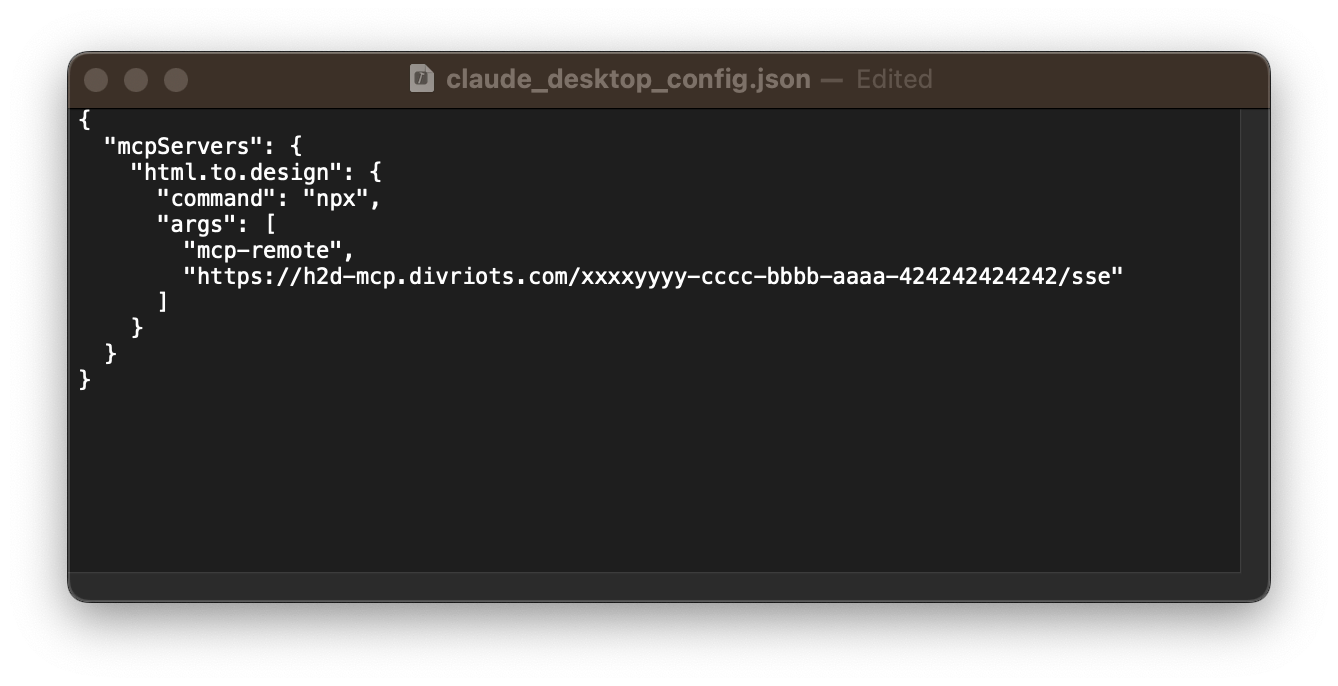
3. Add the html.to.design entry
Open the file in your favorite editor and paste the snippet from the plugin’s Add to AI modal → Claude Desktop (free):
{
  "mcpServers": {
    "html.to.design": {
      "command": "npx",
      "args": ["-y", "mcp-remote", "https://mcp.to.design"]
    }
  }
}
4. Restart Claude Desktop
Restart the app for the changes to take effect. You should see html.to.design listed under the prompt box:
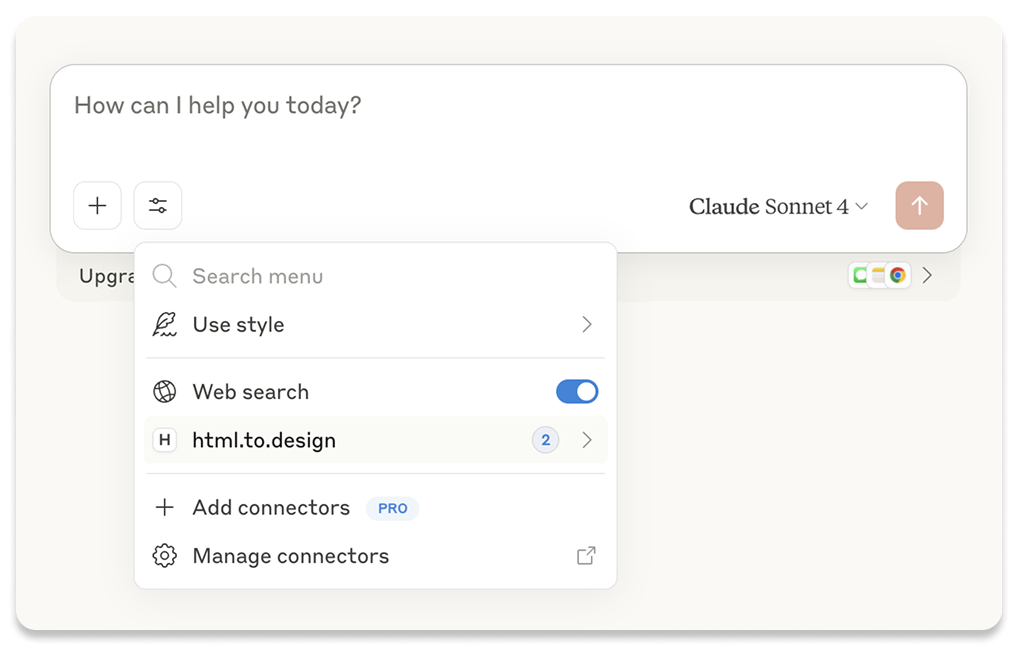
Click html.to.design to see the available tools (import-html, import-url, …).
Claude Code
Claude Code is Anthropic’s agentic coding CLI. It supports remote MCP servers natively over OAuth.
claude mcp add html-to-design --transport http https://mcp.to.designOn first invocation, Claude Code opens a browser for you to sign in with your html.to.design account. After consent, Claude Code stores the OAuth tokens and reuses them across sessions.
Verify with claude mcp list.
Cline
In the Cline panel → MCP Servers → Configure, or directly in cline_mcp_settings.json:
{
  "mcpServers": {
    "html.to.design": {
      "url": "https://mcp.to.design",
      "type": "streamableHttp"
    }
  }
}
Codex CLI
Codex CLI supports remote streamable-HTTP MCP servers via its TOML config.
Add to ~/.codex/config.toml:
[mcp_servers.html-to-design]
url = "https://mcp.to.design"
Codex will prompt you to complete the OAuth flow on first use.
Continue
Add to ~/.continue/config.yaml:
mcpServers:
  - name: html.to.design
    type: streamable-http
    url: 'https://mcp.to.design'
Cursor
🚀 One-click install: In the plugin’s Add to AI modal, select Cursor and click Add to Cursor. This opens Cursor with the html.to.design MCP server pre-filled and ready to add.
If the one-click flow doesn’t work, you can also set it up manually:
1. Install Cursor
2. Add the MCP server
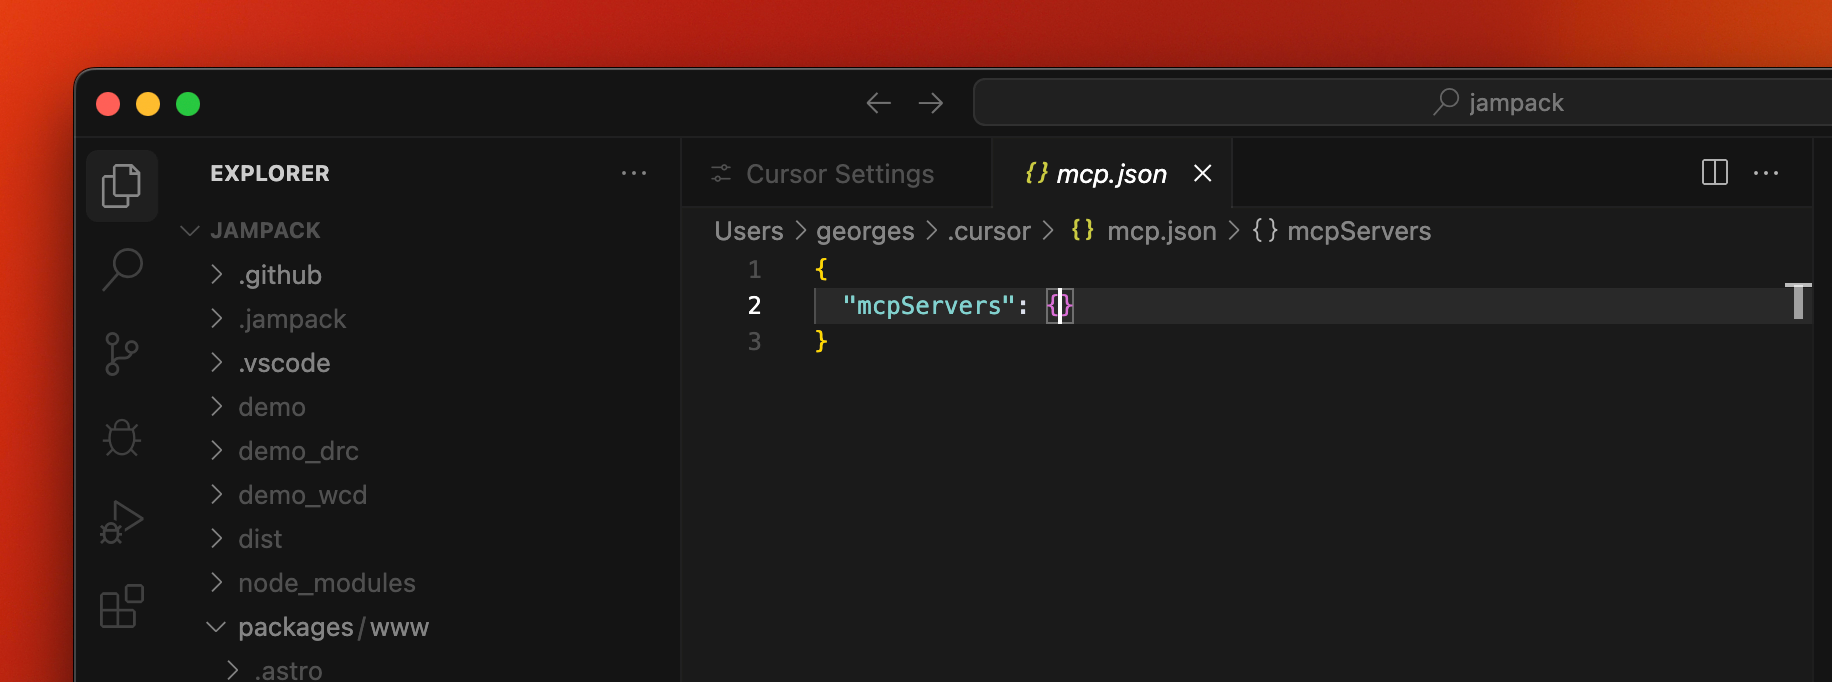
Open Cursor Settings → MCP and click Add new global MCP server:
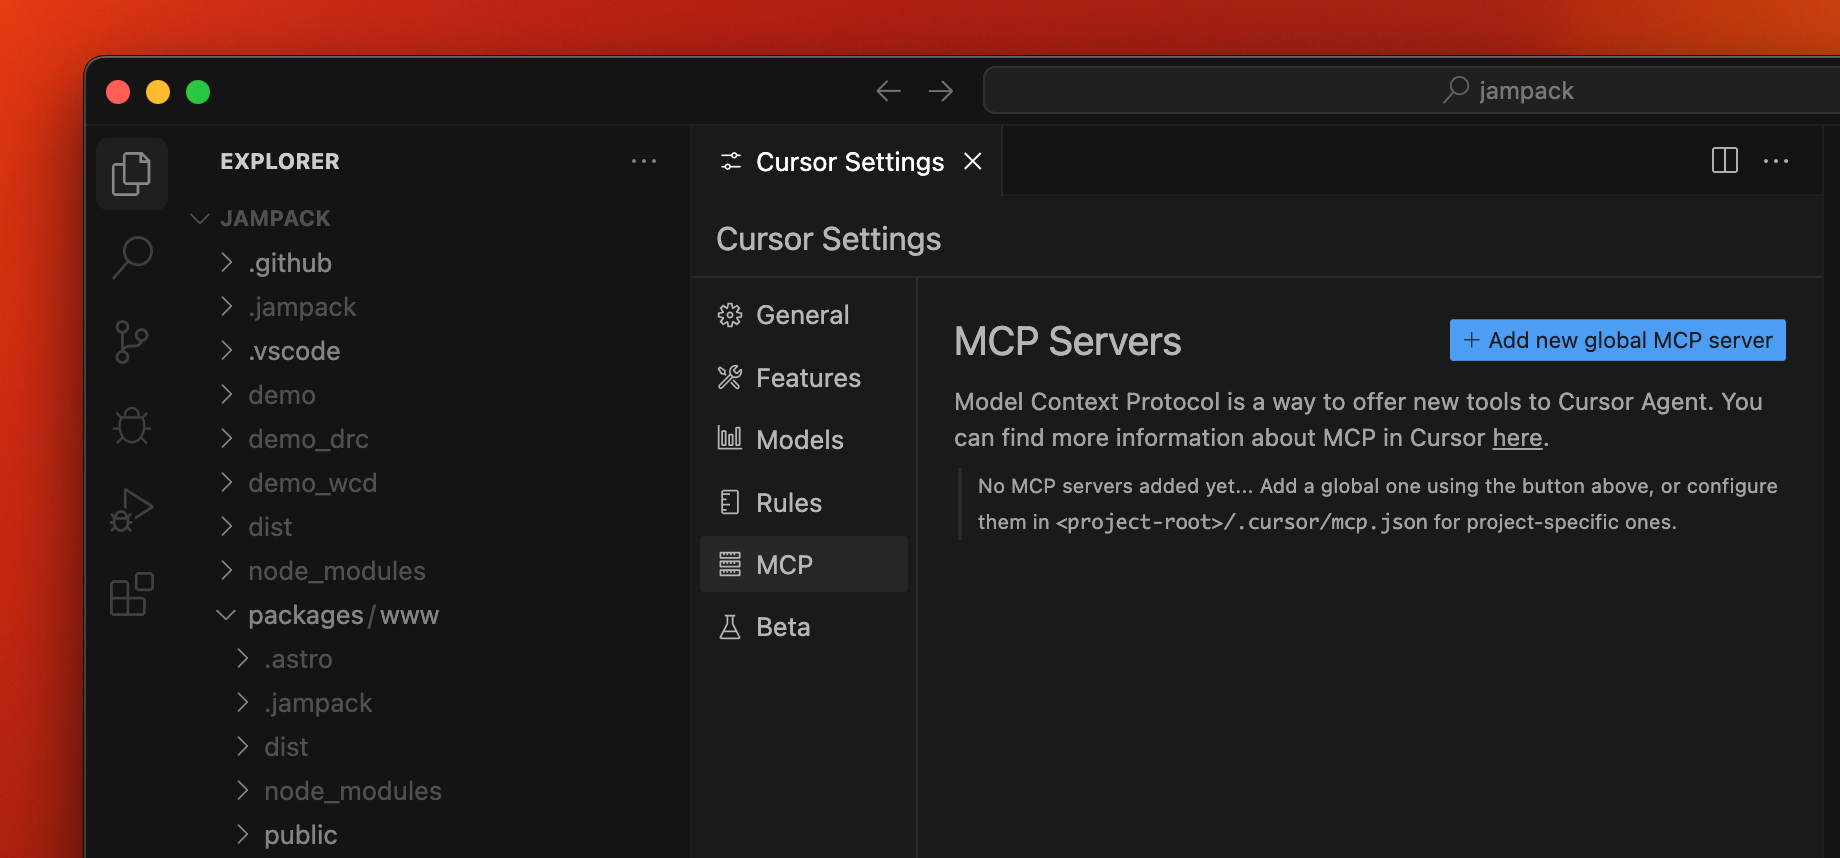
Cursor will open mcp.json. Add an entry pointing to https://mcp.to.design:
{
  "mcpServers": {
    "html.to.design": {
      "url": "https://mcp.to.design"
    }
  }
}
Roo Code
In Roo Code’s MCP settings (or mcp_settings.json):
{
  "mcpServers": {
    "html.to.design": {
      "url": "https://mcp.to.design",
      "type": "streamable-http"
    }
  }
}
VS Code
VS Code (with GitHub Copilot Chat) supports remote MCP servers natively.
🚀 One-click install: In the plugin’s Add to AI modal, select VS Code and click Add to VS Code. This launches VS Code with the html.to.design connector ready to add.
If the one-click process doesn’t work, here is the manual setup:
Open the Command Palette (Cmd/Ctrl + Shift + P) → MCP: Add Server → HTTP, and paste:
https://mcp.to.designVS Code will prompt for OAuth sign-in on first connection.
Windsurf
Add to ~/.codeium/windsurf/mcp_config.json:
{
  "mcpServers": {
    "html.to.design": {
      "serverUrl": "https://mcp.to.design"
    }
  }
}
Restart Windsurf and authenticate when prompted.
Zed
Add to your Zed settings.json:
{
  "context_servers": {
    "html.to.design": {
      "url": "https://mcp.to.design"
    }
  }
}
Generic MCP client
Any MCP client supporting streamable HTTP with OAuth can connect using:
https://mcp.to.designIf your client only speaks stdio, bridge it through mcp-remote:
npx -y mcp-remote https://mcp.to.designHeadless / bot integrations
Running a Discord bot, CI job, or other unattended workload? The interactive
OAuth flow above isn’t suited to that — see
MCP for headless and bot integrations for the
refresh-token and client_credentials patterns.