
From Lovable to Figma
Create full webapps in Lovable - let it do all the ground work! Then, use html.to.design plugin to import into Figma, and go into your design flow.
From Lovable to Figma - Quick Guide
- Generate and iterate in Lovable
- Capture your Lovable designs with the html.to.design browser extension
- Run html.to.design in Figma
- Import your captured designs into Figma!
Explore your new idea in Lovable
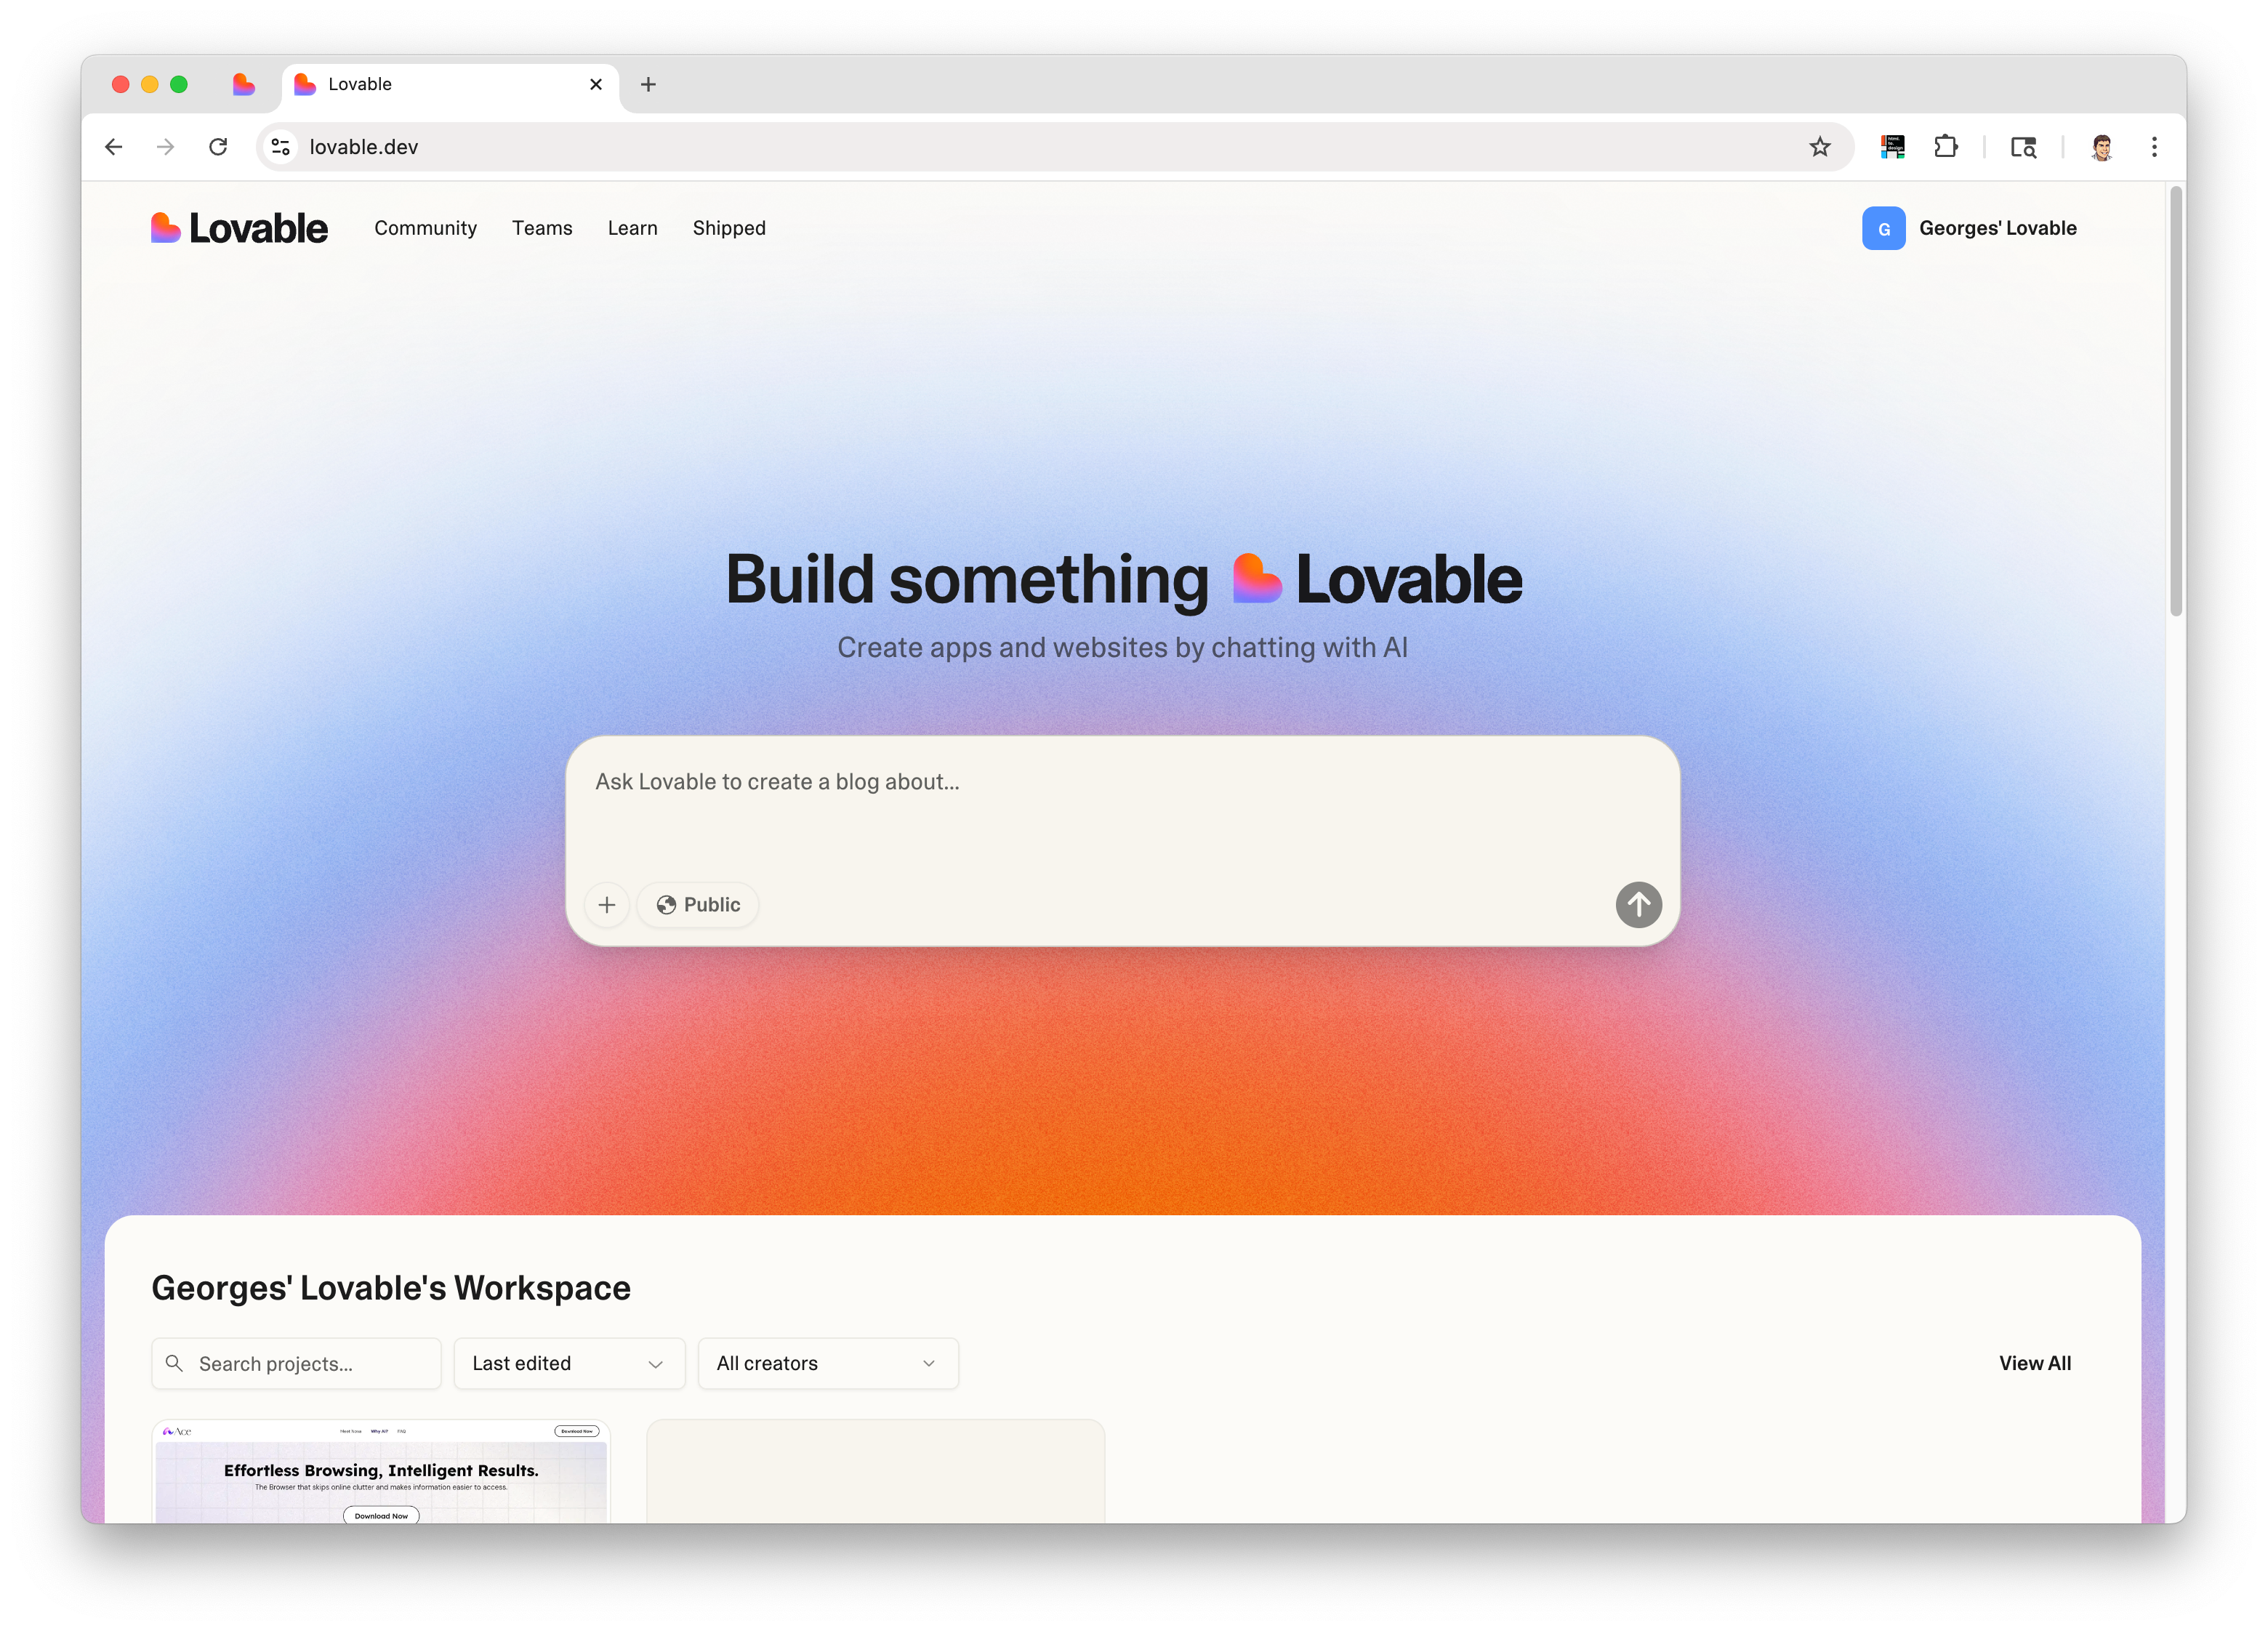
1. Create a new Lovable project
Start by creating a new project in Lovable and prompt it to generate the design you want.
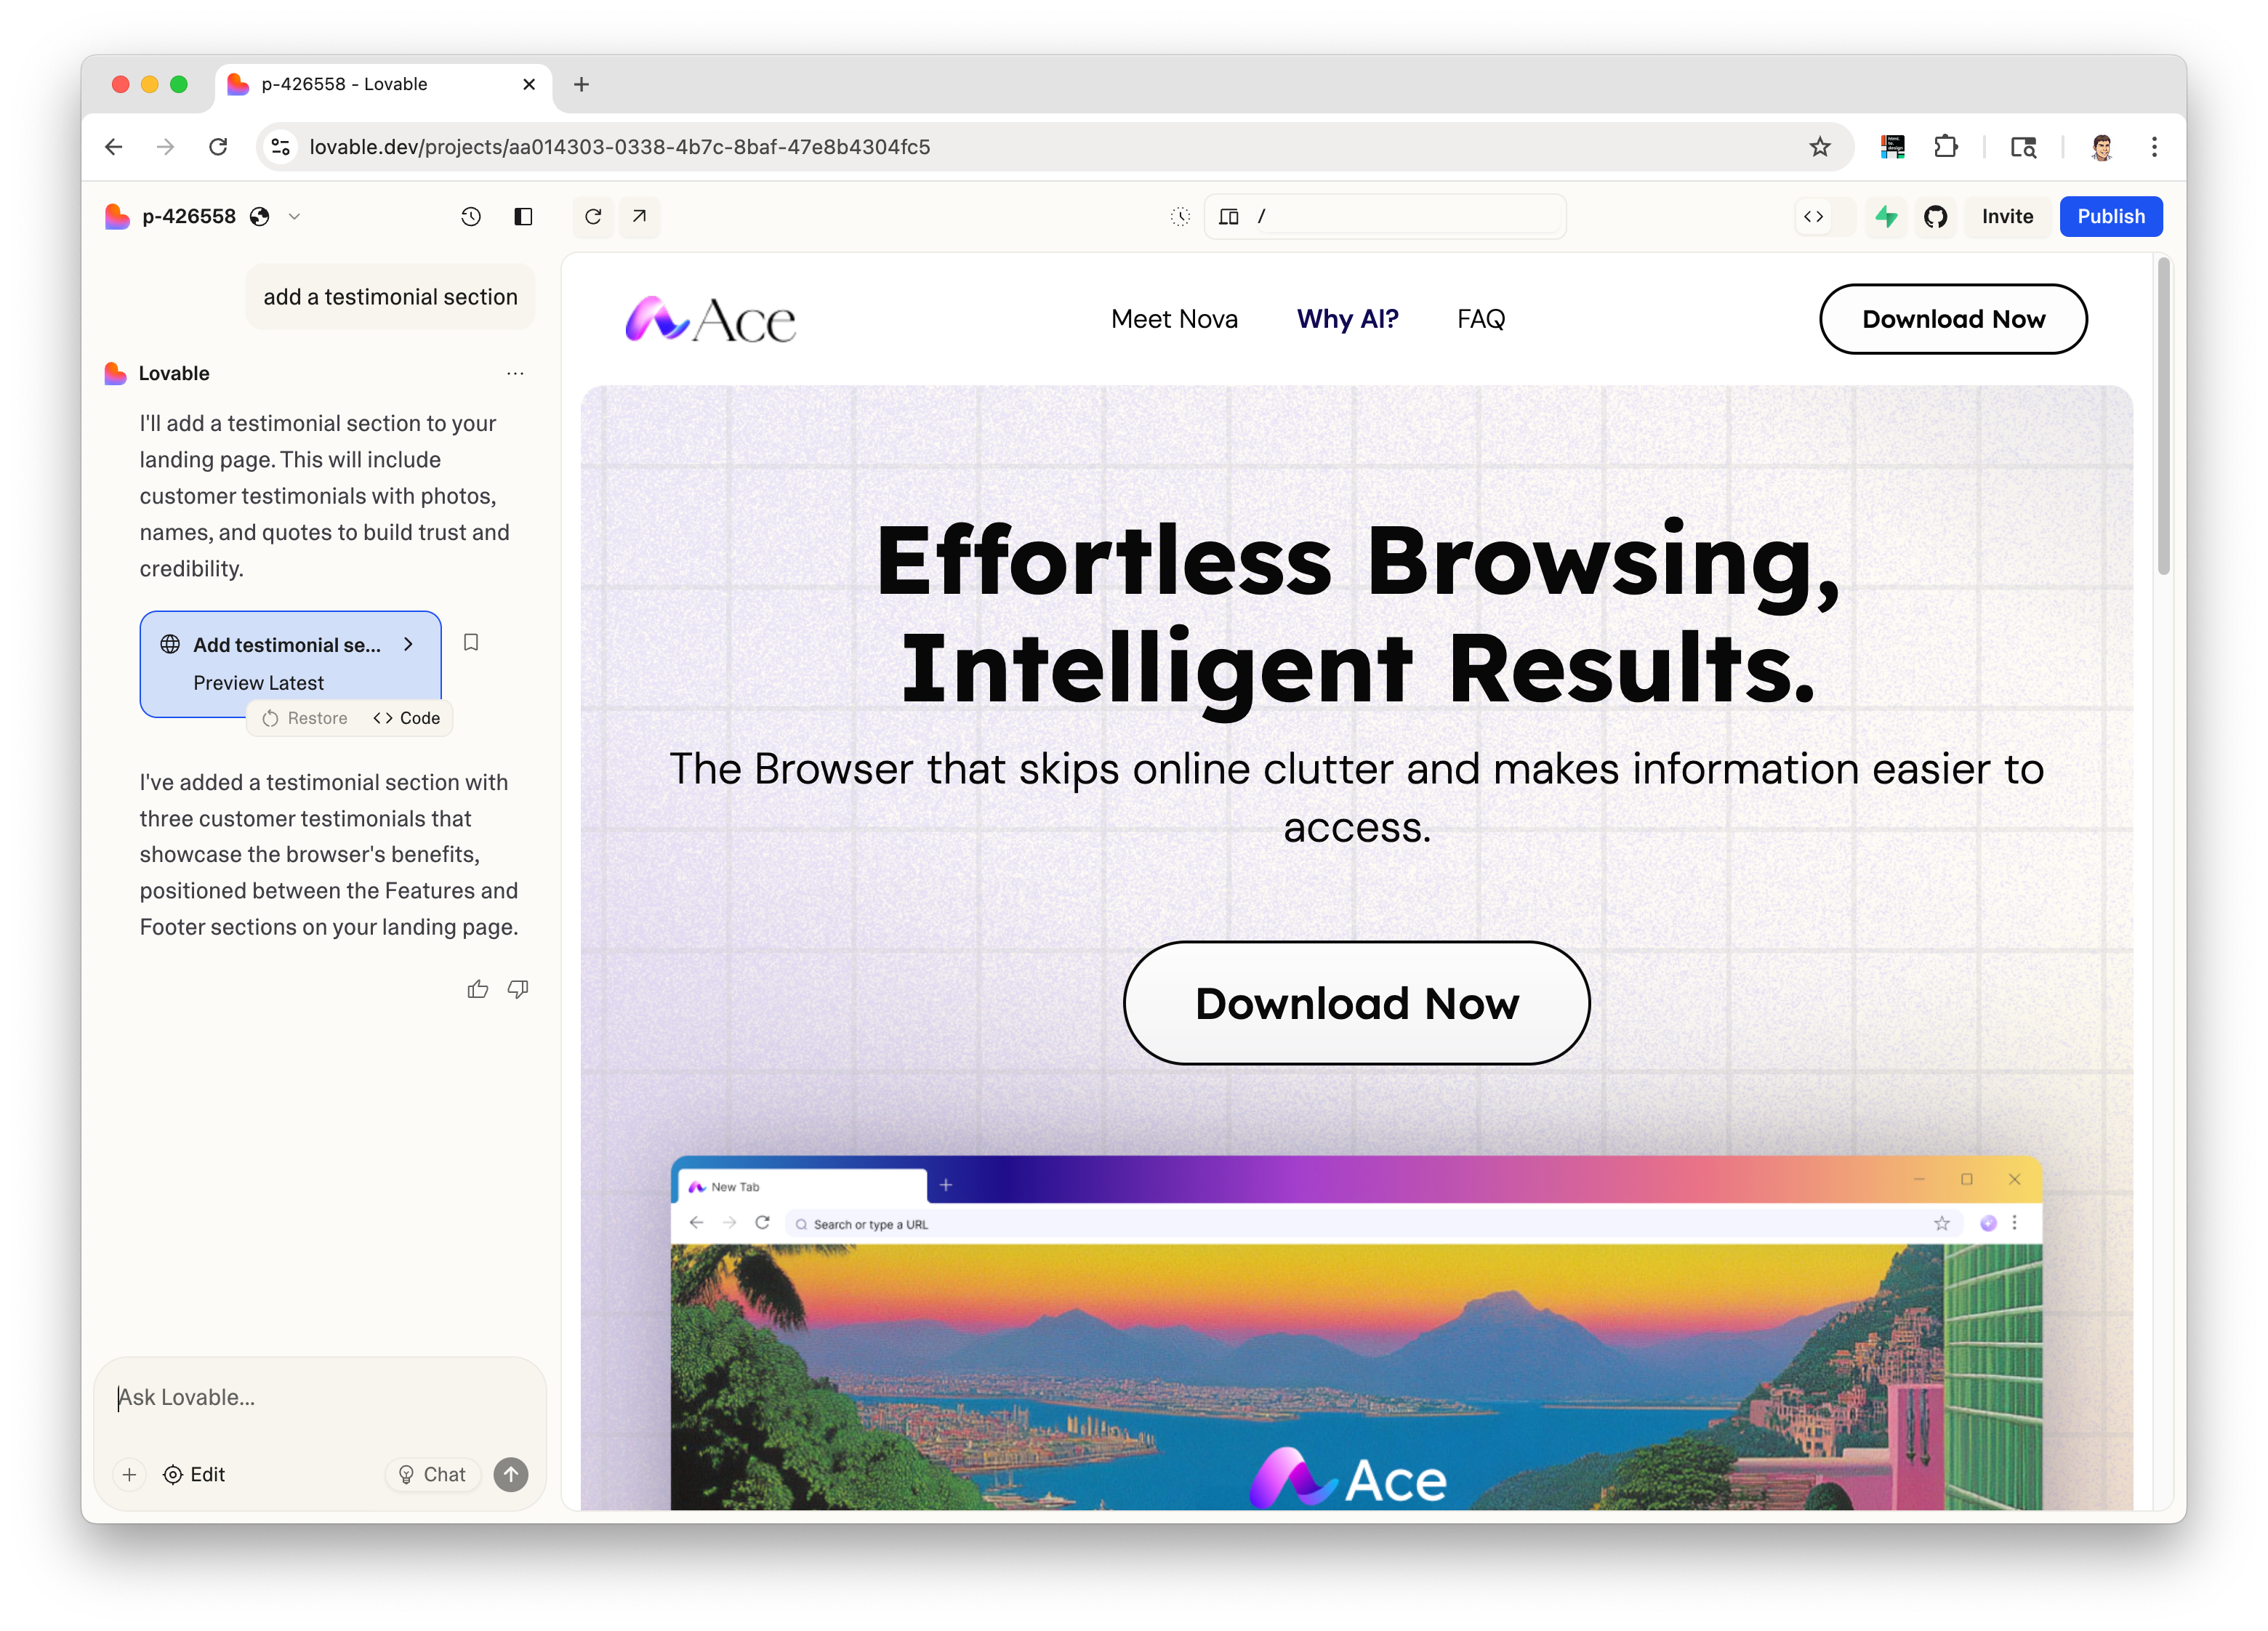
2. Iterate on your design in Lovable
Use Lovable chat to quickly iterate on your design ideas.
Prompt to fix the major issues, add new sections, add new components, or even change the layout.
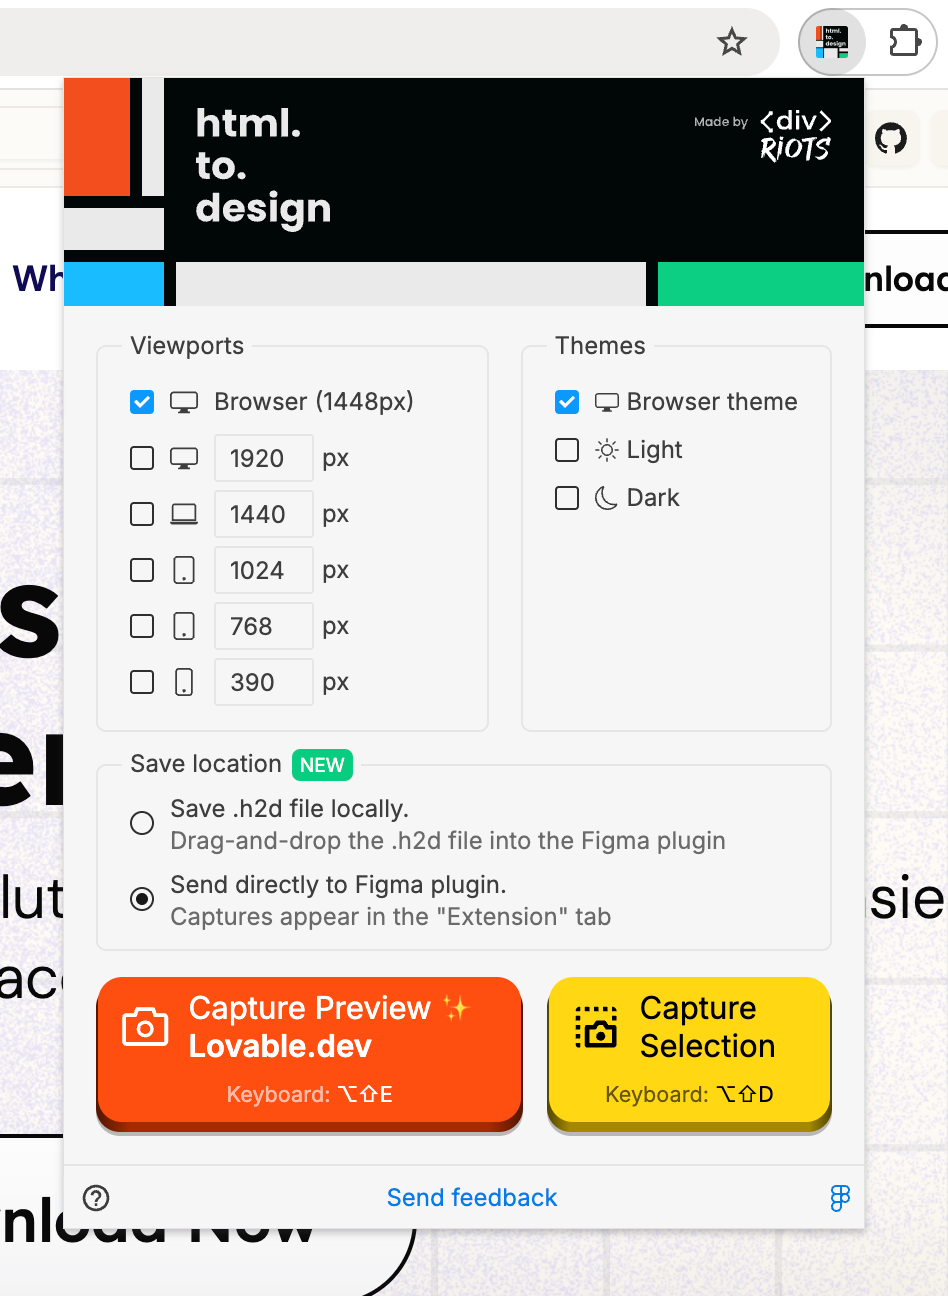
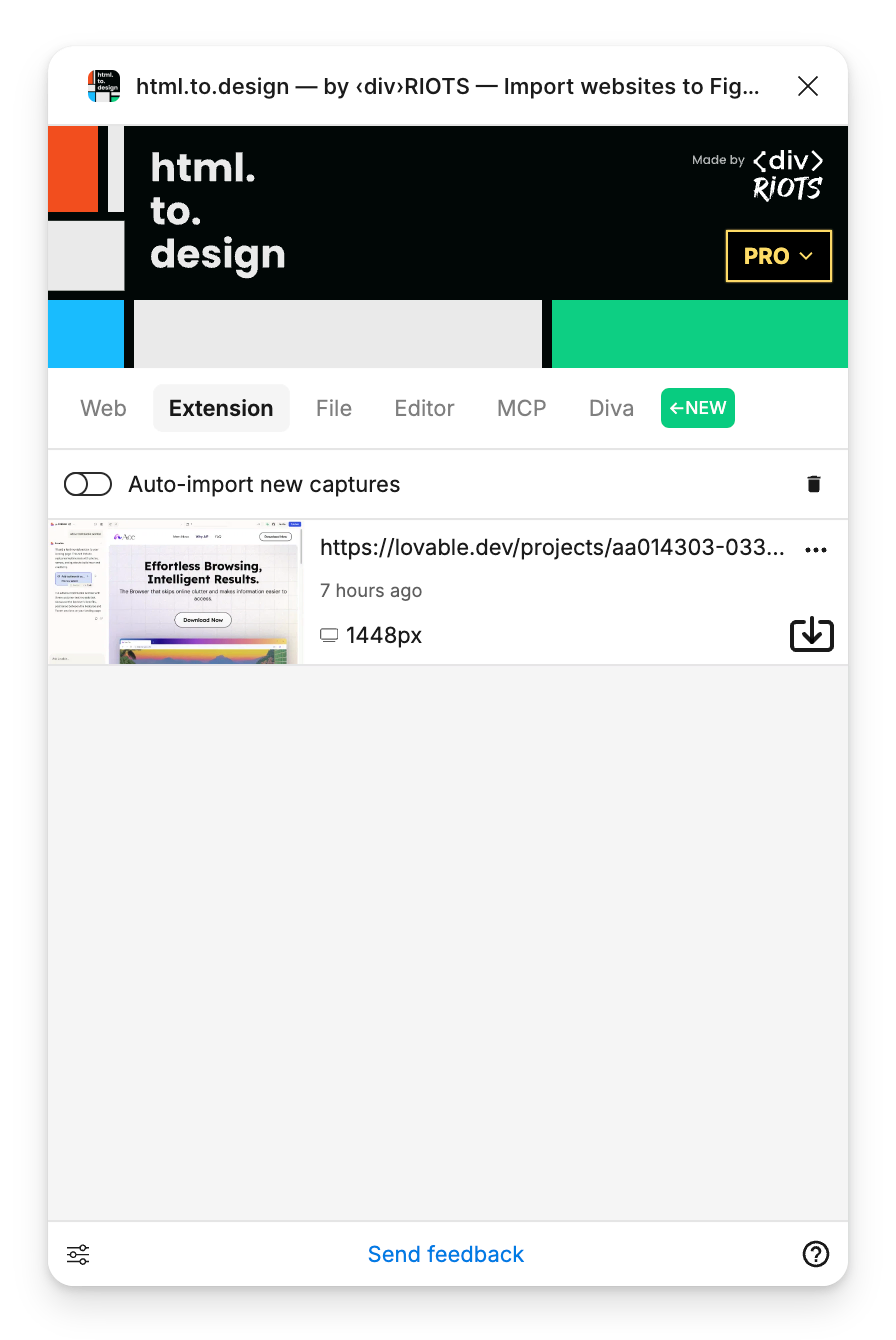
3. Capture the preview with the html.to.design Chrome extension
Launch the html.to.design Chrome extension and capture the preview of your Lovable project.
How to install the html.to.design Chrome extension?
Check out our Installation Guide
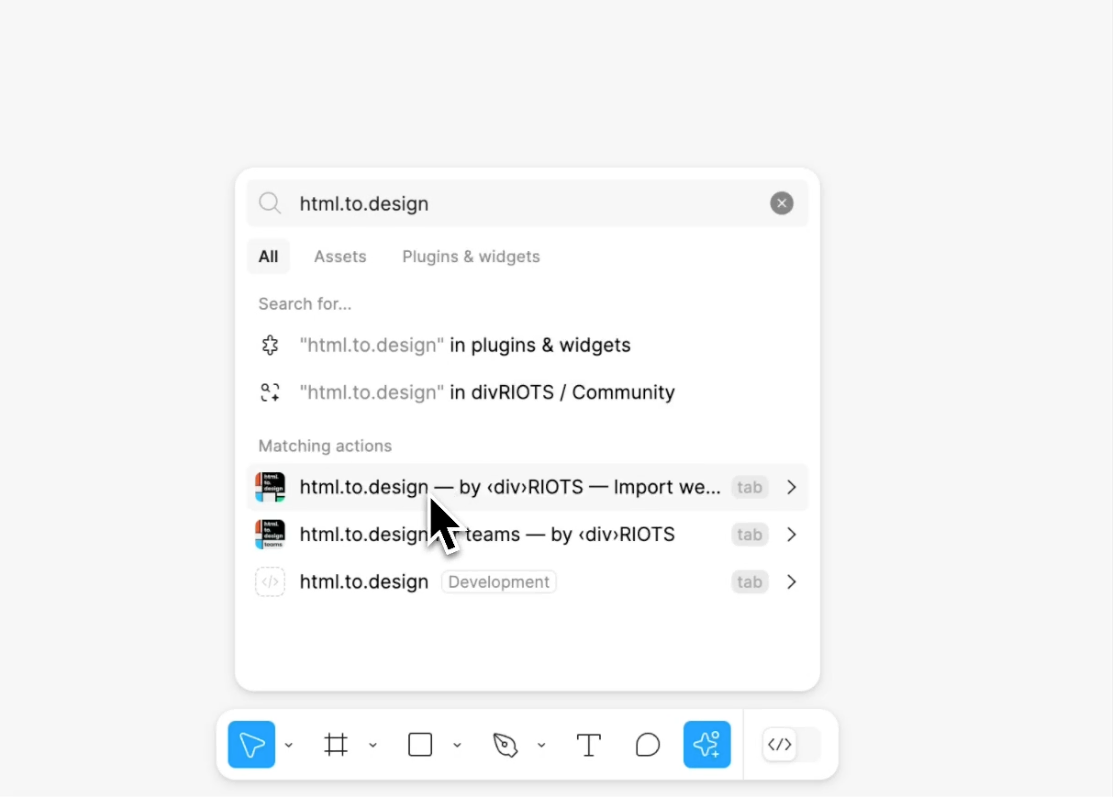
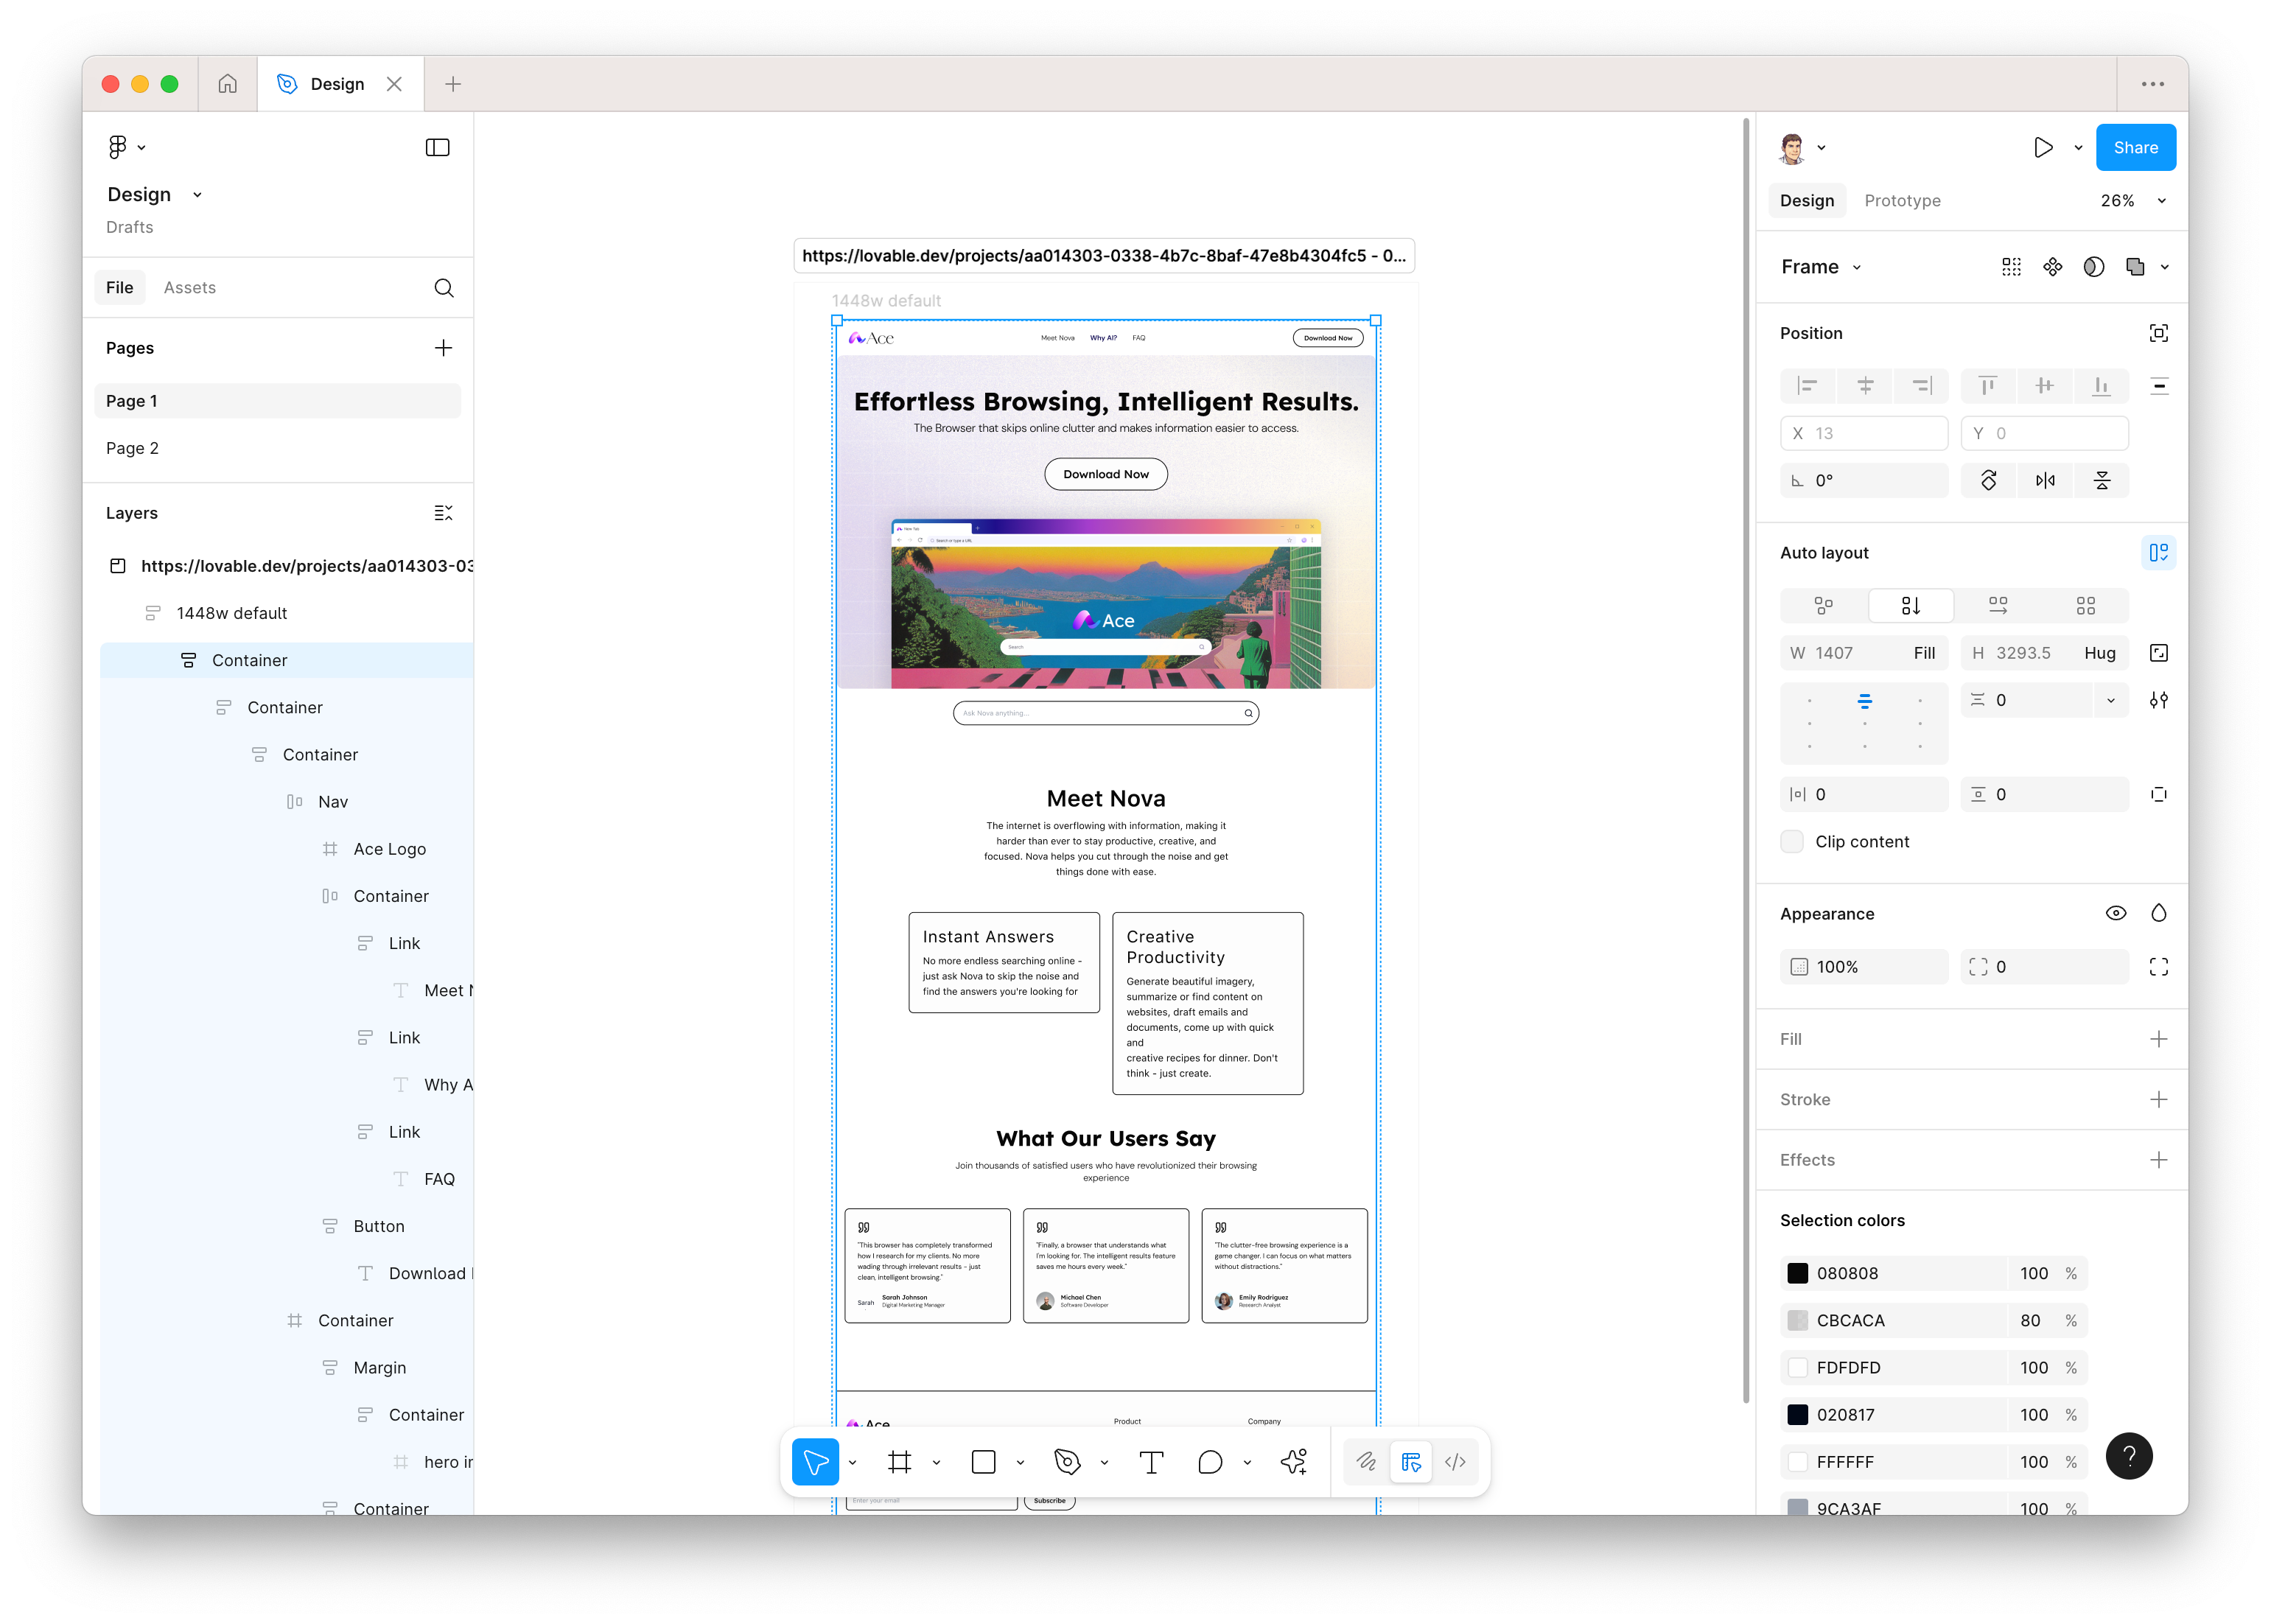
4. Open the html.to.design plugin in Figma
Open Figma and launch the html.to.design plugin.
5. Import your captured site into Figma
Drag and drop the .h2d file you captured with the Chrome extension or simply go to the
“Extension” tab if you used the “Send to Figma plugin” option in the Chrome extension.
6. 🎉 Edit your webpage designs in Figma!
Your Lovable project has been converted into editable Figma layers!
Why use Lovable to bootstrap for your designs?
🚀 Faster iterations: Harness the speed of Lovable to generate multiple layout options in minutes, then fine-tune every detail in Figma.
✏️ Kickstart projects with confidence: Lovable give you a strong starting point and a ready-made template, helping you overcome the blank canvas problem. Figma then lets you precisely customize your design, ensuring it aligns with your design system.
🤝 Seamless collaboration: Once in Figma, you and your team can collaborate and iterate further on your designs.
🎨 Enhanced productivity: Let Lovable handle the boring structure so you can focus on refining, branding, and perfecting your designs in Figma Design.