Import hover effects as components
One of the new features we’re most excited about with the new html.to.design update is the ability to easily recreate hover effects for any website imported using html.to.design. Whether you need to document components or prototype interactions, this feature streamlines the process, making it simple to import and reproduce hover states directly in Figma. Here’s how you can do it…
How to import Figma components with hover effects
Here’s a step-by-step overview of how this new feature works and how it can improve your design efficiency:
1. Import the webpage using the html.to.design plugin
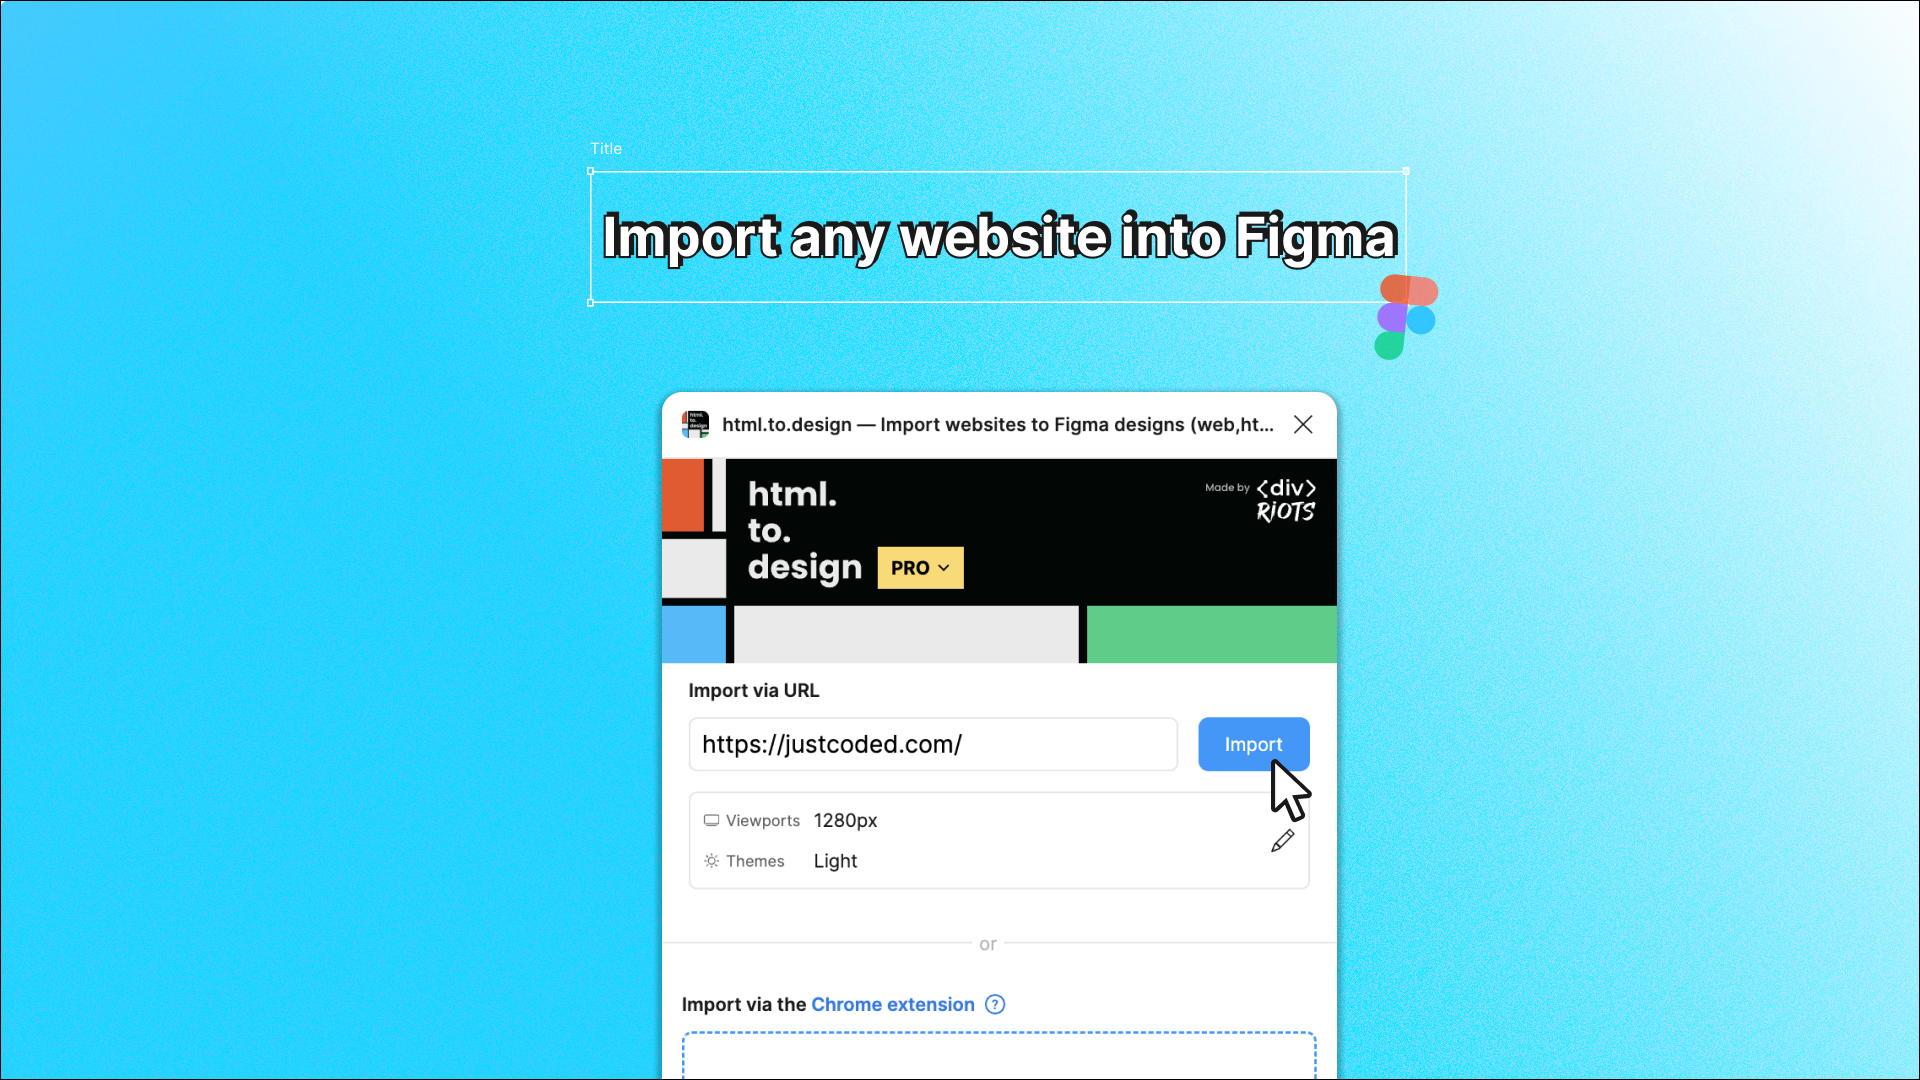
Start by importing the webpage you want to analyze and recreate in Figma. Run html.to.design in Figma and enter the URL of the webpage you wish to import. You can also use our recently-updated Chrome extension for local and private pages.
The plugin will automatically insert the webpage into your canvas as fully-editable Figma designs.

2. Select the option ‘Components for hover effects’
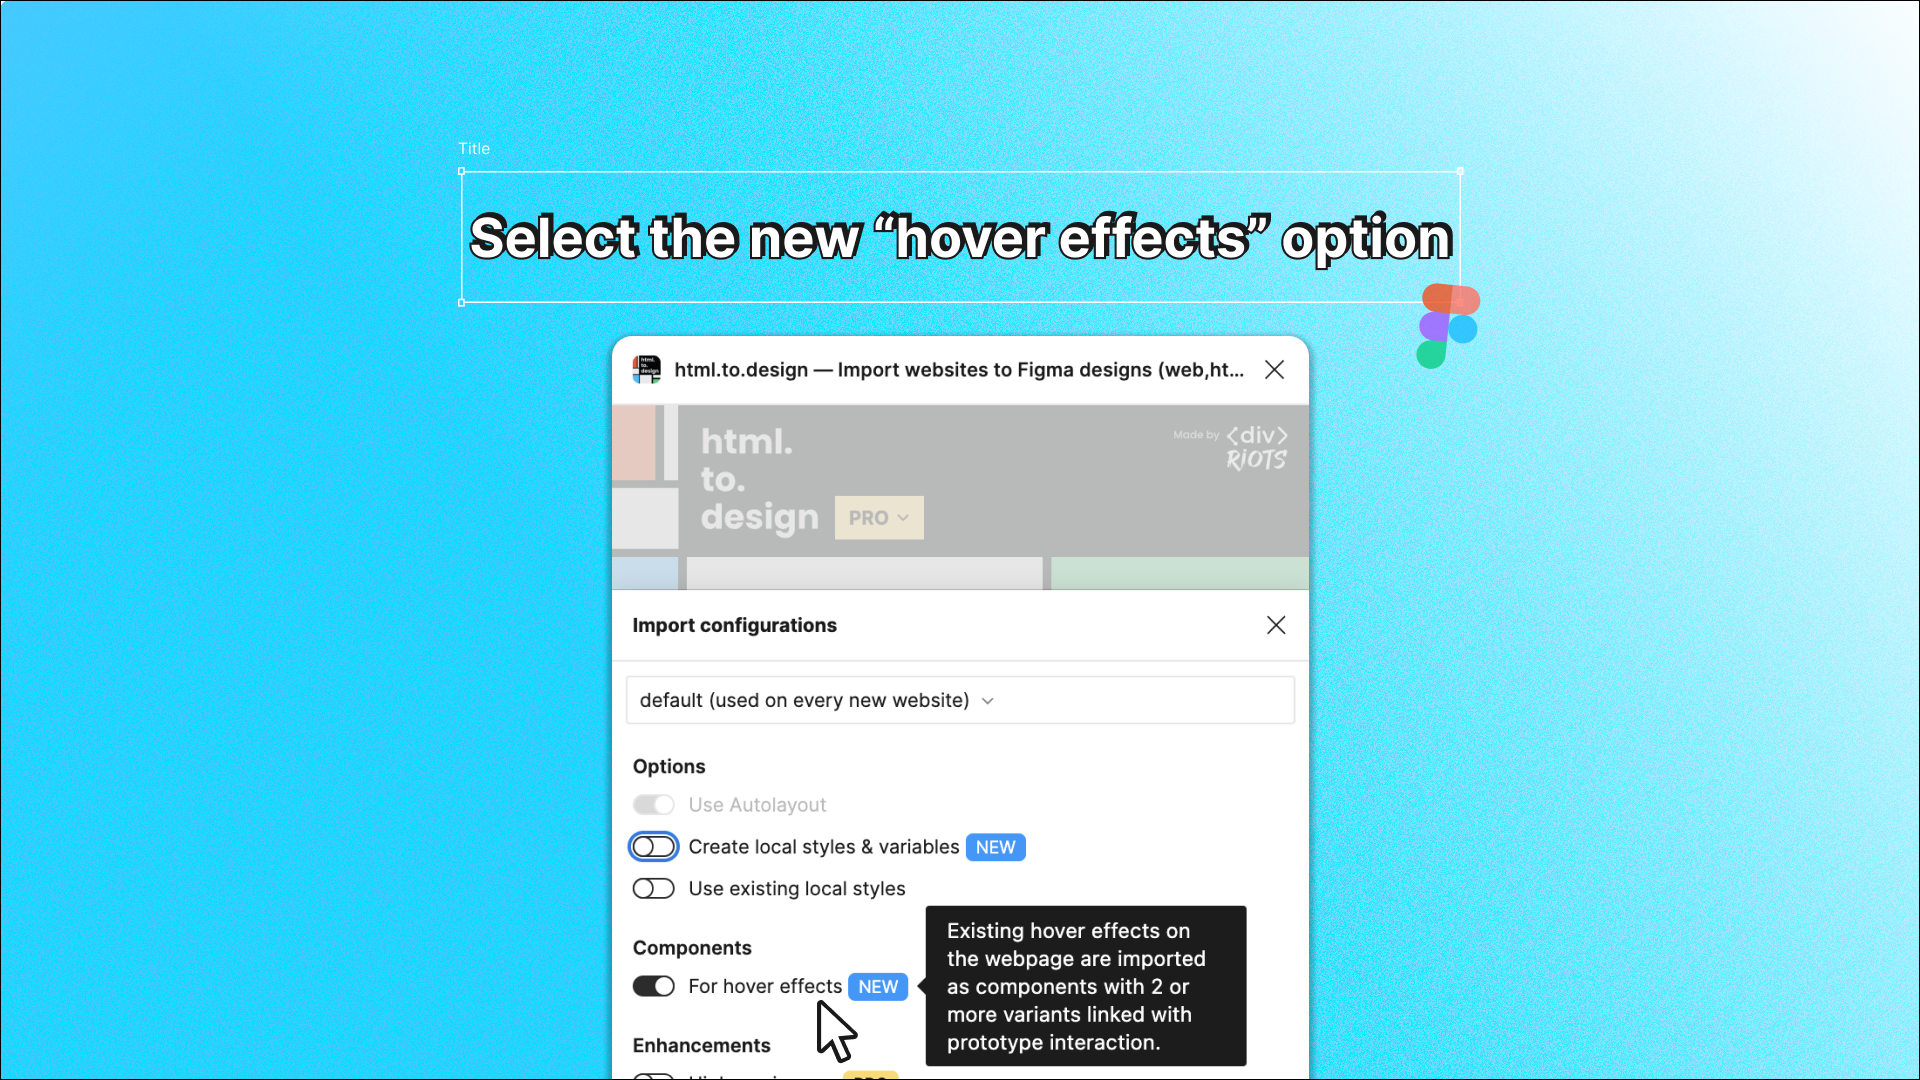
One of the key new features of html.to.design is its ability to recognize hover effects. When importing the page, make sure to select the option labeled “For hover effects” under the Components options menu.
The plugin will then import any components and their variants that define hover states. This step ensures you can later reproduce these hover effects in Figma’s prototype mode.

3. Components with hover variants created!
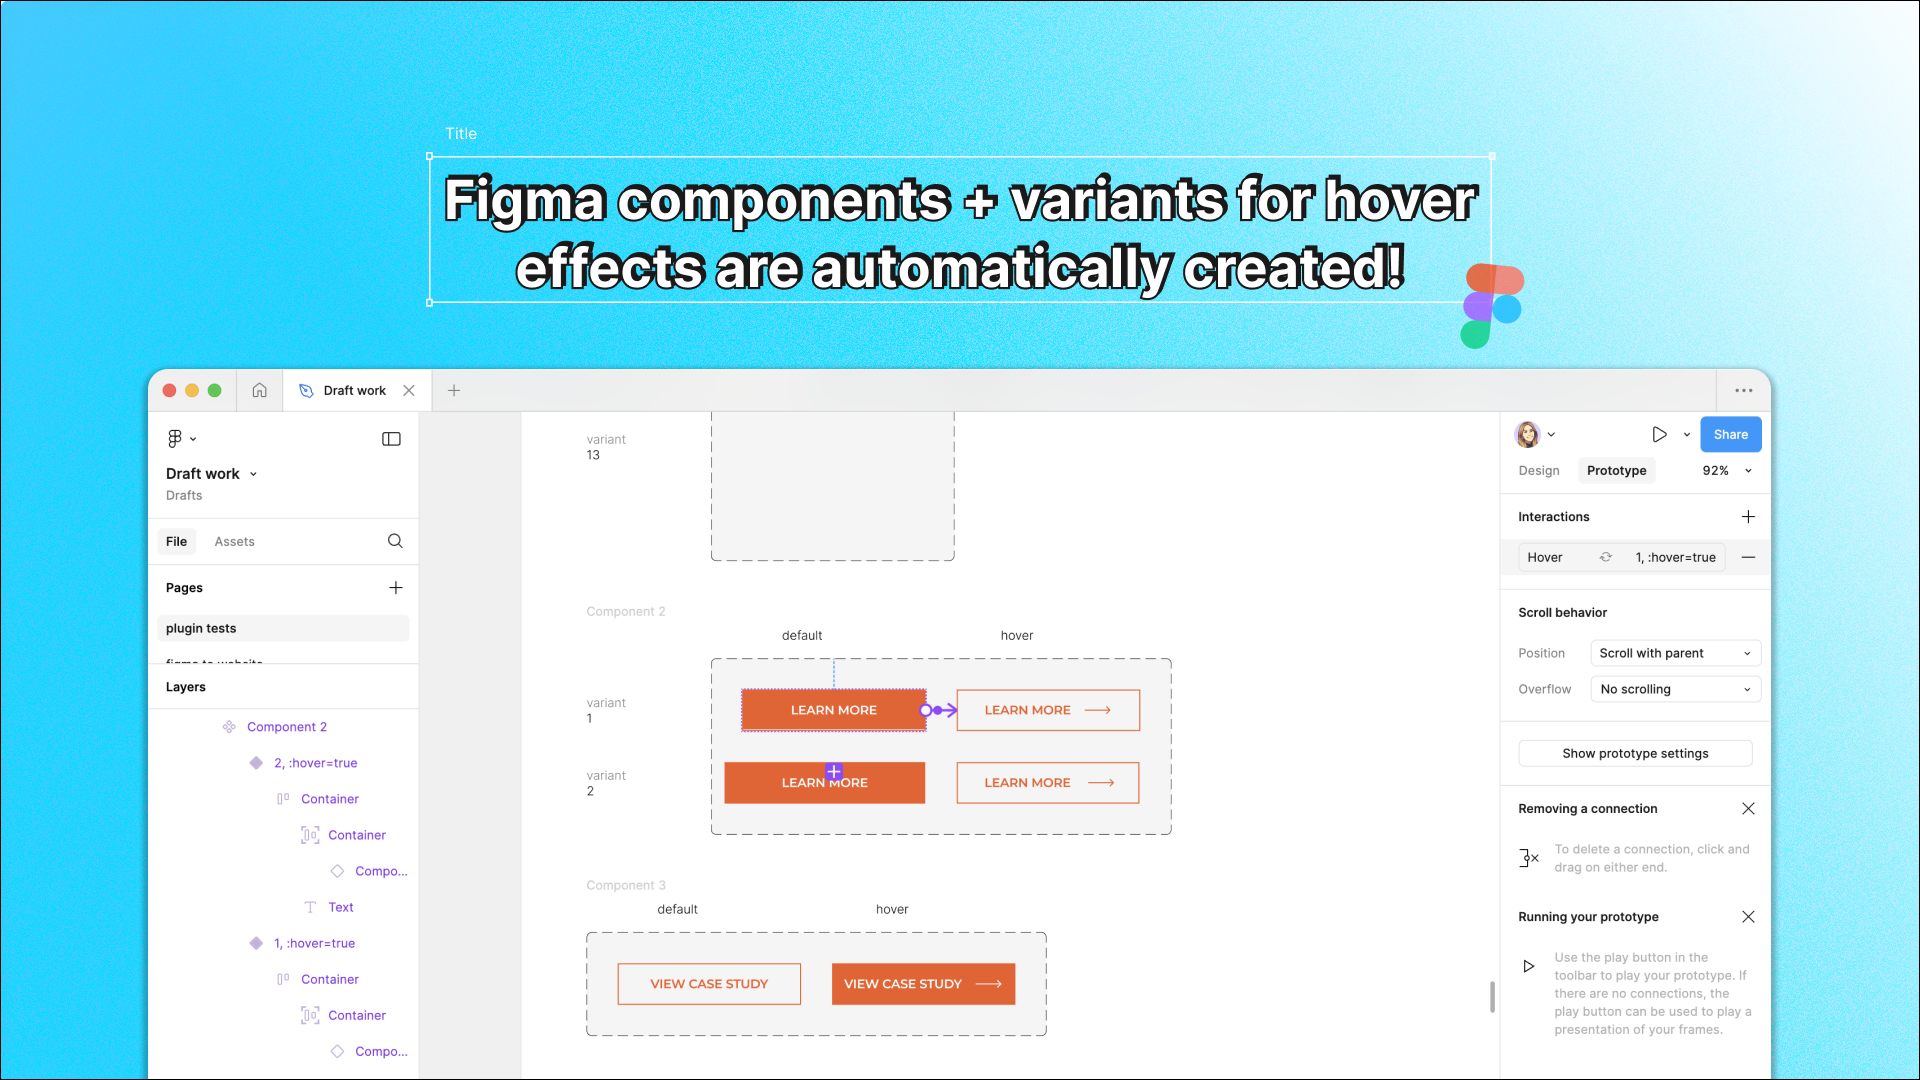
Once the import is complete, the plugin has done its magic. All interactive elements with a hover state, including buttons, icons and links, will be imported as Figma components with one or more variants attached to them. These variants store the interaction information needed to mimic the hover effect’s behavior.
For example, if a button changes color or a shadow effect is applied when hovered over, the plugin will capture this data. In Figma, you can see these components in action in prototype mode and interact with the different states just as you would on the original website.

Why this feature is a game-changer
The ability to automatically generate components with all variants for hover effects can streamline the design process for anyone building and prototyping websites in Figma.
Here’s how it can be incredibly useful…
1. Saves time
Instead of manually creating hover states or painstakingly copying design elements from live websites, html.to.design automates the entire process.
2. Improves accuracy
Since the plugin directly pulls in the interactive elements and variants, you can be sure that the hover effects you create in Figma will perfectly match the behavior seen on the website.
3. Enhances prototyping
With hover effects imported, you can create more dynamic prototypes in Figma, allowing stakeholders or team members to interact with your design in a more realistic way.
Give it a try!
html.to.design’s new component import feature for hover effects is a powerful addition to any web designer’s toolkit. It significantly reduces the effort required to recreate and prototype interactive elements in Figma, saving both time and improving the overall quality of your designs. Next time you want to capture the full functionality of a website for a project or client presentation, try out this feature!