How to screenshot a website into Figma (the proper way)
Whether it’s for a redesign project without access to the source files, or to get inspiration and create a benchmark, most if not all designers rely on screenshots daily.
A simple search for “screenshot” in Figma’s community will give you a birds-eye view of the situation: 39 plugins, 100+ templates. The Chrome web store references thousands of screenshot tools.
However, while screenshots might seem like the “fastest” way to copy a design into Figma, there are several issues with the classic screenshot:
- Reproducing designs from screenshots: Because screenshots are flat and non-vectorized, “snapshots” of a webpage at a given time, they actually have very little value to a designer who needs to edit, change and move elements around. While copy-and-pasting a screenshot into Figma initially seems like a time-saver, it’s actually hours and hours of work for a designer who later need to reproduce the elements of the website in Figma manually.
- Managing screenshots: With hundreds of screenshots in your computer, it can quickly become a hassle to sort through the clutter on your desktop or in your downloads.
- Technical limitations: Screenshots will often be limited to the browser or application viewport. This means that it’s harder if you need to screenshot the mobile version of a site, or get the full length and content of the page.
So before you hit CTRL + Print Screen or ⌘ + ⇧ + 4 again, try this method instead…
The best way to screenshot a website into Figma
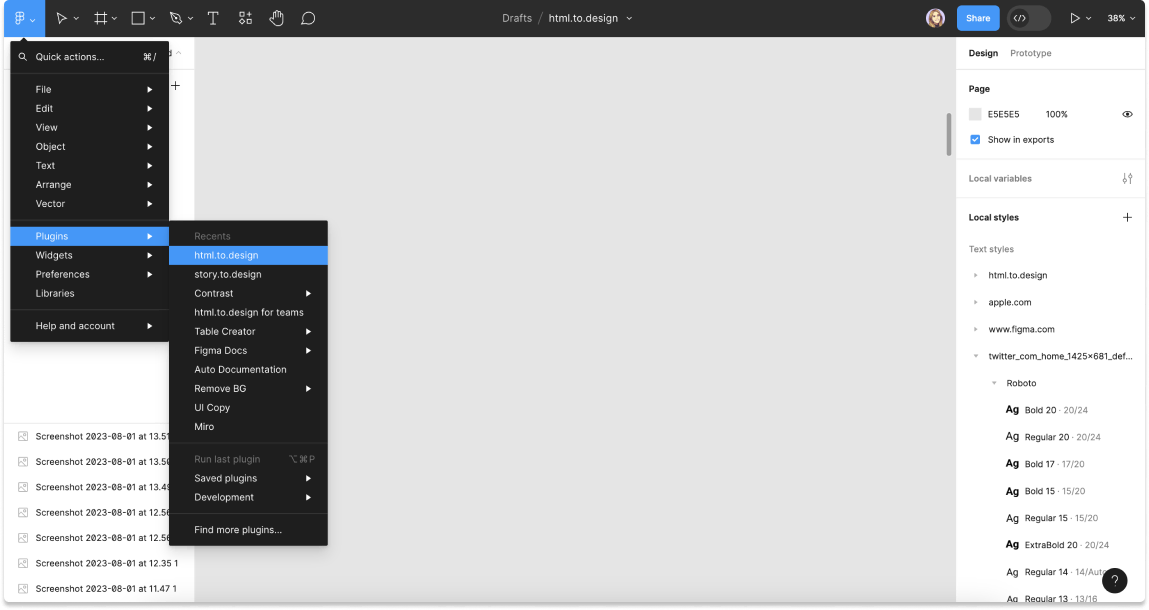
1. Run html.to.design…
You’ll find the html.to.design plugin in Figma’s community, and can save it to your list of plugins.
2. Pick the website you want to screenshot…
And copy-paste its URL into the html.to.design plugin. You can stick to just the landing page or import multiple pages in bulk for the full site.
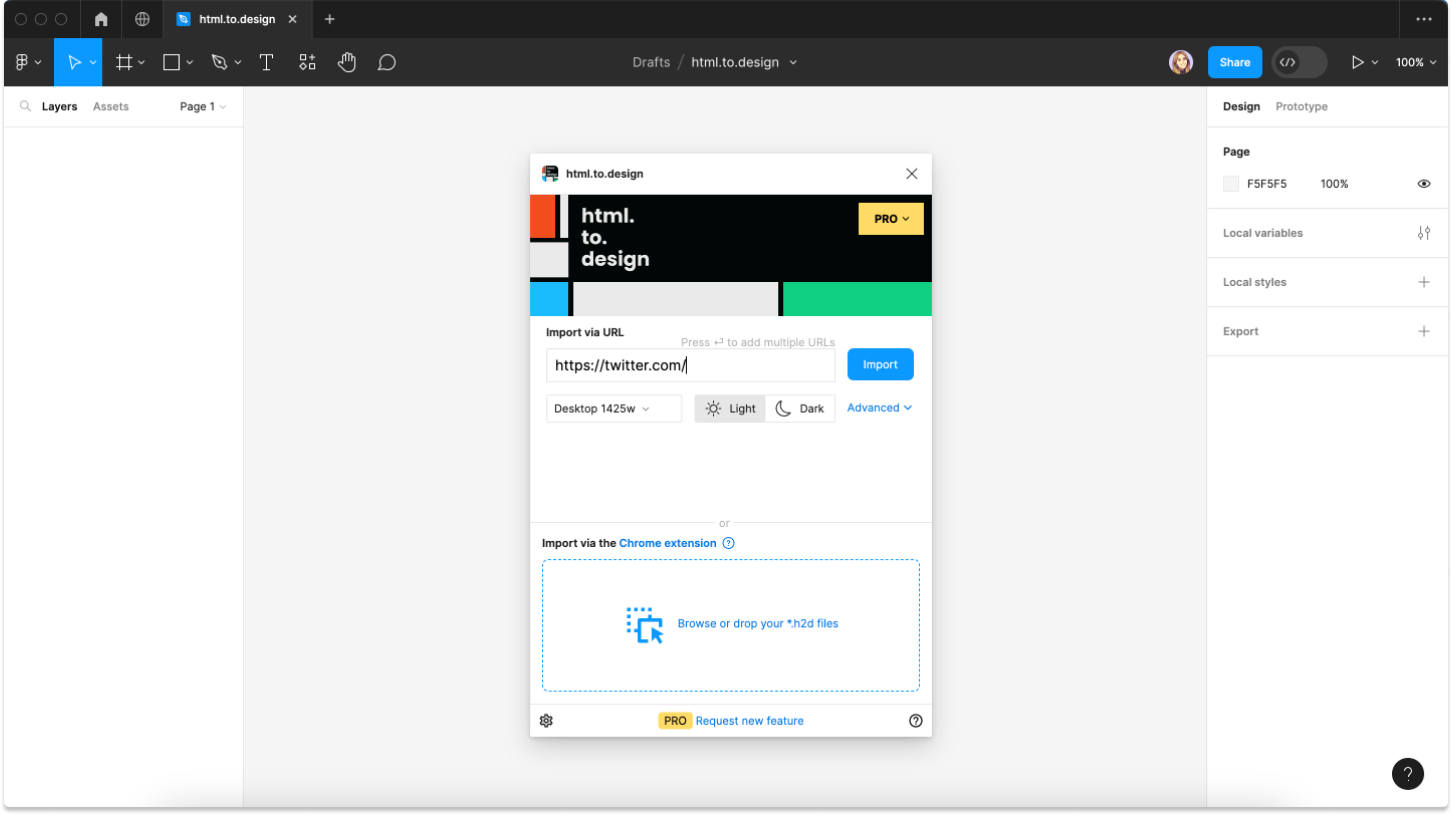
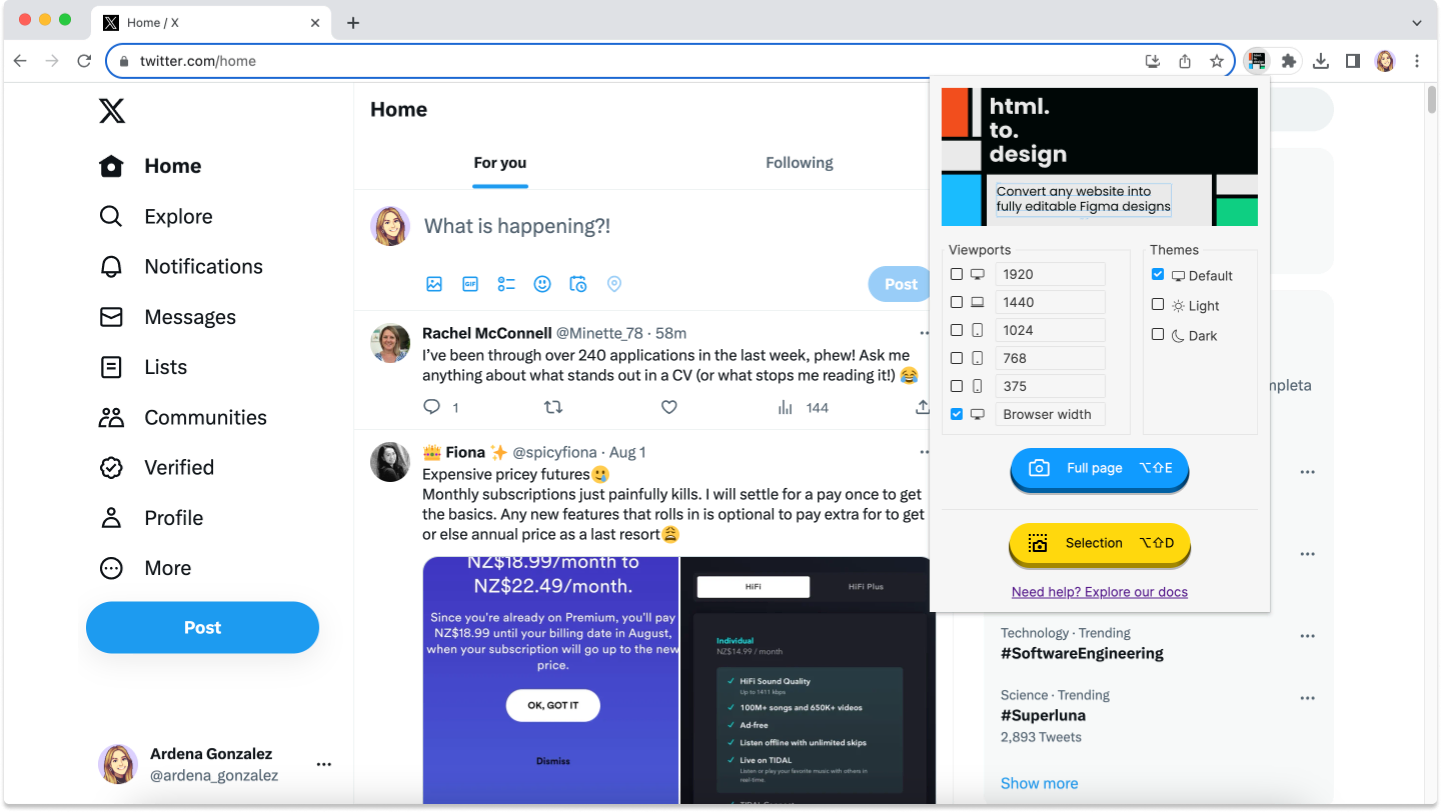
3. Before clicking Import…
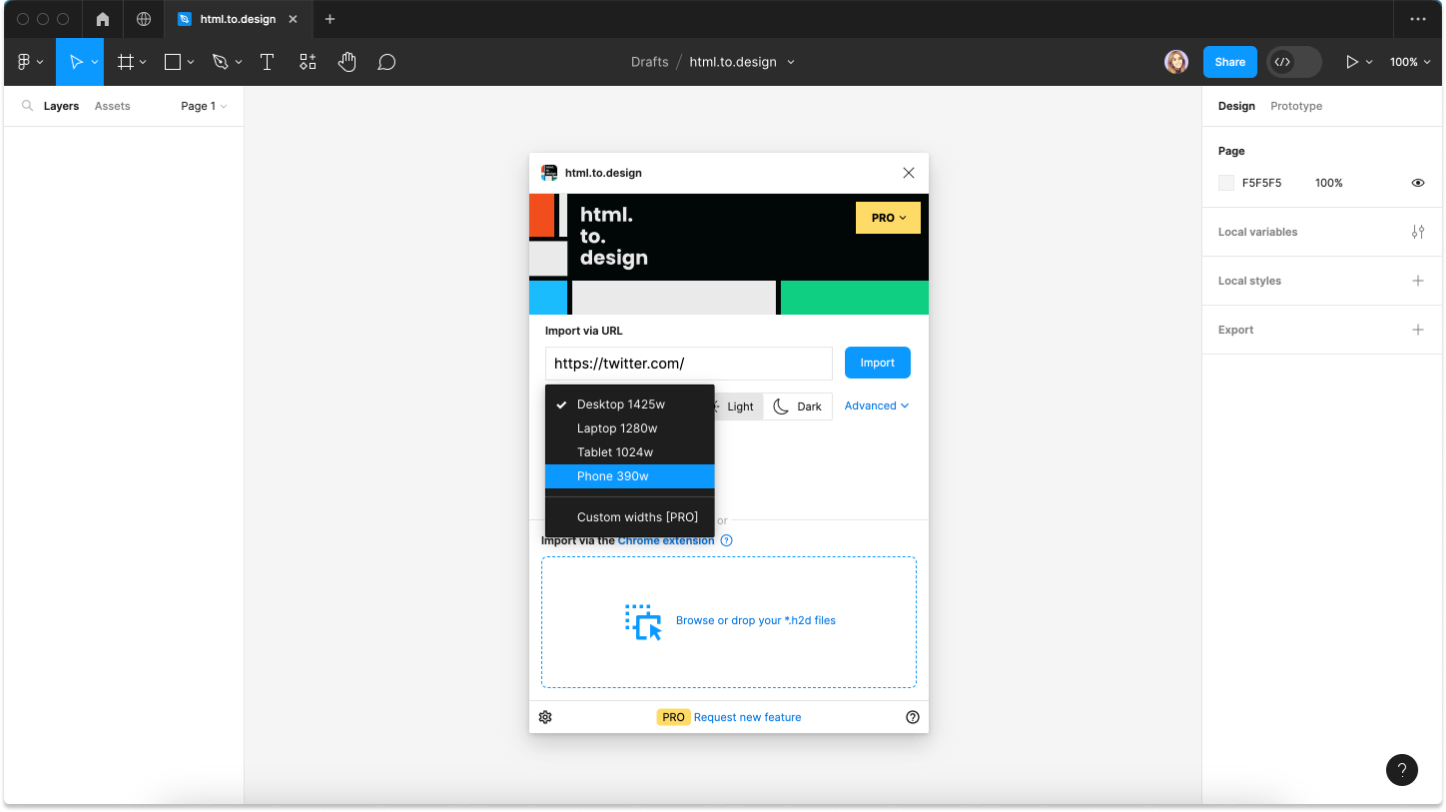
Select the viewport and theme you need. For a full overview of the range of designs, import the same webpage with different theme and viewport combinations.
4. If you need to screenshot a private page behind a log-in…
Use the html.to.design browser extension! Log in to the webpage you need, click on the html.to.design extension icon, then drag-and-drop the downloaded .h2d file into the plugin.
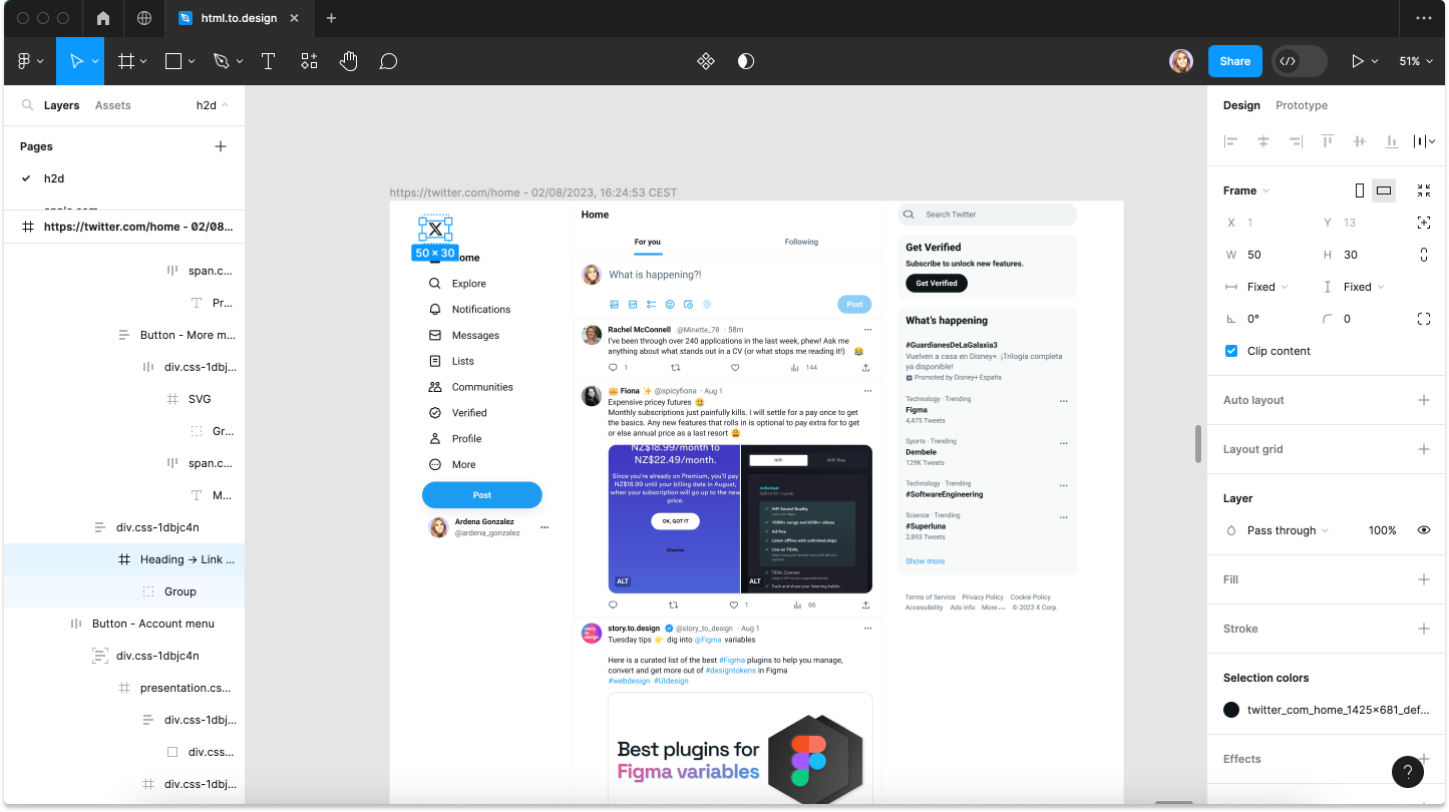
5. You now have a fully editable screenshot in Figma!
And the magic doesn’t stop there… Aside from changing copy, colors and layout; text and color styles are automatically created as local styles in Figma, ready-to-use in future designs.
Benefits of taking screenshots with html.to.design
They’re fully editable ✏️
Unlike traditional screenshots, html.to.design captures a fully editable version of the website that you can tweak and update as needed. This is especially important if you’re working with a team of designers or developers and need to make changes to an old design, for example.
No clutter 🗑️
Old-fashioned screenshots can quickly clutter your desktop and downloads folder with files you don’t need. With html.to.design, all your screenshots are stored directly in Figma, making it easy to find and organize them.
More efficient collaboration 🤝
Because html.to.design captures a live version of the website, it’s easier to collaborate with other designers and stakeholders. You can make changes to the design in real-time and share the link with others, ensuring everyone is on the same page.
Better benchmarks 🖥️
Static screenshots are fine for benchmarks, but editable screenshots are even better. By using html.to.design to screenshot webpages and bring them into Figma, you’ll be able to click on individual elements of the page to see how they were designed.
Forget recreating websites from scratch 🎨
The days of using a screenshot to recreate a website in Figma are over. html.to.design does the work for you. Plus, you can line up all the different viewports of a website in one Figma file for responsive design.
Ready for next-level screenshots?
While taking a screenshot using keyboard shortcuts may seem like the fastest way to capture a webpage, this screenshot will be limited in value compared to a vectorized, editable version.
Using html.to.design to screenshot not only gives you that instant snapshot of a site directly in Figma, but also allows you to edit and move elements around; acting as a kickstart for all kinds of design projects.
Ready to give it a try? Install the Figma plugin 👉 html.to.design