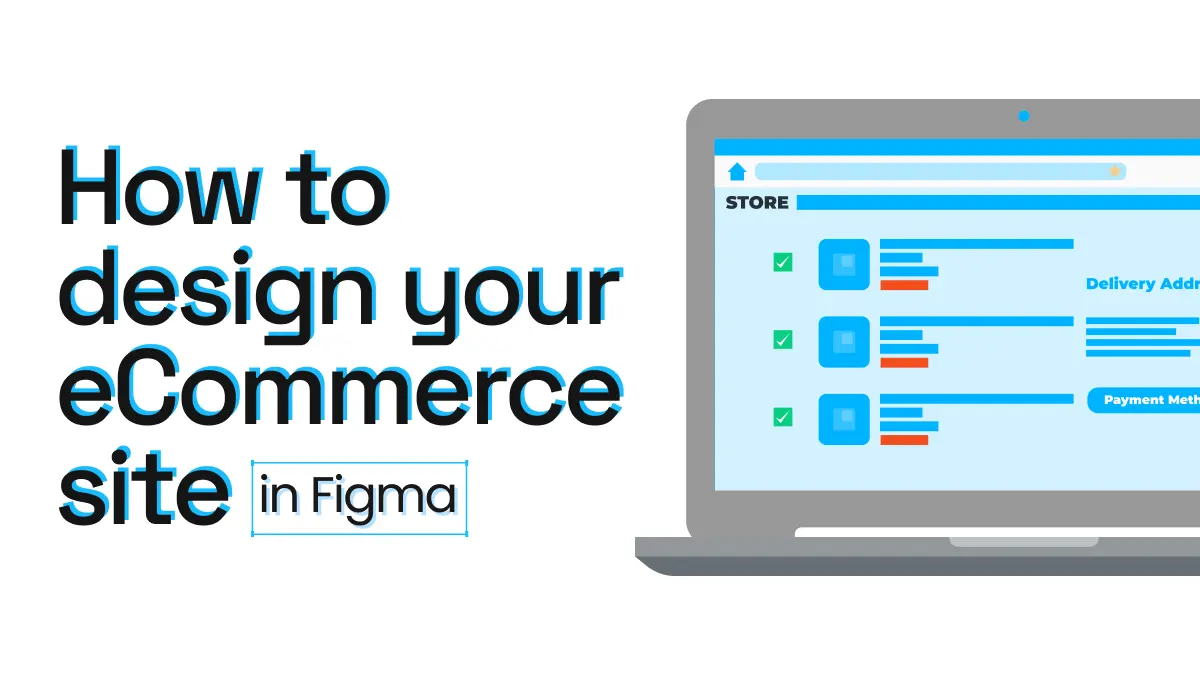
How to design your eCommerce site in Figma
If you’re looking to sell your products on the web, you’ll need an online store. And while there are plenty of services out there to help you set up your eCommerce site, there are benefits from designing your online store in a tool like Figma first.
Whether it’s to test out a prototype of your eCommerce site to see how it’ll work, or present it to colleagues first before launching, designing your online store in Figma can be easily done in just 4 steps. Here’s how…
Design your eCommerce site in Figma in 4 steps
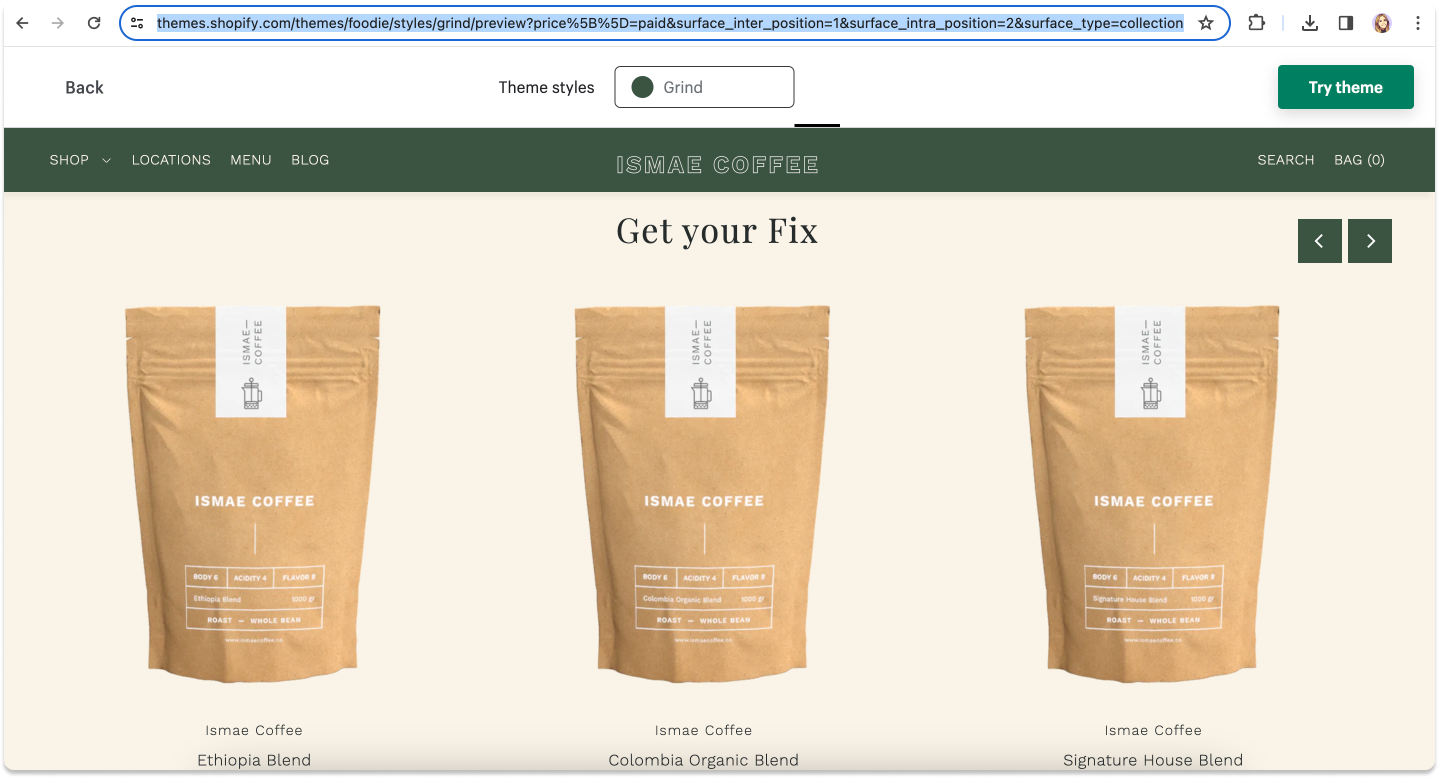
1. Buy your eCommerce template
There are tons of templates for eCommerce sites. Websites like Shopify or Themeforest have some great themes to choose from. Purchase the one that you want to use as your base, then copy the URL.
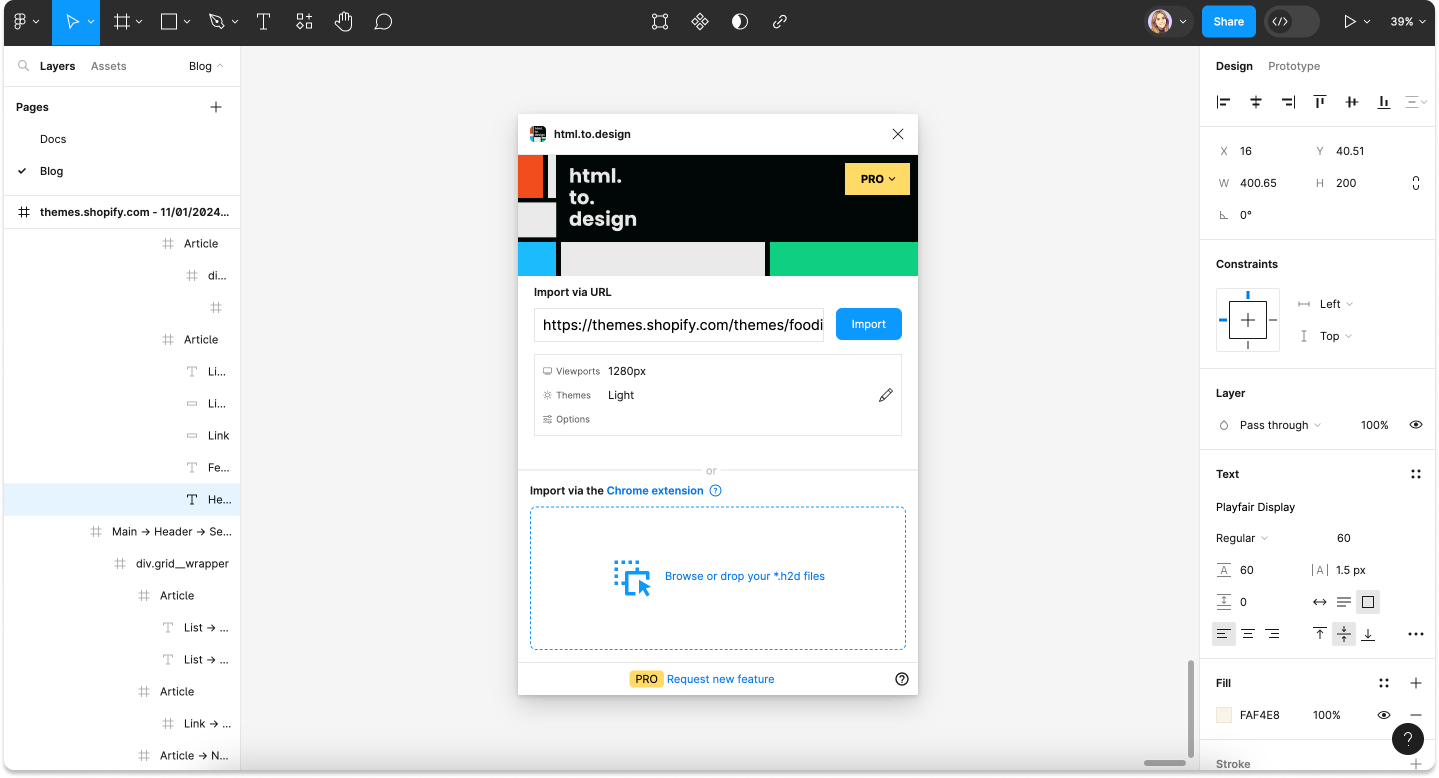
2. Enter the URL in the plugin
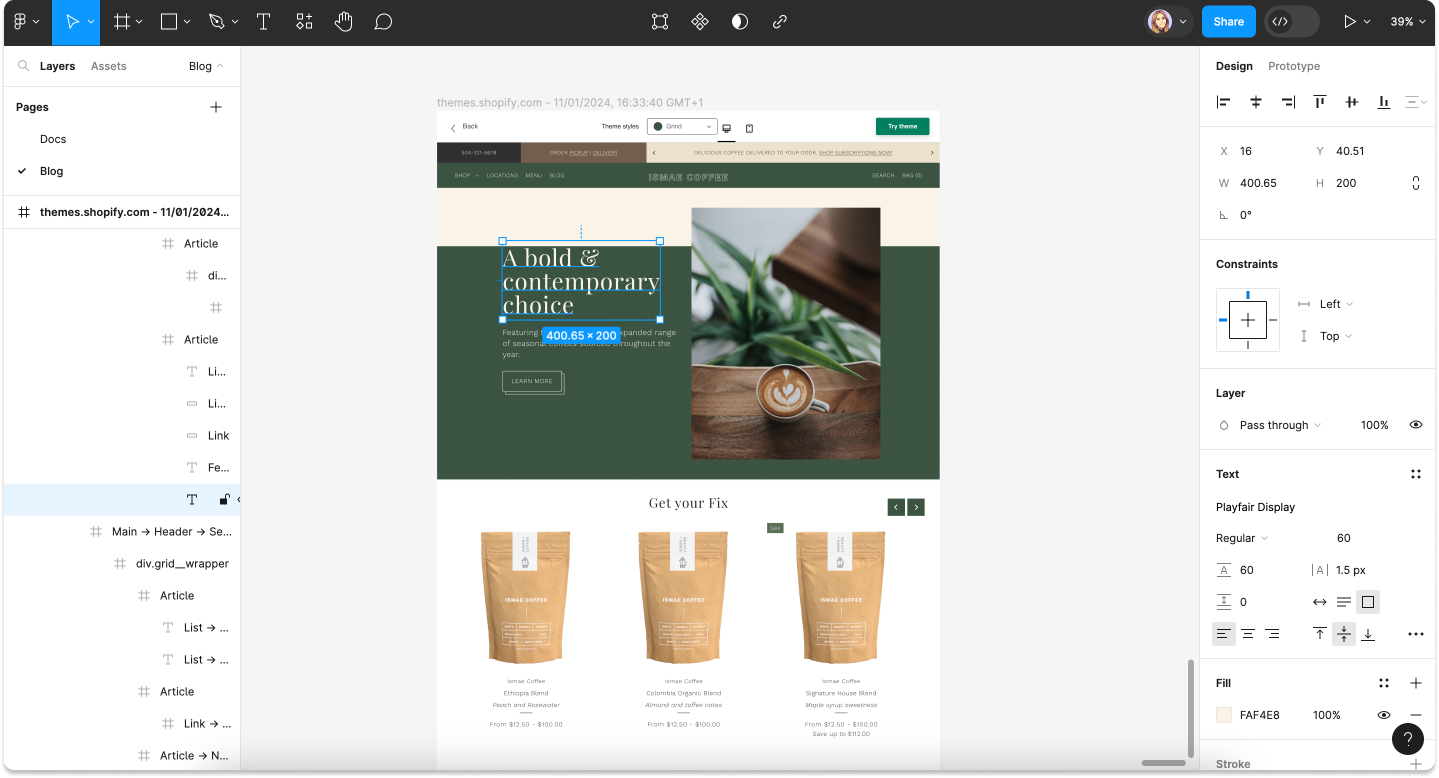
Open a new Figma page and run the html.to.design plugin. Enter the URL to the theme or template you’ve purchased.
💡 For even better import results, you can also capture the webpage with our Chrome extension and then drop the downloaded
.h2dfile into the plugin to import the page.
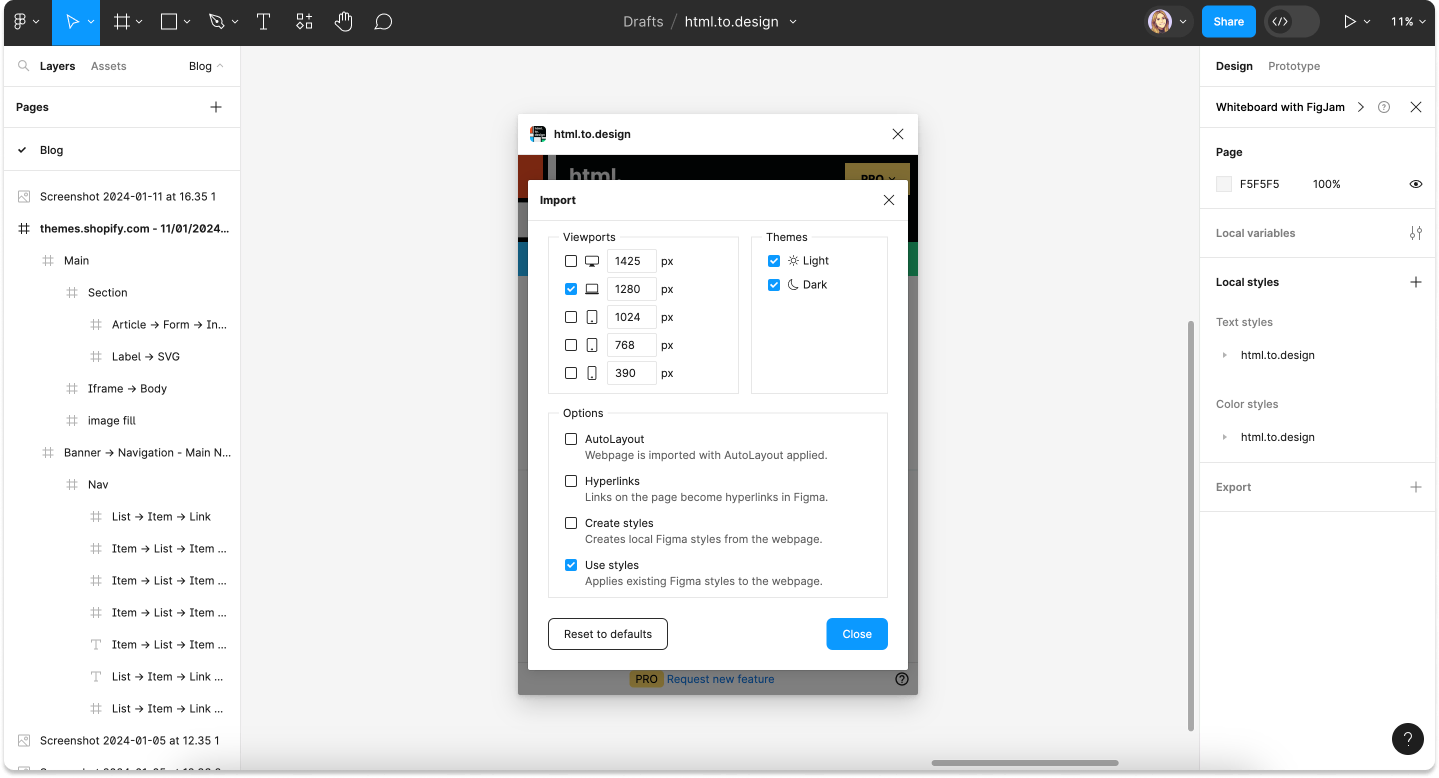
3. Select your import options
Click on the pencil icon to open the options menu. Here you can choose your viewport, theme and other settings such as styles creation and auto-layout configuration. Then when you’re ready, click ‘Import’.
💡 If your brand styles are already set up in Figma, select the option ‘Use styles’. That way they’ll be automatically applied to the import so you don’t need to change them by hand.
4. Start customizing your eCommerce site
As all imports are fully editable, you can start customizing font styles, colors, layout and more. Edit the eCommerce site to make it your own. You can even input your store’s real data to make your designs as accurate as possible.
💡 We recommend using our plugin data.to.design to quickly populate your eCommerce site designs with real content like product names and prices.
Why design your eCommerce site in Figma?
Create accurate mockups and prototypes
Designing your eCommerce site in Figma first makes it easier to create accurate and realistic mockups and prototypes. With additional plugins like data.to.design, you can input all of your real store content into the designs and see exactly how your online store will look and work.
Present a demo
If you’re working for a client or with a team, you may want to pitch ideas and present your designs to receive feedback, before getting into development work. By designing your eCommerce site in Figma, you can use Figma’s prototyping features to present designs to a wider audience before going live.
Collaborate and test
Having your eCommerce site designs in Figma is also useful for design testing. You can try out different layouts and styles, and see exactly how actual content will look for the final thing. You may also be working with a team, in which case the ability to comment, or even co-design in real-time, is important. Figma’s collaboration features are perfect for this.
Try it out!
Every day we’re learning about new design use cases where html.to.design can help… And designing your eCommerce site in Figma is one of them! By using the html.to.design plugin to import an online store template into Figma, you can then edit these designs to make them your own, as well as input your real store data to see how everything will look before going live.
Has html.to.design helped you create your eCommerce site? Tell us about it! 👉 @html_to_design.