How to convert a website into Figma designs
When working on UI/UX design projects, it can be incredibly helpful to reverse-engineer websites, whether for redesign purposes, competitive analysis or learning how certain layouts are built. The Figma plugin html.to.design is a tool that enables you to convert any website into Figma designs in a matter of seconds.
Rather than manually rebuilding every component from scratch, html.to.design can save you hours by automatically transforming live webpages into editable Figma layers.
This step-by-step guide will walk you through how to use our #1 website to Figma converter:
- Run html.to.design
- Enter the website’s URL
- Choose your import settings
- Review the imported designs
- Edit your website designs in Figma!
The ultimate website to Figma converter; a step-by-step guide
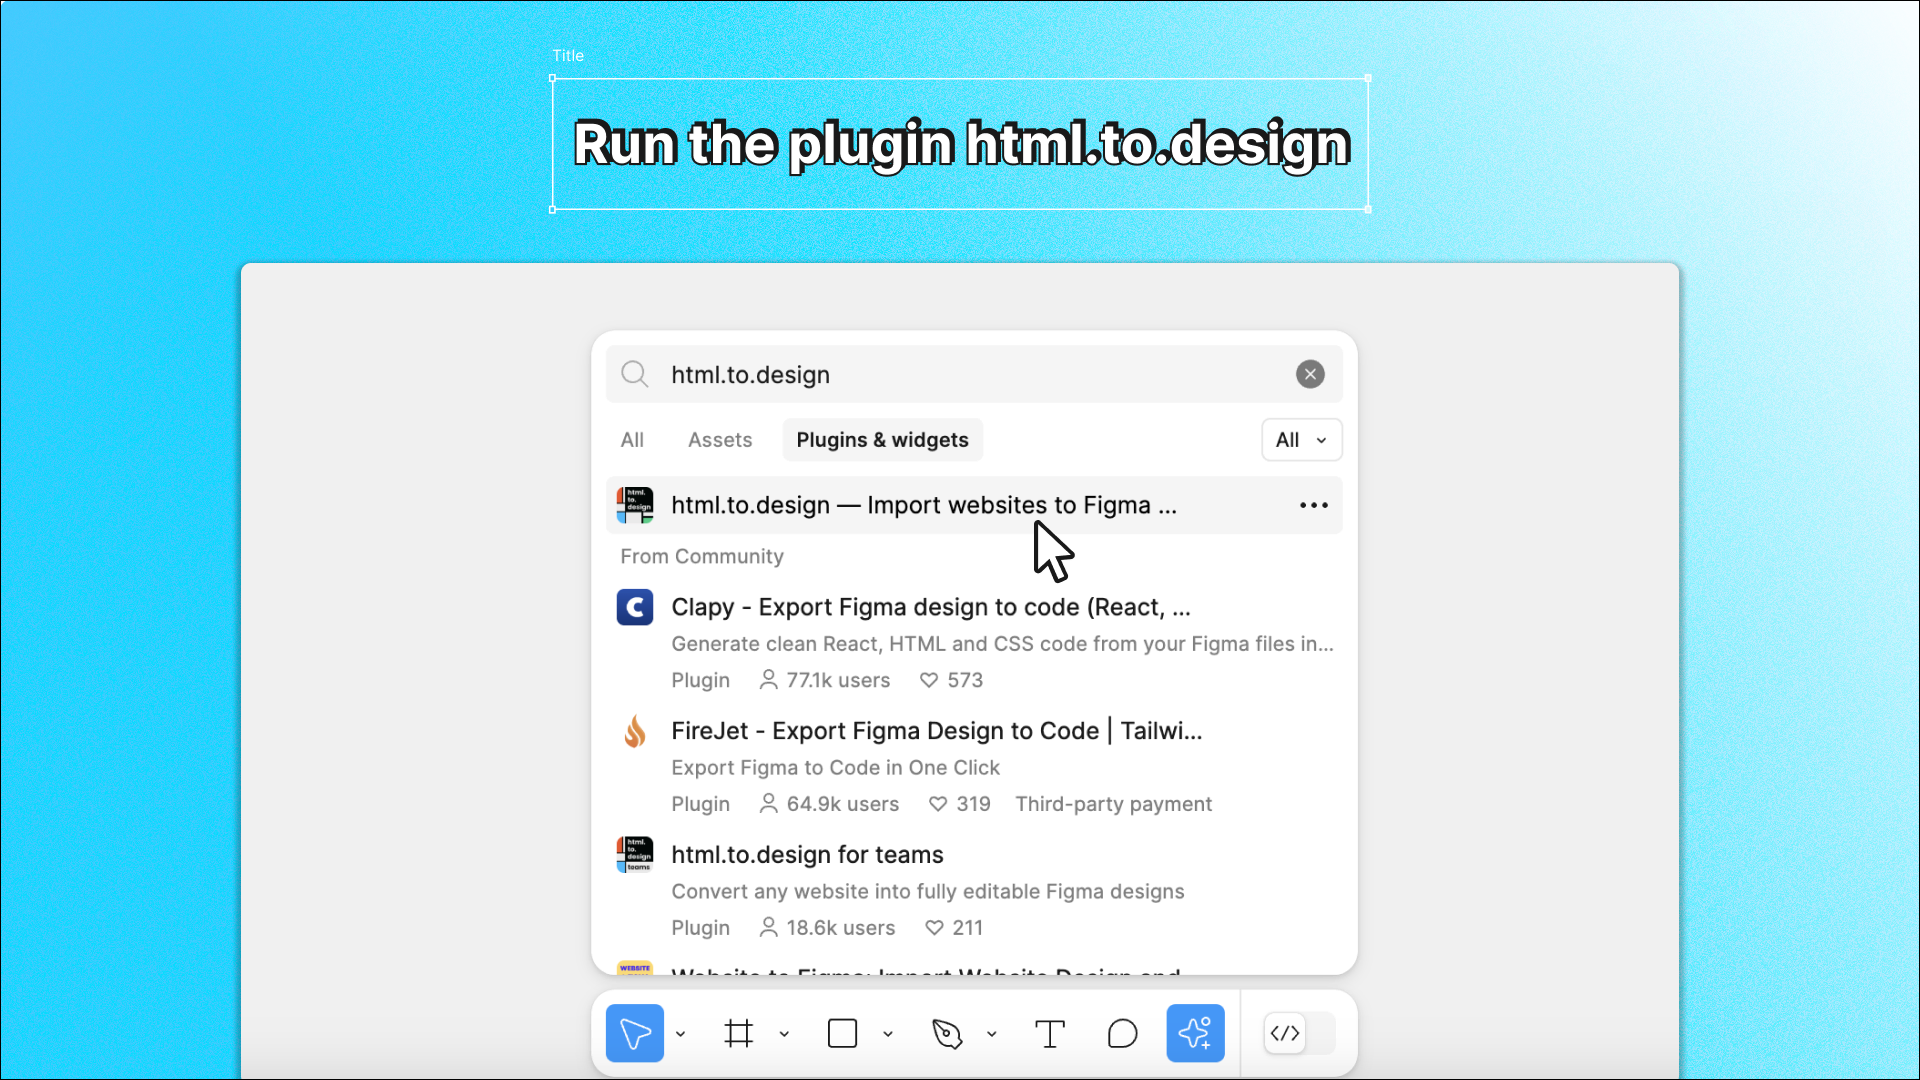
1. Run the html.to.design Figma plugin
First things first, you need to run the html.to.design plugin in Figma. Here’s how:
-
Open a Figma file where you’d like to import the website’s design.
-
In the bottom nav bar, go to Actions > Plugins > Search for html.to.design.
-
The plugin will open, which is where you’ll enter the URL of the website you wish to convert.
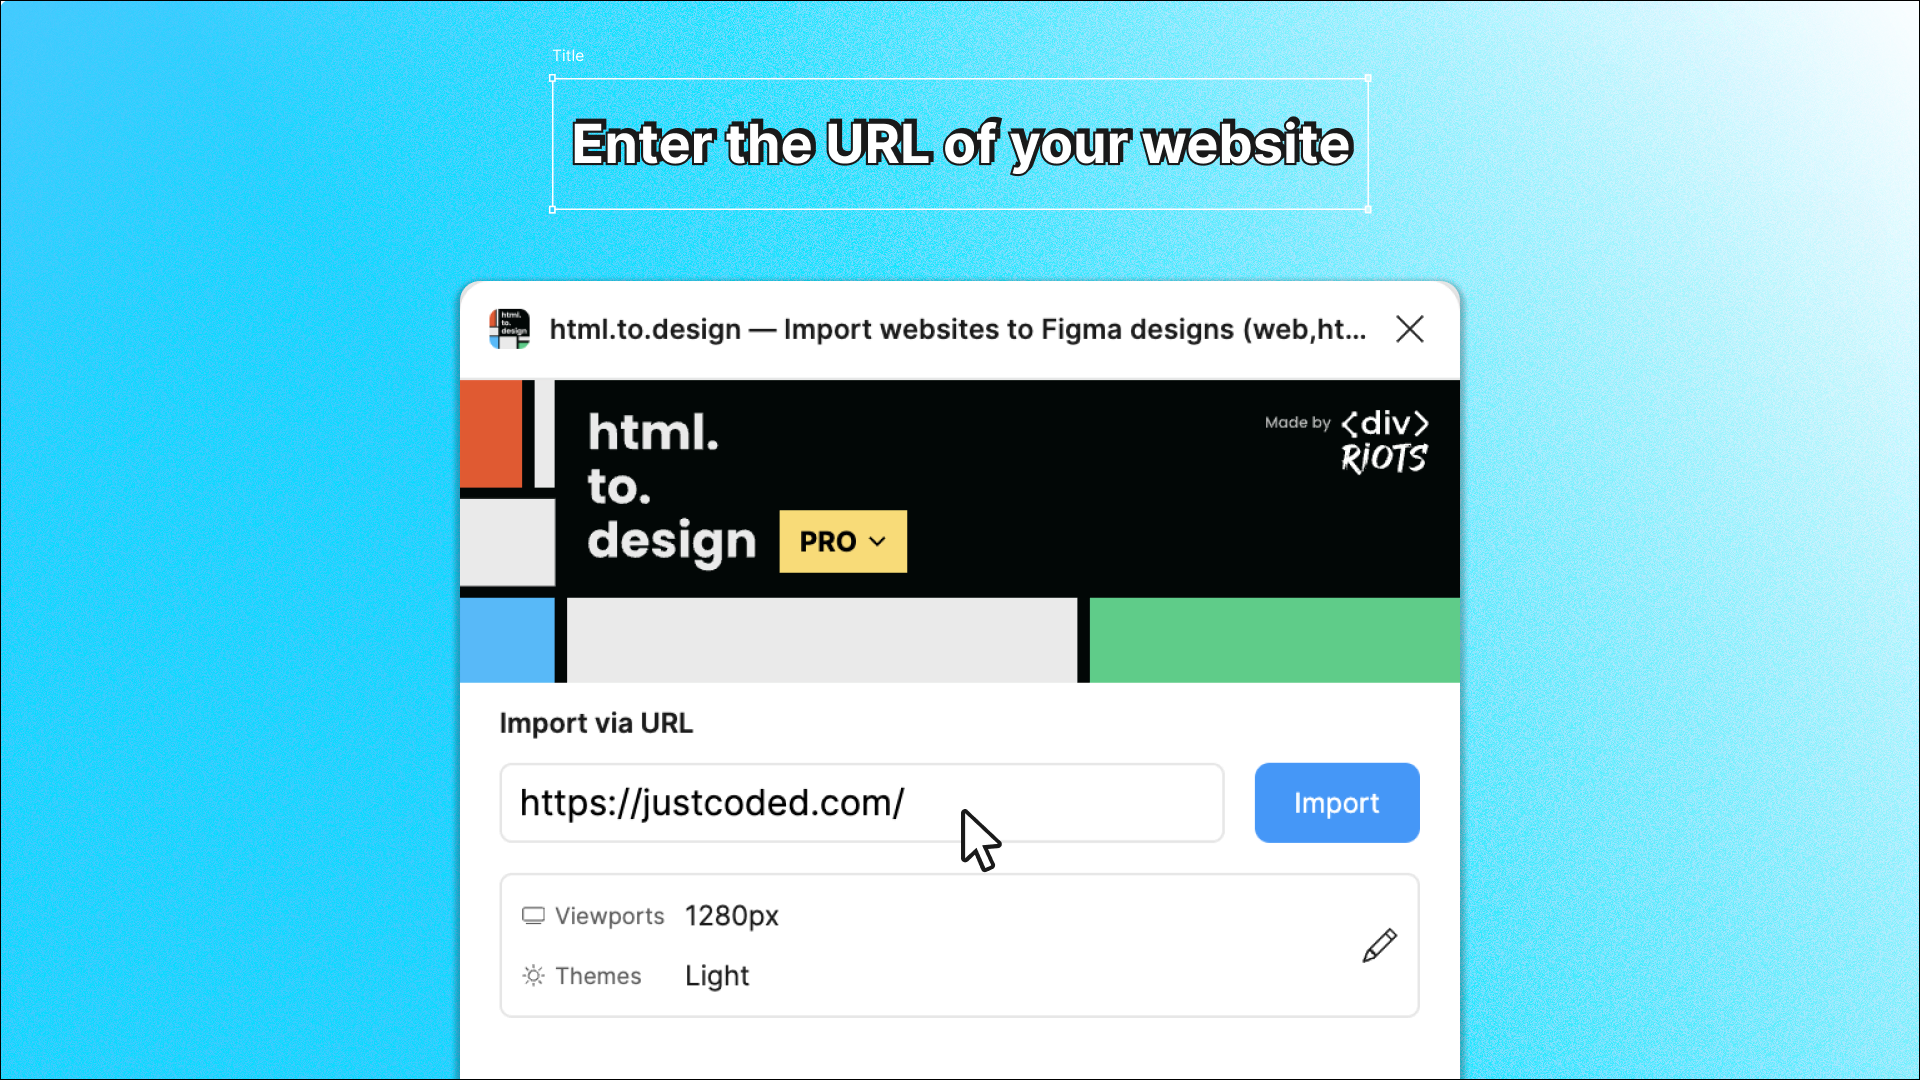
2. Enter the website’s URL
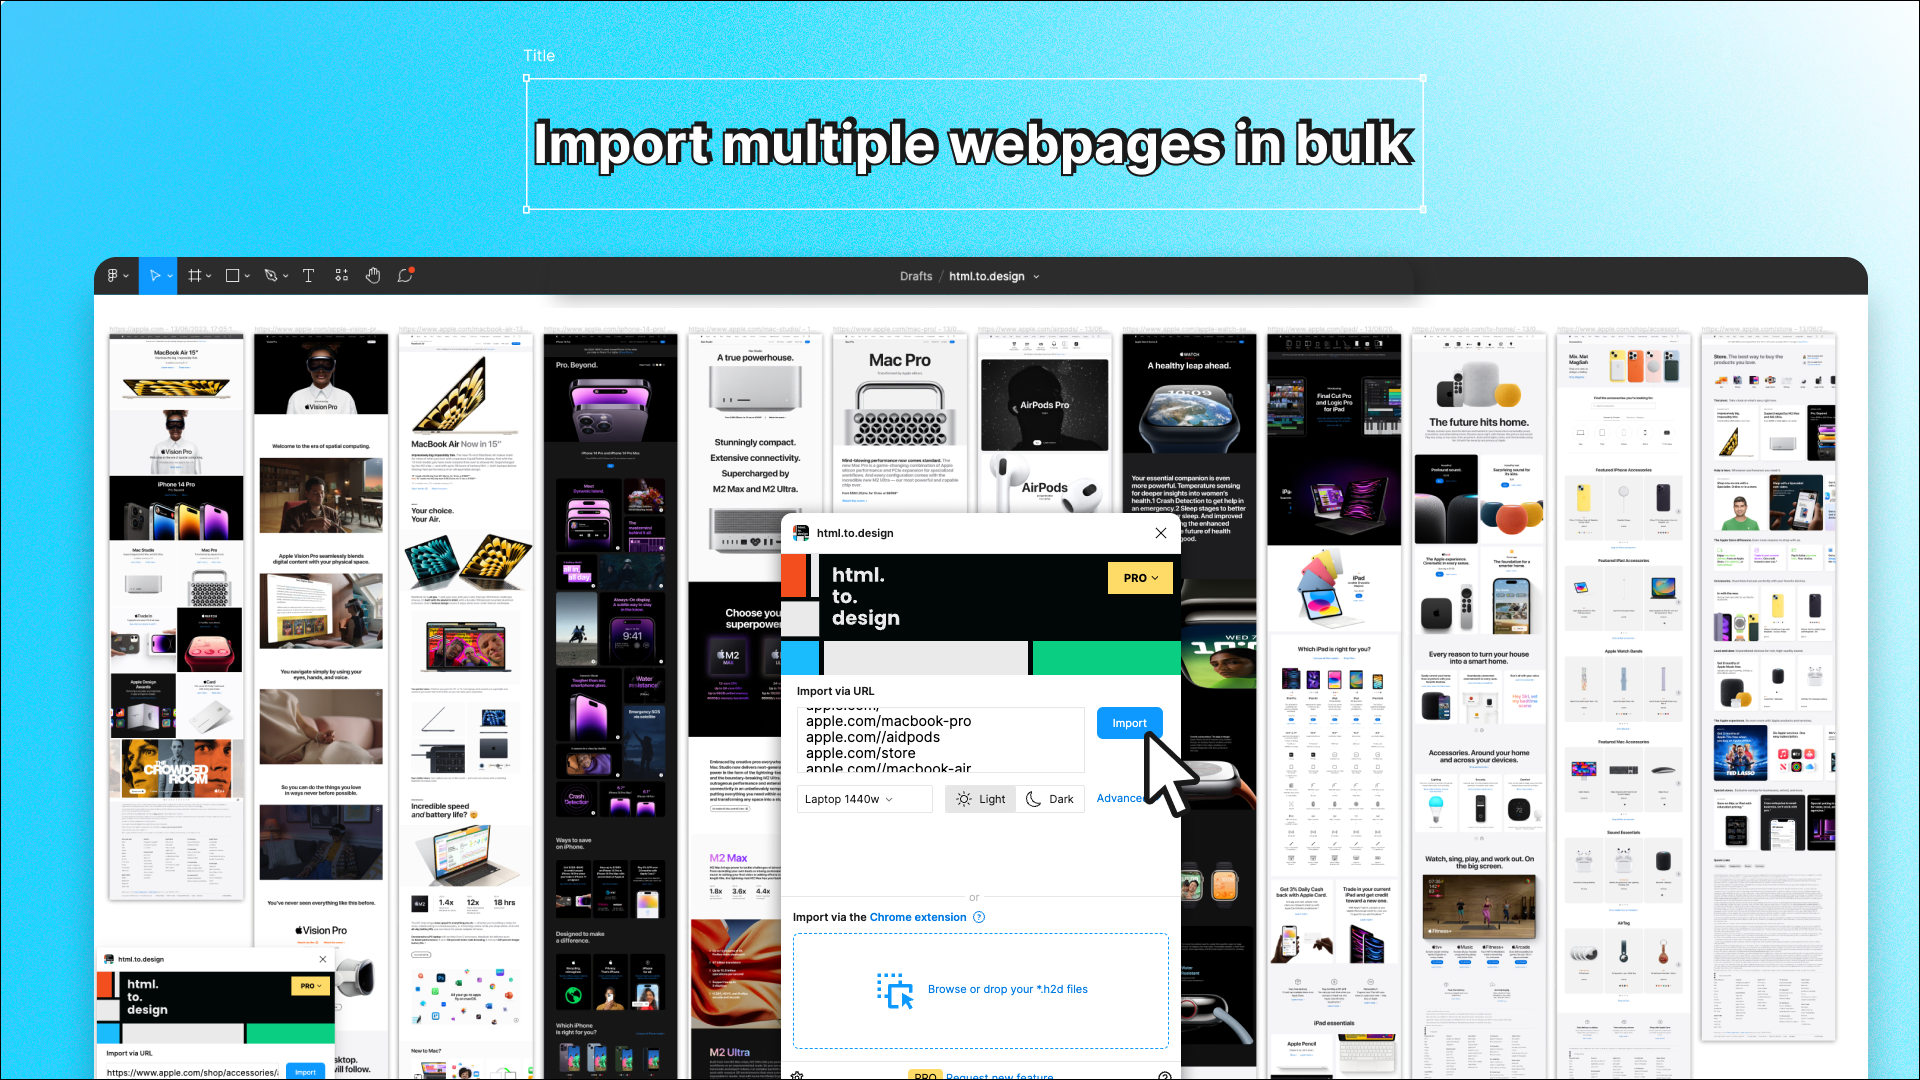
In the plugin’s top input field, paste the URL of the webpage you want to convert into Figma designs. You can also enter multiple URLs using the TAB key to convert several webpages at once. Click on the ‘Import’ button.
The plugin will start converting the website’s HTML, CSS and components into Figma designs. Depending on the complexity of the website, this may take a few moments.
3. Choose your import settings
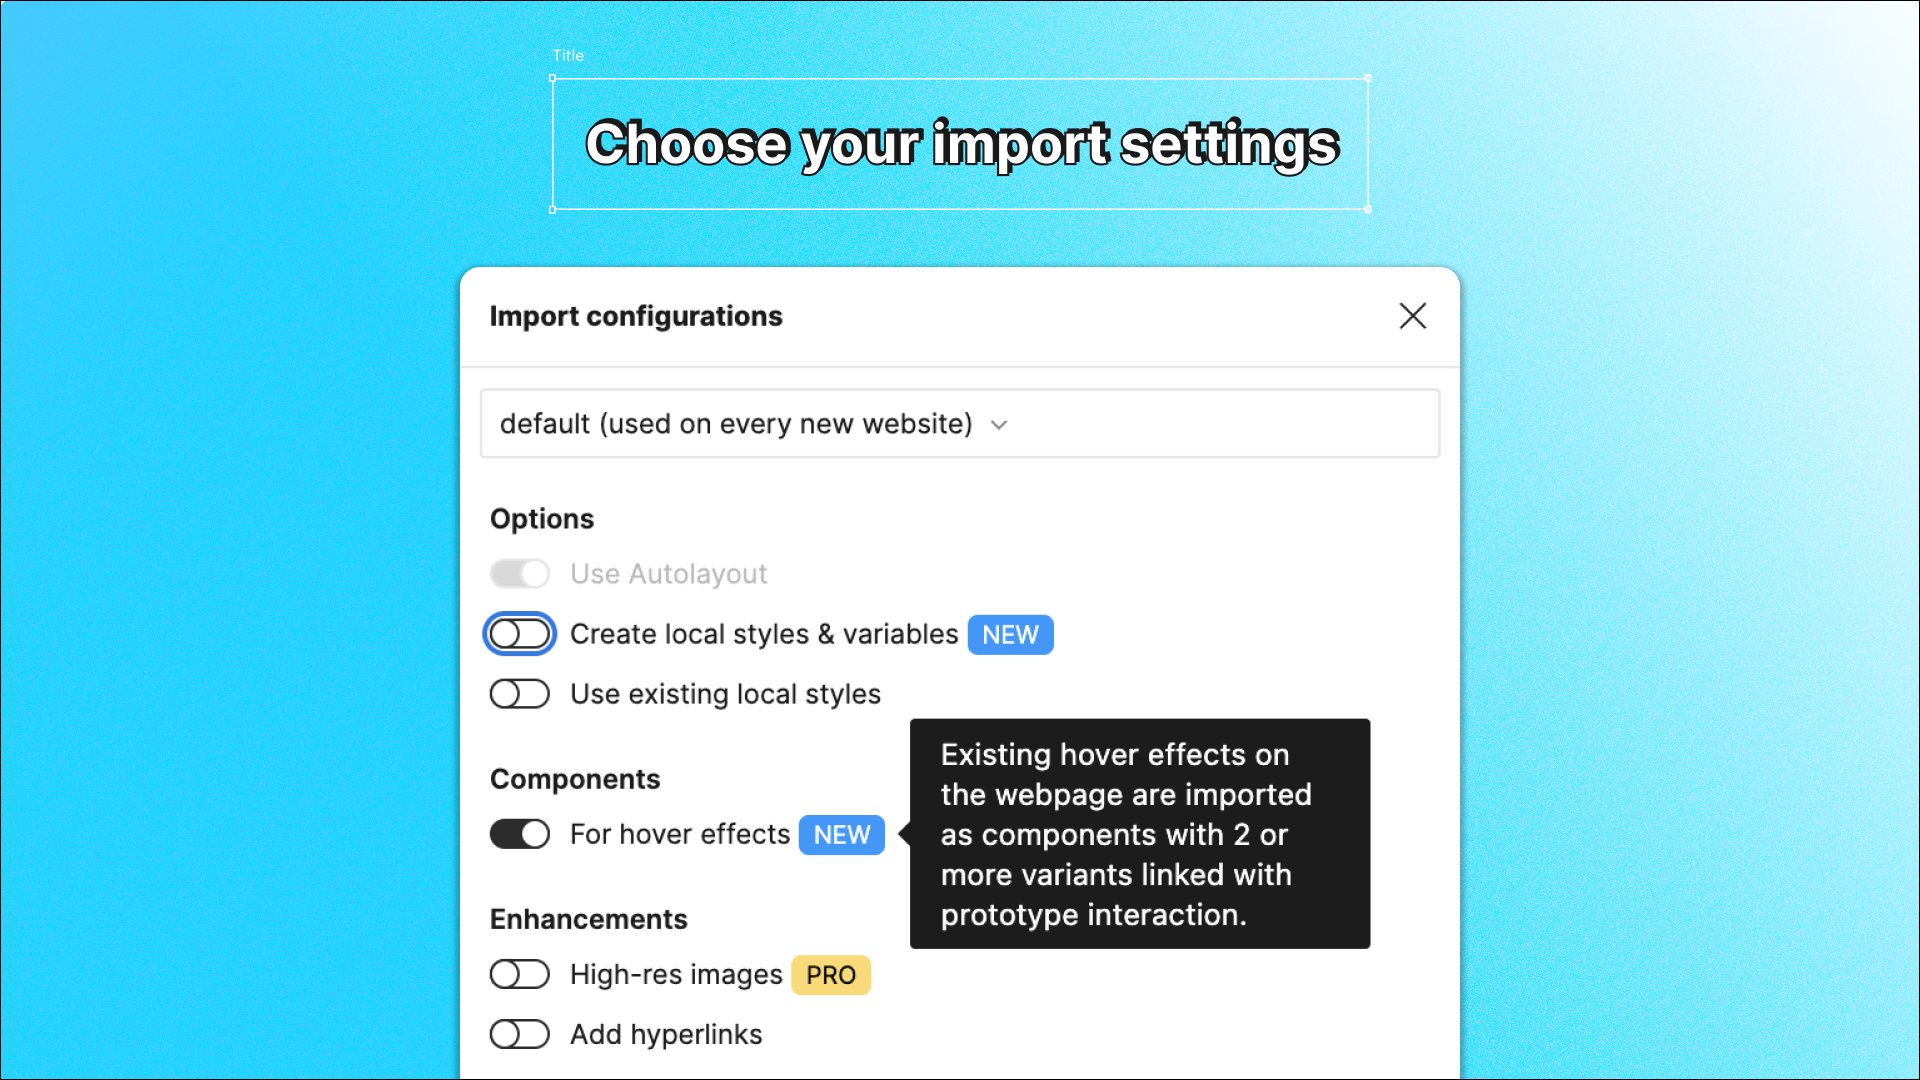
During the import from web to Figma, a settings panel will appear where you can configure exactly how you want your website to look once it has been converted for Figma.
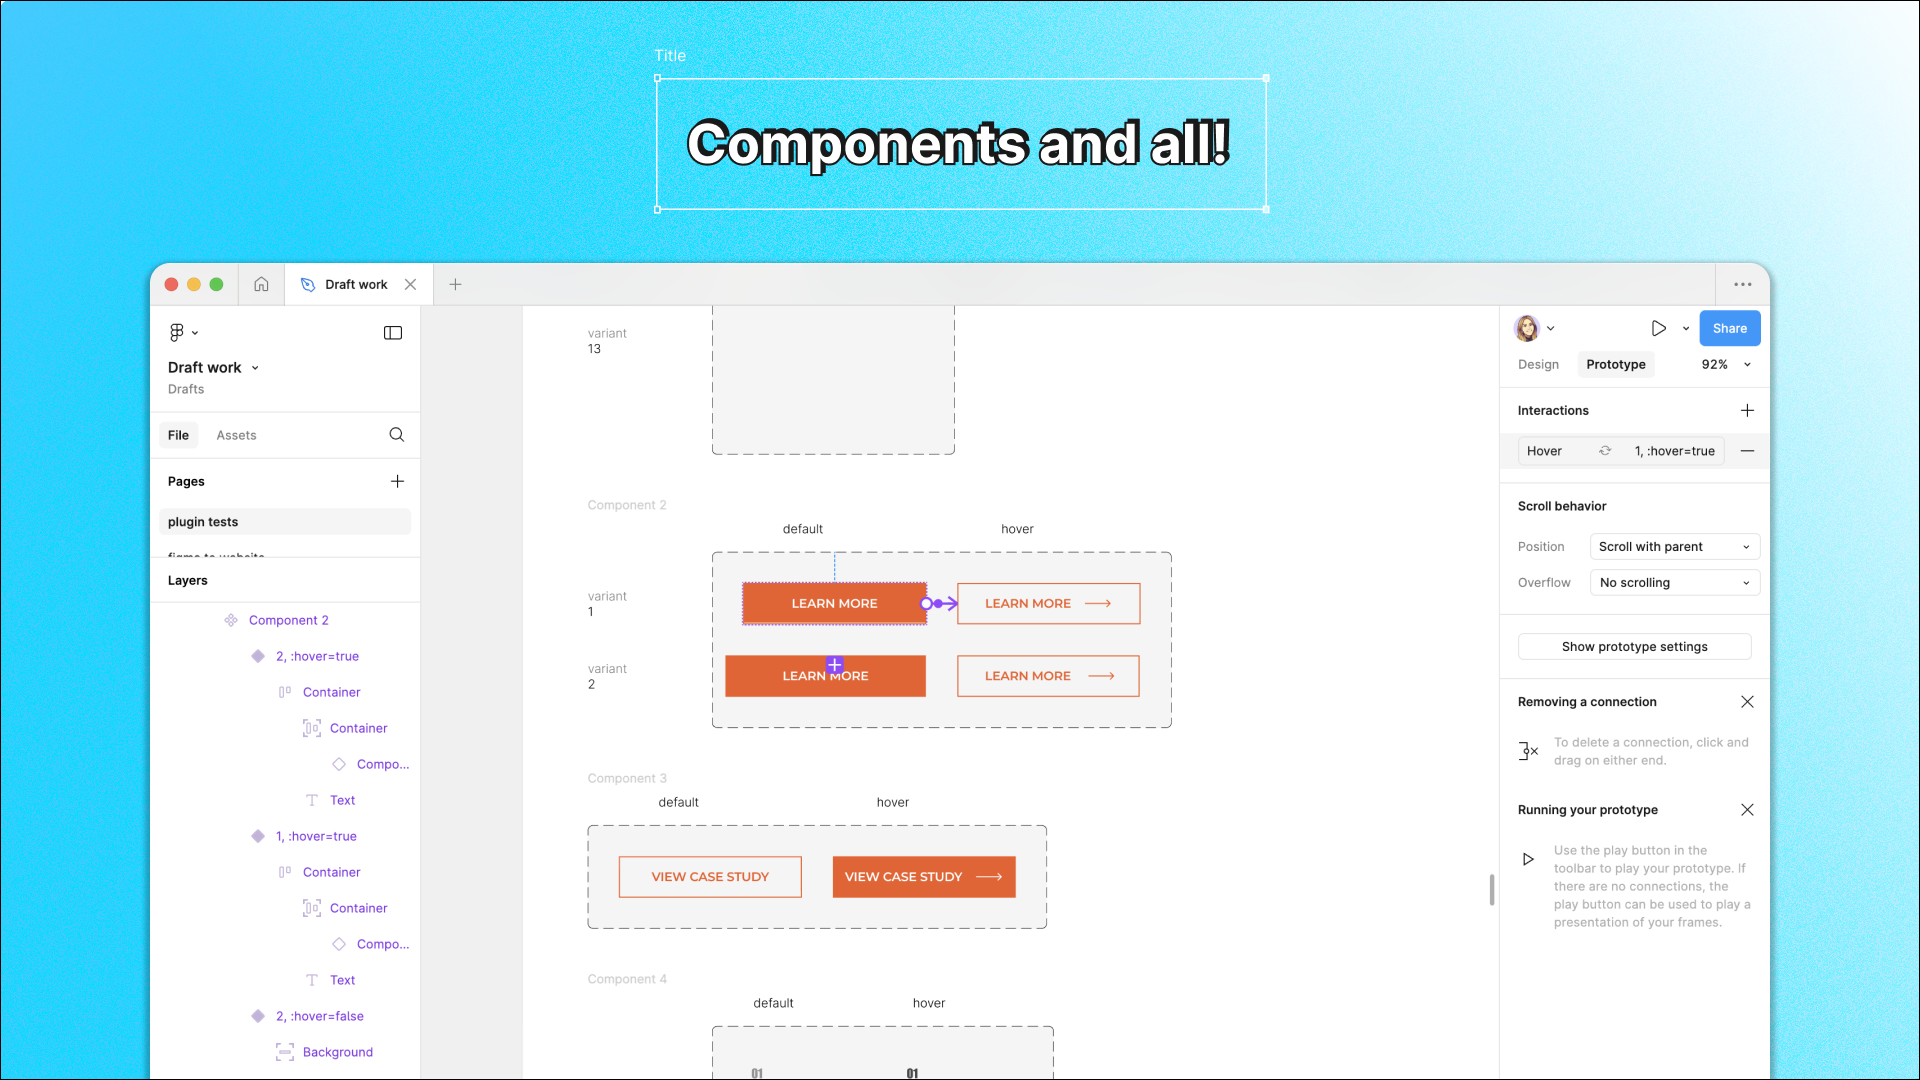
You can choose for the plugin to automatically apply auto layout, to create local styles and variables and even to convert hover states as Figma components.
4. Review the imported design
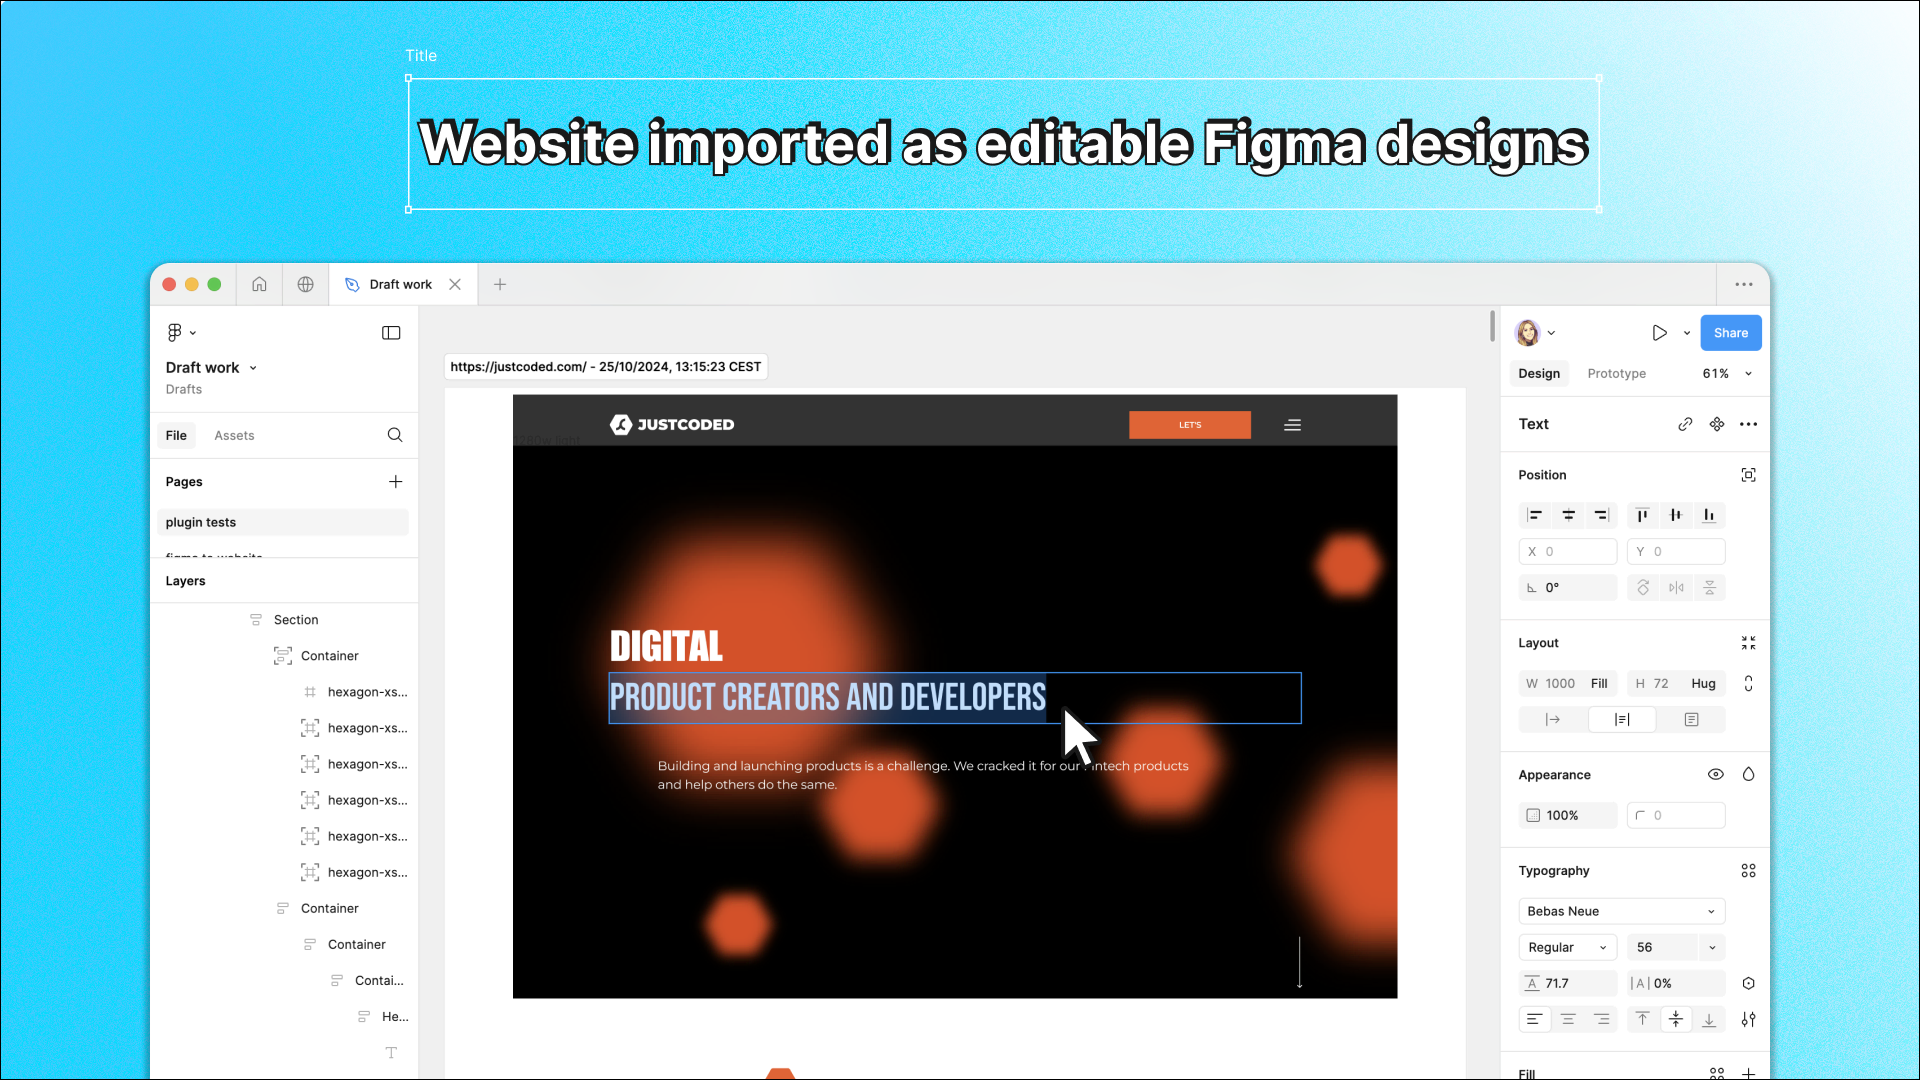
Once the website has been converted into Figma designs, you’ll have a Figma-friendly version of the webpage with fully editable layers on your canvas. Here’s what to expect:
-
Editable components: All elements from the website, such as text, buttons, images and forms, will be imported as editable Figma layers.
-
CSS styles: Basic styling like fonts, colors and spacing is typically preserved.
-
Page layouts: The plugin converts the layout structure, making it easier for you to adjust or redesign it within Figma. You can even import it with auto layout automatically set up for you!
5. Edit your designs!
Now that you have you website in the form of editable Figma designs, here are some things you might want to do:
-
Redesign the website: A top use case for converting websites into Figma designs is to have a good base to then redesign the website. Instead of rebuilding components from scratch, import the website then edit and redesign as much as you need.
-
Import styles and components for your design system: If you choose to import the website’s styles, variables and components, you can now easily incorporate these into your design system in Figma!
-
Set up breakpoints for responsive design: If you’re designing for multiple screen sizes, you can use our website to Figma converter to automatically get the same webpage for different screen sizes. This way you can lay out the different breakpoints in Figma.
Tips to convert a website into Figma designs effectively
-
Convert private webpages: To convert a private webpage into Figma designs, you’ll need to use the html.to.design Chrome extension. Access or log in to the private page you want, and capture it using the extension. Then drop the resulting
.h2dfile into the plugin to convert the webpage into editable Figma designs. -
Import all viewports and themes at once: Before importing your webpage, we recommend selecting all viewports and themes you need before clicking ‘Import’. This way, you streamline the conversion process and don’t have to go back and do it again for each version.
-
Set up default configurations: If you’re going to be converting several webpages into Figma designs, you might want to set up default configurations that will be applied to each import. You can do this by opening the configurations panel in the bottom-left corner of the plugin.
-
Convert multi-page websites in bulk: You can also convert multi-page websites and import them as a whole into Figma too. List all the URLs in the import field and import following the same steps above. Each webpage will be converted into Figma designs and laid-out on the Figma canvas side by side. Plus, all the links between the webpages will be automatically set up for you in Prototype mode.
Give it a try!
Converting a live website into Figma designs can be a breeze with html.to.design. It saves time and effort by allowing you to skip the manual work of recreating designs. By following this guide, you can easily import, refine and use website designs in your projects. Whether you’re a designer working on a revamp or simply learning from existing designs, this is the tool for you.
Happy designing!