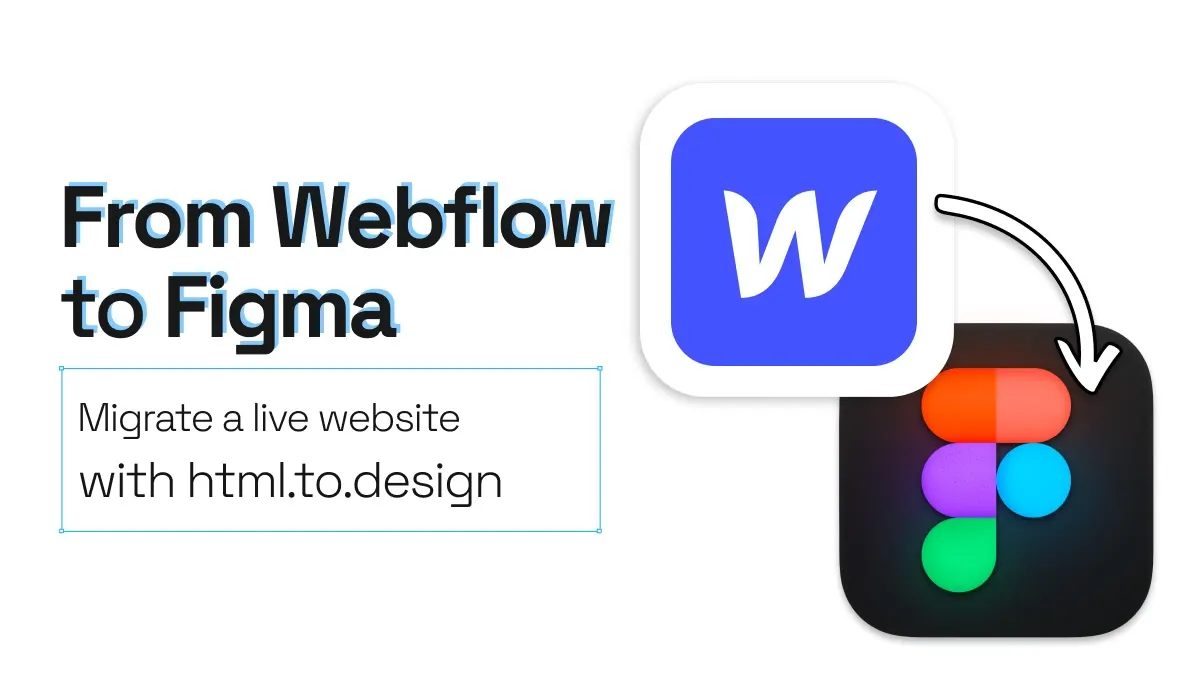
From Webflow to Figma
Migrating a Webflow site back into Figma isn’t exactly straightforward. Maybe you’re trying to redesign a site, reuse components, or collaborate with a team in Figma—but there’s no native “export Webflow to Figma” button in Webflow.
That leaves you stuck manually recreating screens, taking screenshots of pages, or rebuilding layouts from scratch. It’s frustrating and, certainly, not the best use of your time.
Luckily, there’s a faster way. With the html.to.design plugin, you can export from Webflow to Figma in just a few clicks. In this guide, we’ll show you exactly how to do it step by step.
TL;DR
You can migrate any live Webflow site to Figma using the html.to.design plugin. Just paste your Webflow URL, import, and you’re ready to iterate or redesign inside Figma. Great for handoffs, audits, or starting a new project from an existing site. Follow these 5 easy steps to migrate a site from Webflow to Figma:
- Install the html.to.design plugin in Figma
- Open the live Webflow website and copy its URL
- Run the html.to.design plugin in Figma
- Update your design in Figma
- Publish your site using the figma.to.website plugin or Figma Sites
Why migrate from Webflow to Figma?
By having your website in Figma and publishing it with figma.to.website or Figma Sites, you can keep one source of truth for your design and website. Updates are easy to make, and you can quickly iterate on your design without needing to jump back into Webflow.
5 steps to migrating your site from Webflow to Figma
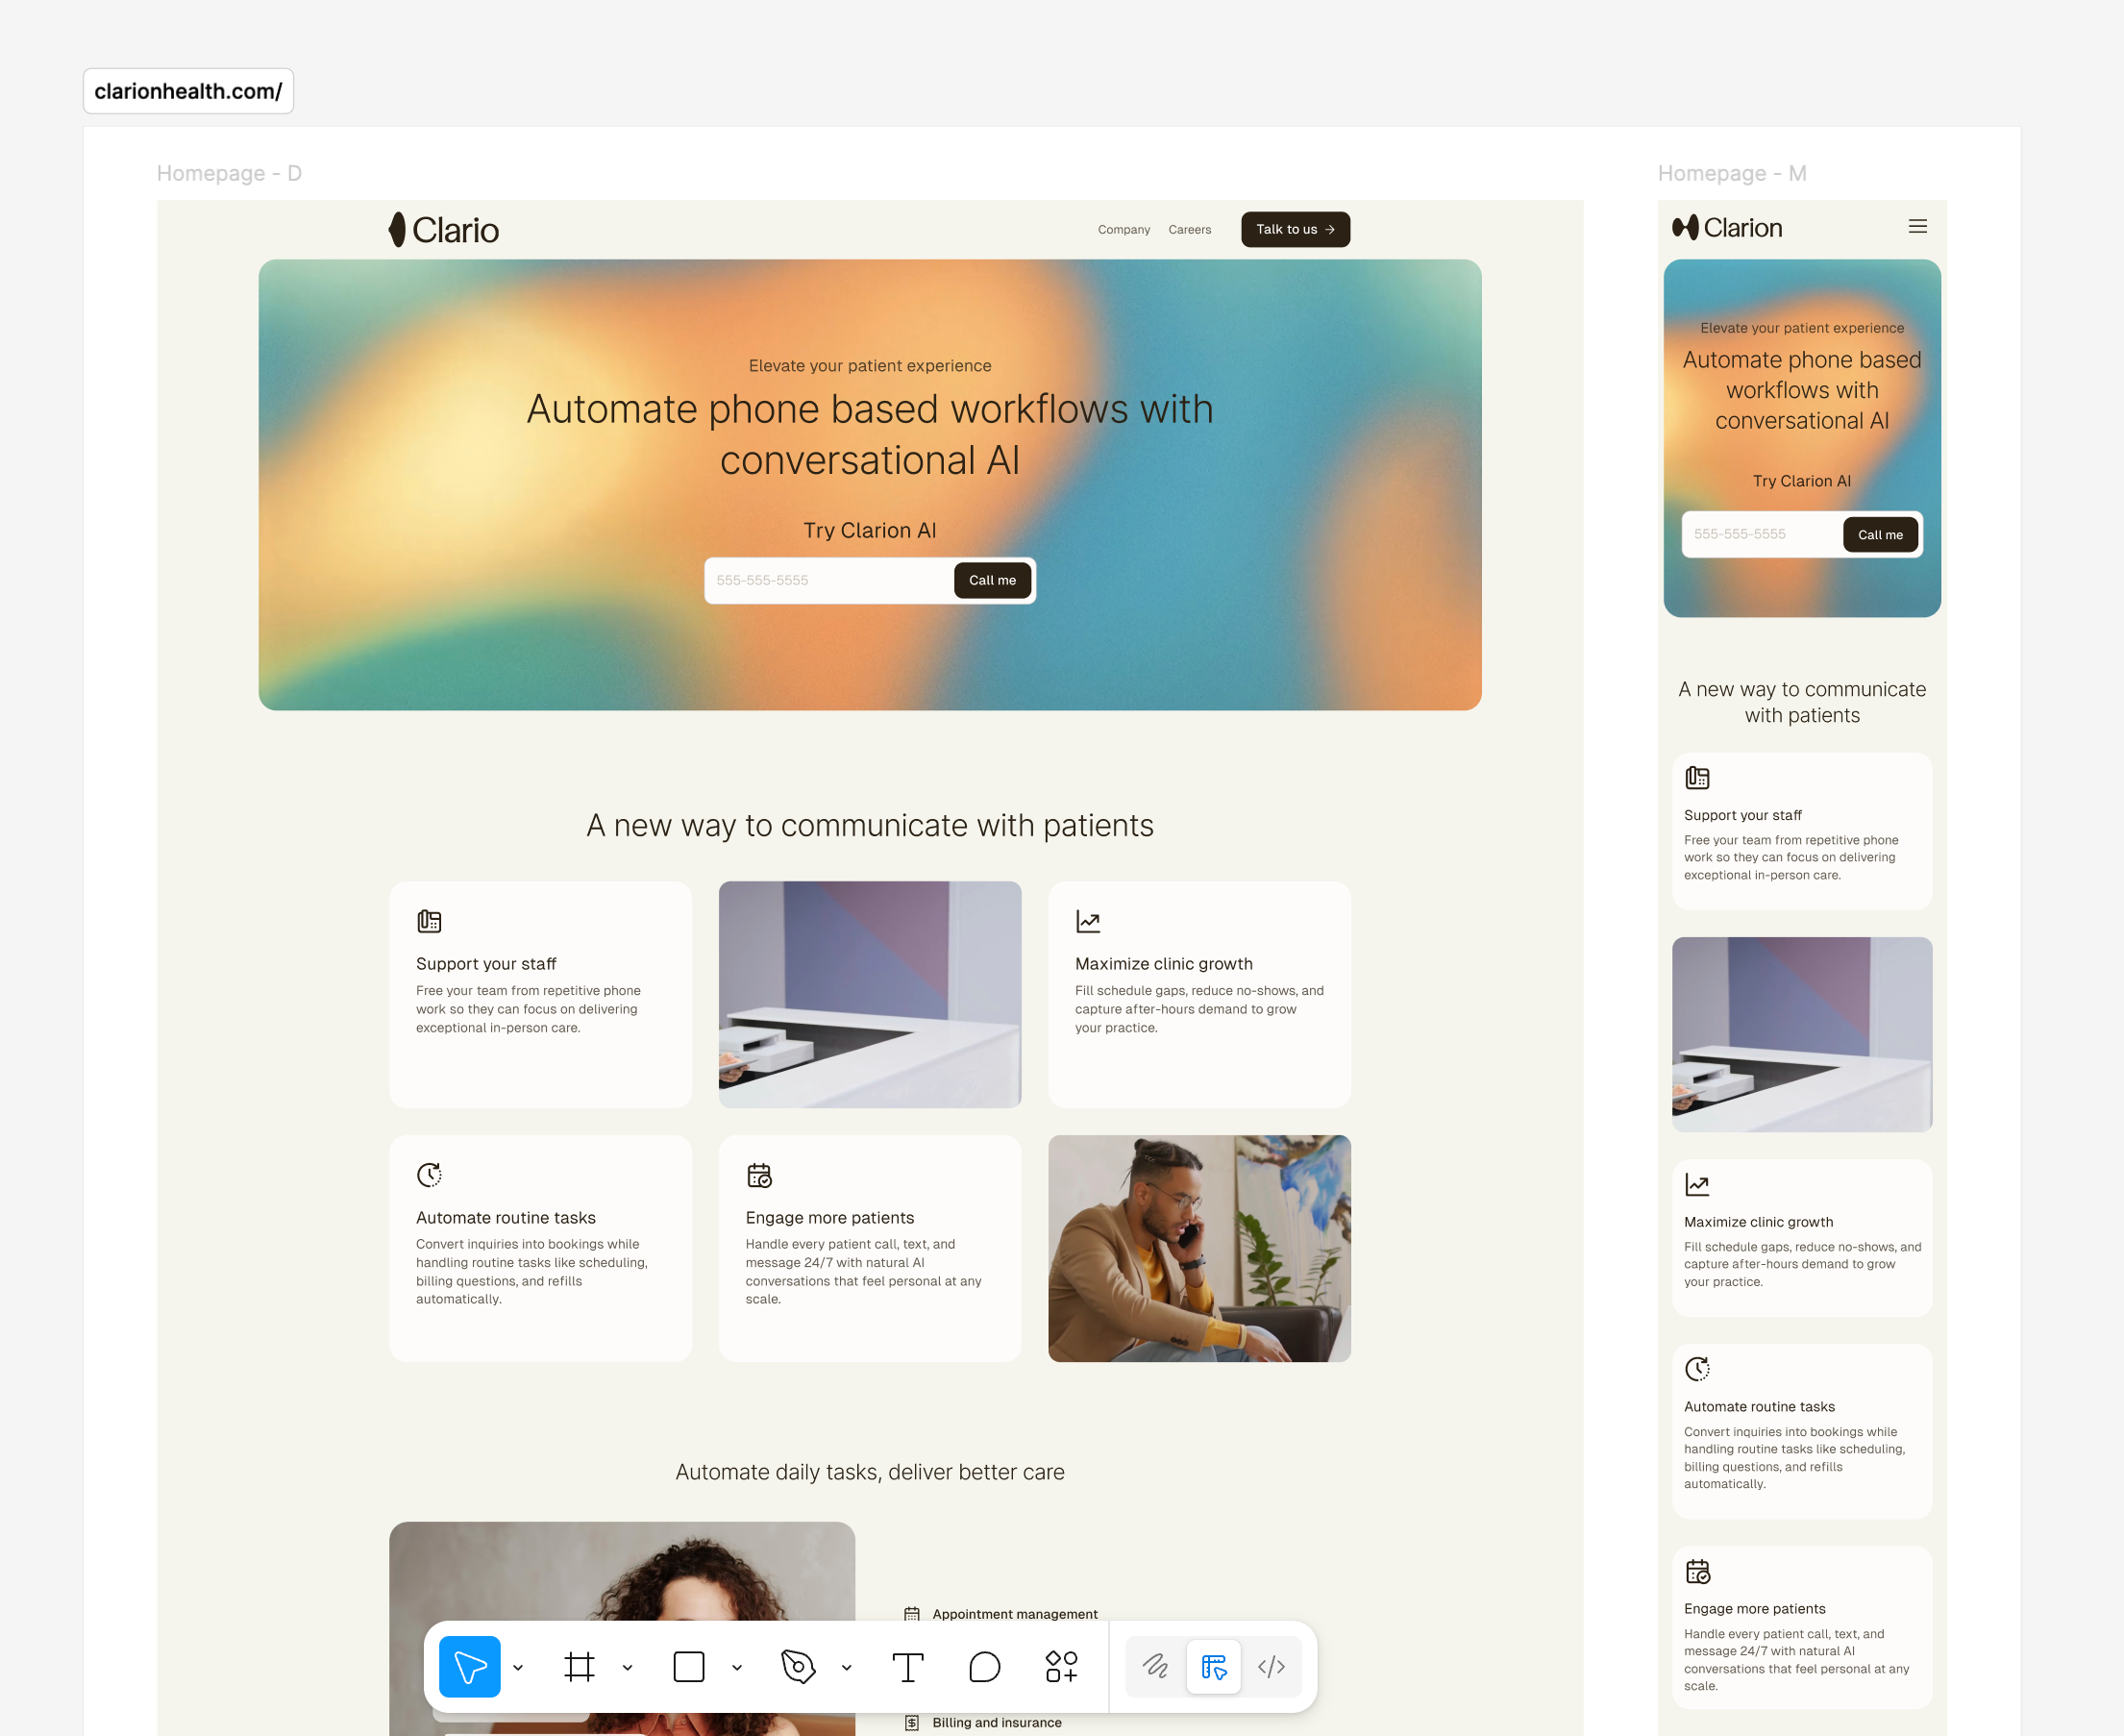
We used html.to.design to migrate a live Webflow site such as the Clario website. It didn’t take us long to start redesigning it in Figma!
1. Install the html.to.design plugin in Figma
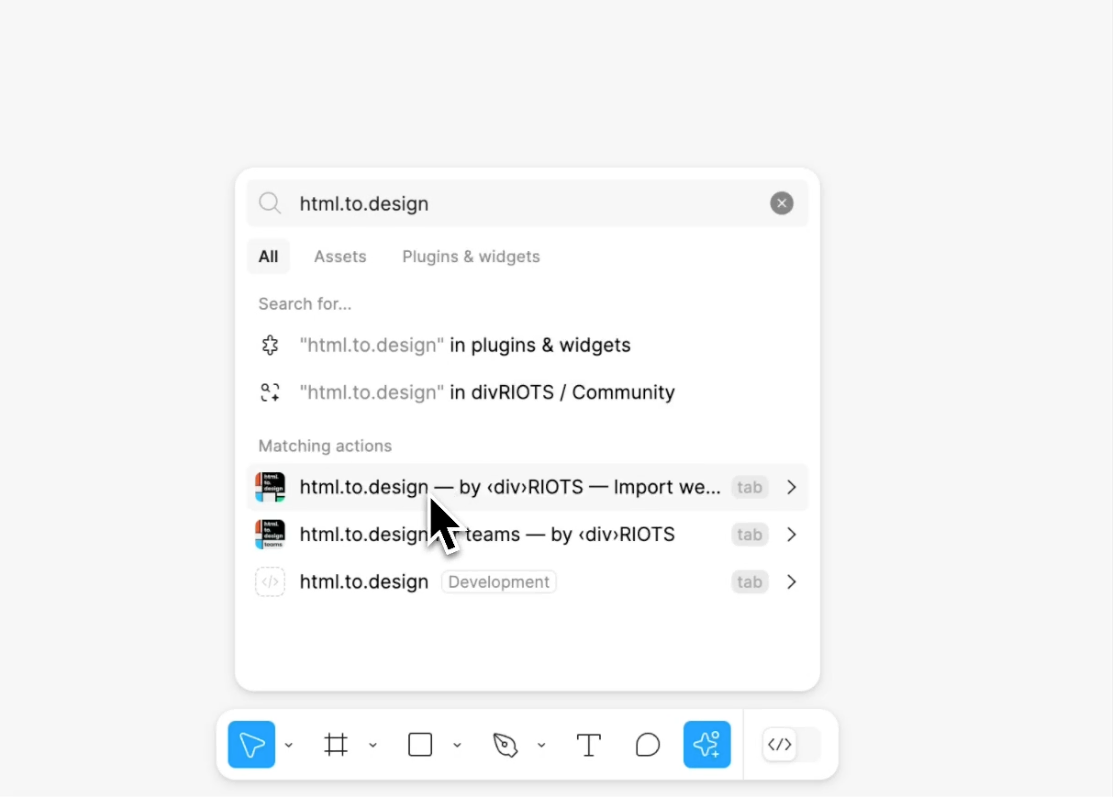
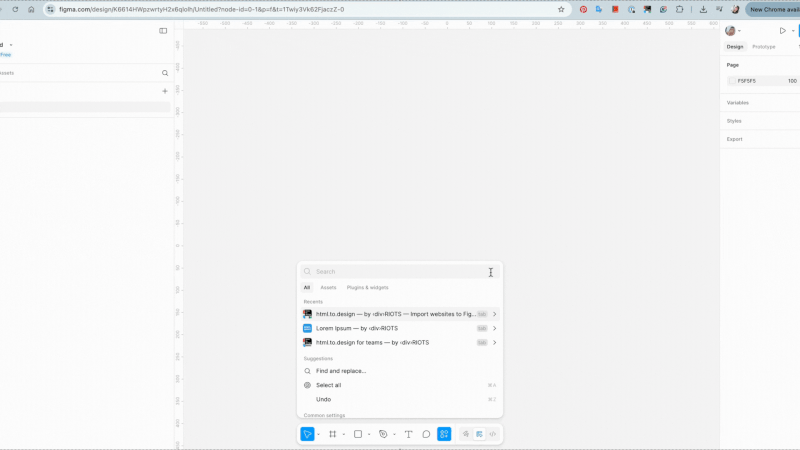
Search for “html.to.design” in the Figma Community and click [Run]. It’ll appear under your Figma plugins menu. If you’ve already installed it, you can launch it from the search icon on your bottom menu.
2. Open your Webflow site
Copy the live URL of the Webflow page you want to import. You can use the published link, including staging domains.
The html.to.design plugin can only import public URLs that are accessible on the web. If you want to import a private page, you can use the html.to.design browser extension to capture it directly from your browser.
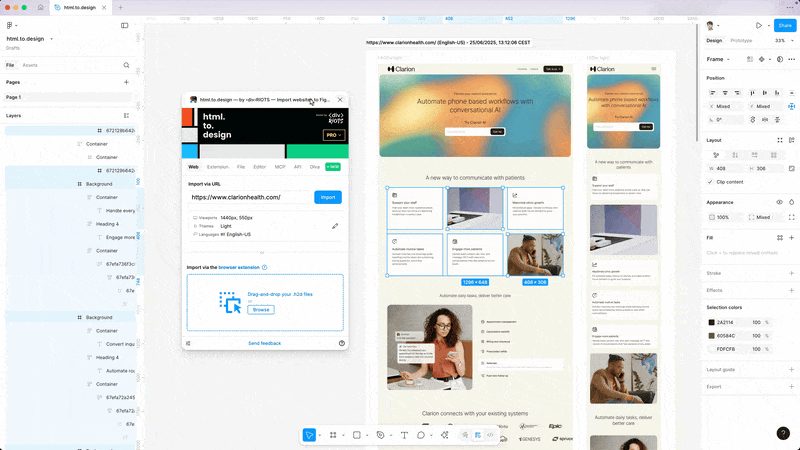
3. Run the html.to.design plugin
Paste your website URLs into the plugin. Choose your preferred viewport (desktop, tablet, or mobile). Click Import and wait a few seconds.
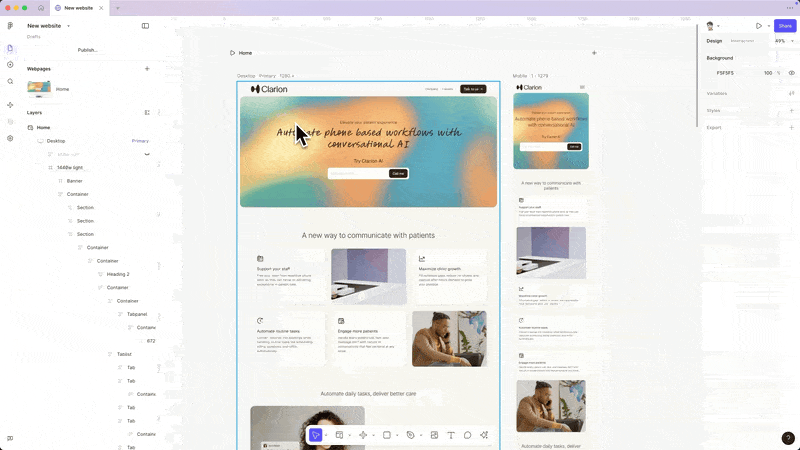
4. Use Figma features to take the design further
Now that your Webflow site is editable, you can tweak spacing, restyle components, or convert sections into reusable Figma assets.
5. Publish your website
Want to take it full circle? Once redesigned, you can publish your Figma designs without leaving Figma, using the figma.to.website plugin or Figma Sites – no dev handoff needed.
💡 Tips
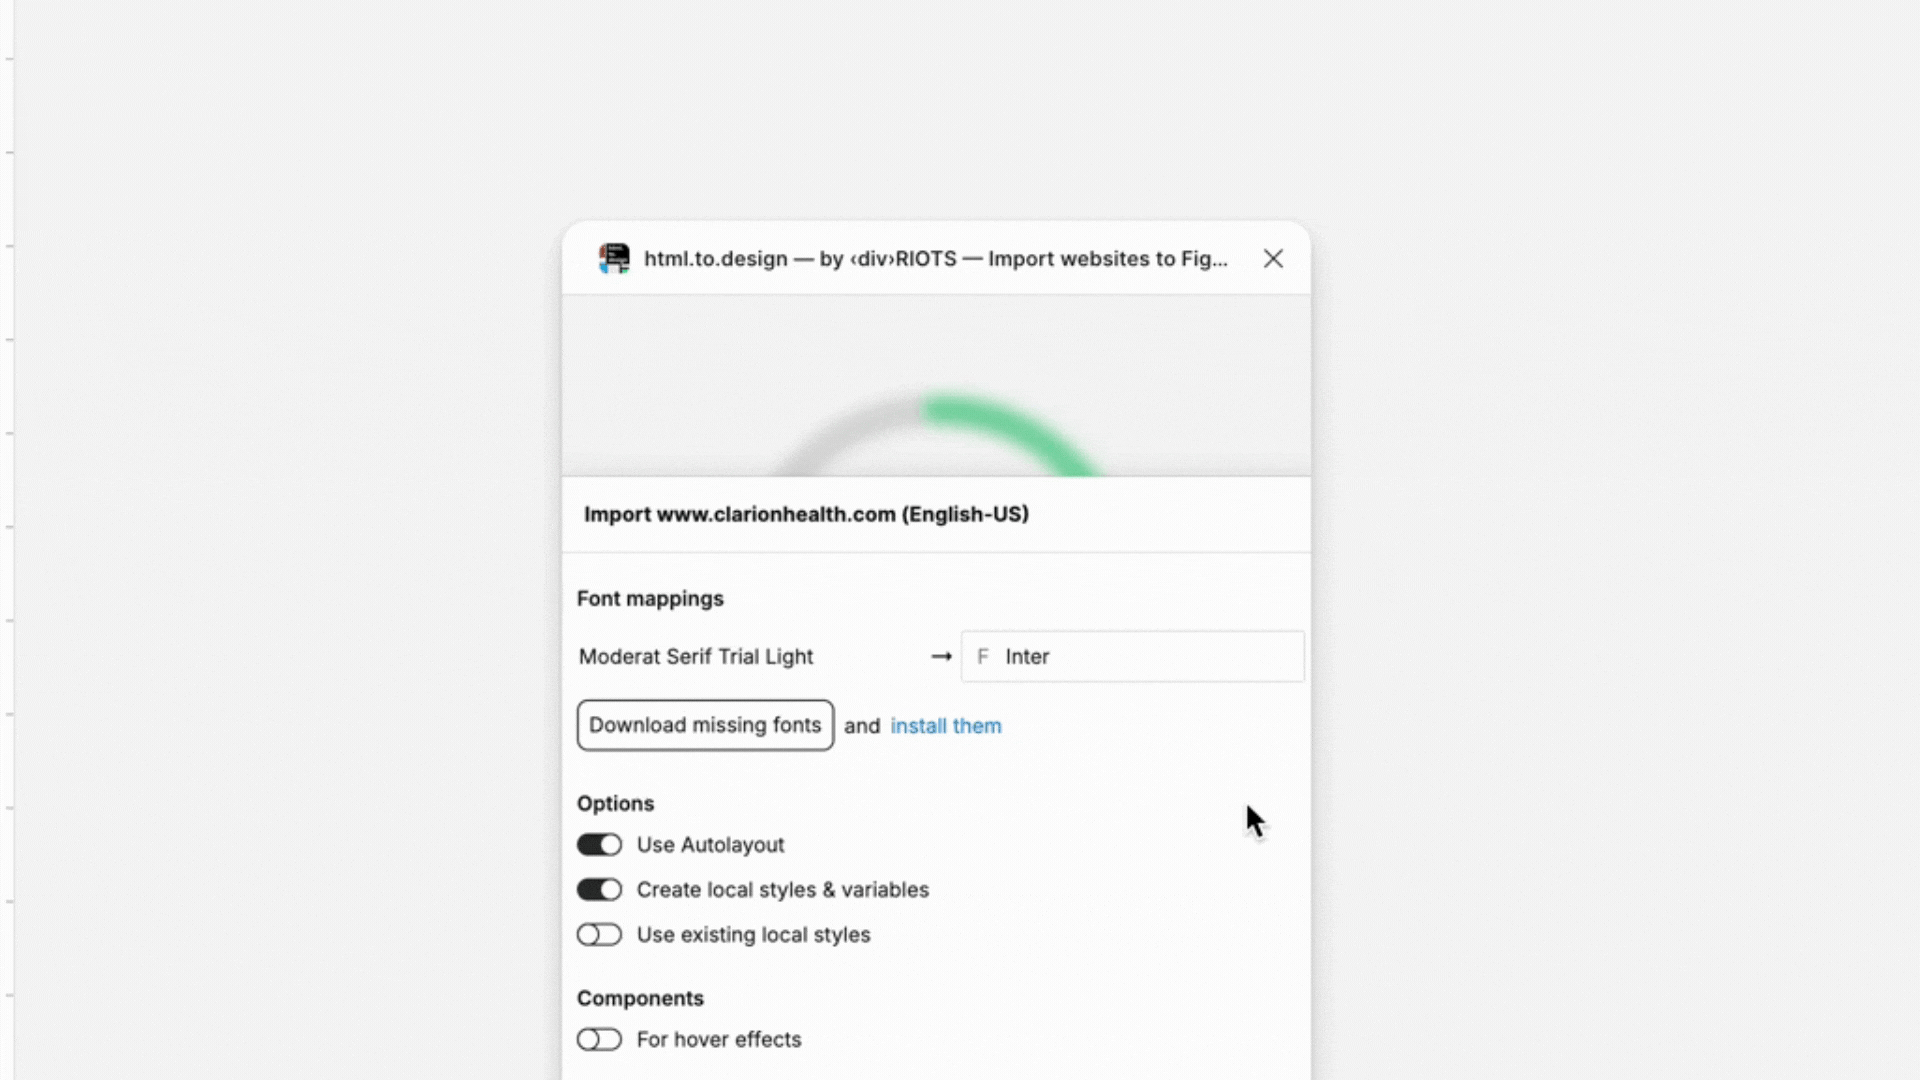
Missing fonts
If a Webflow site uses a font not available in your Figma file, it may get replaced.
Fix: Install the correct font locally or choose a similar fallback in Figma. html.to.design will also offer to download the missing font directly in Figma.
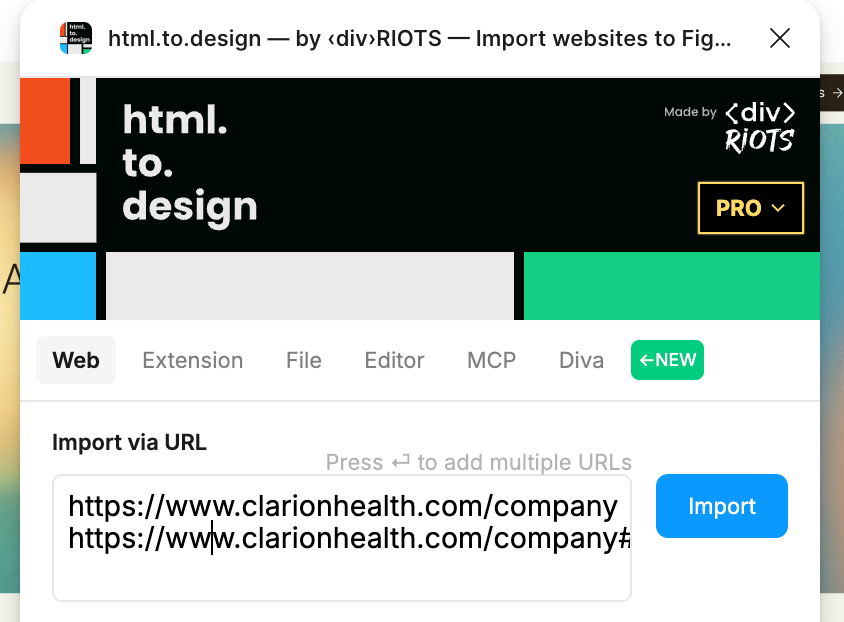
Multi-page website
Want to migrate more than one Webflow page to Figma?
Solution: Use the bulk import feature in html.to.design. Paste multiple URLs and import them all in one go.
💬 FAQs
Q: Can I import a Webflow project file directly into Figma?
Nope, Webflow doesn’t export design files. But you can import the live website using html.to.design.
Q: Does the plugin import animations and interactions, too?
Animations aren’t imported yet, but components from your page can be imported with hover states, as Figma components.
🛟 html.to.design can save the day!
Whether you’re salvaging an old Webflow site or kicking off a fresh project, html.to.design helps you move faster. It turns any live website into editable Figma layers in seconds — so you can skip the rebuild and get straight to iterating, collaborating, and shipping.