From Pinterest to Figma
Pinterest is a great source of inspiration for designers. You can search for UI templates, illustrations, design ideas and more, in a single place. If you’re an avid “Pinner” and have boards full of image assets you want to use in your designs, you can import them directly into Figma with html.to.design.
Here’s a step-by-step guide on how to get your favorite Pinterest images directly in Figma, in high resolution…
How to import Pinterest images
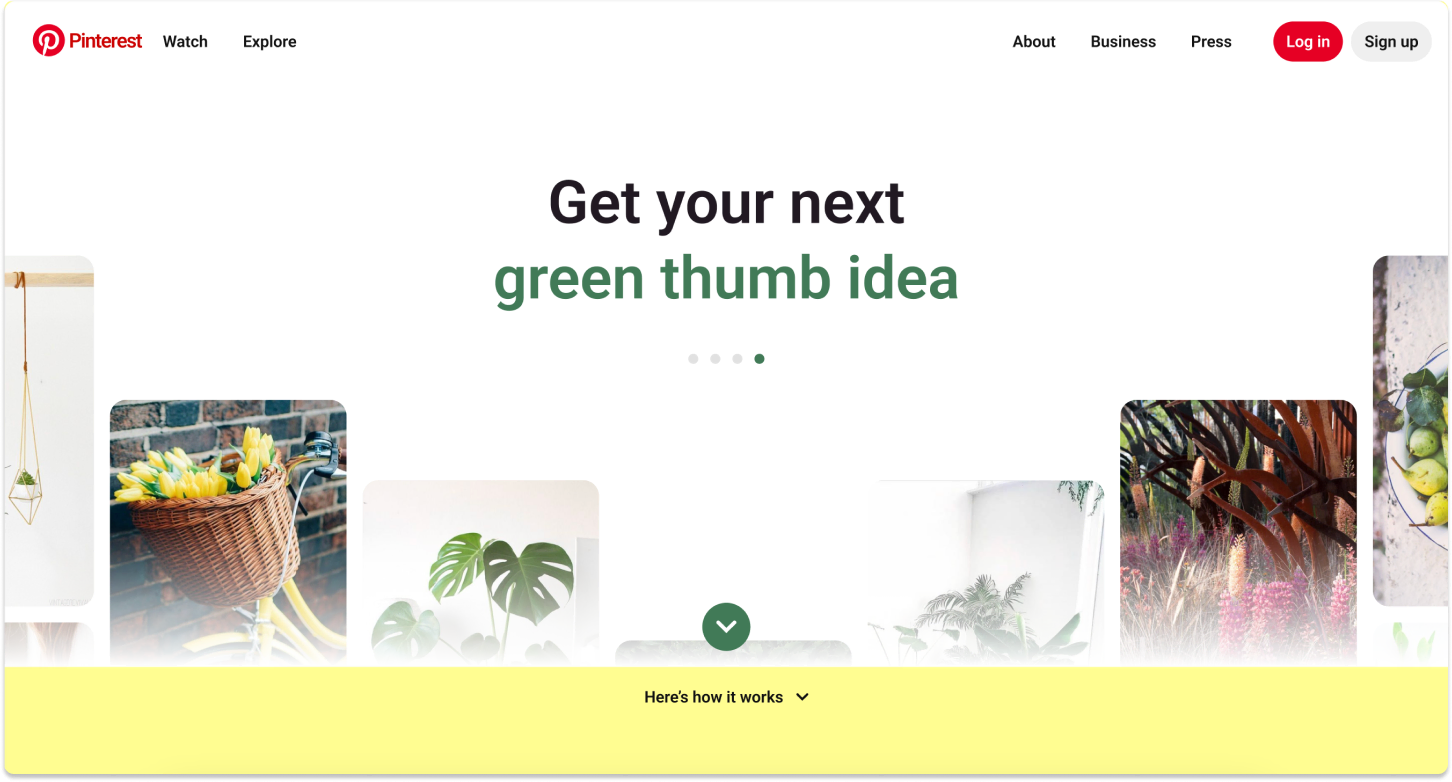
1. Go to Pinterest
First, log in to your Pinterest account. Navigate to one of your boards/groups of saved pins, if you have them, or search for the type of images you want.
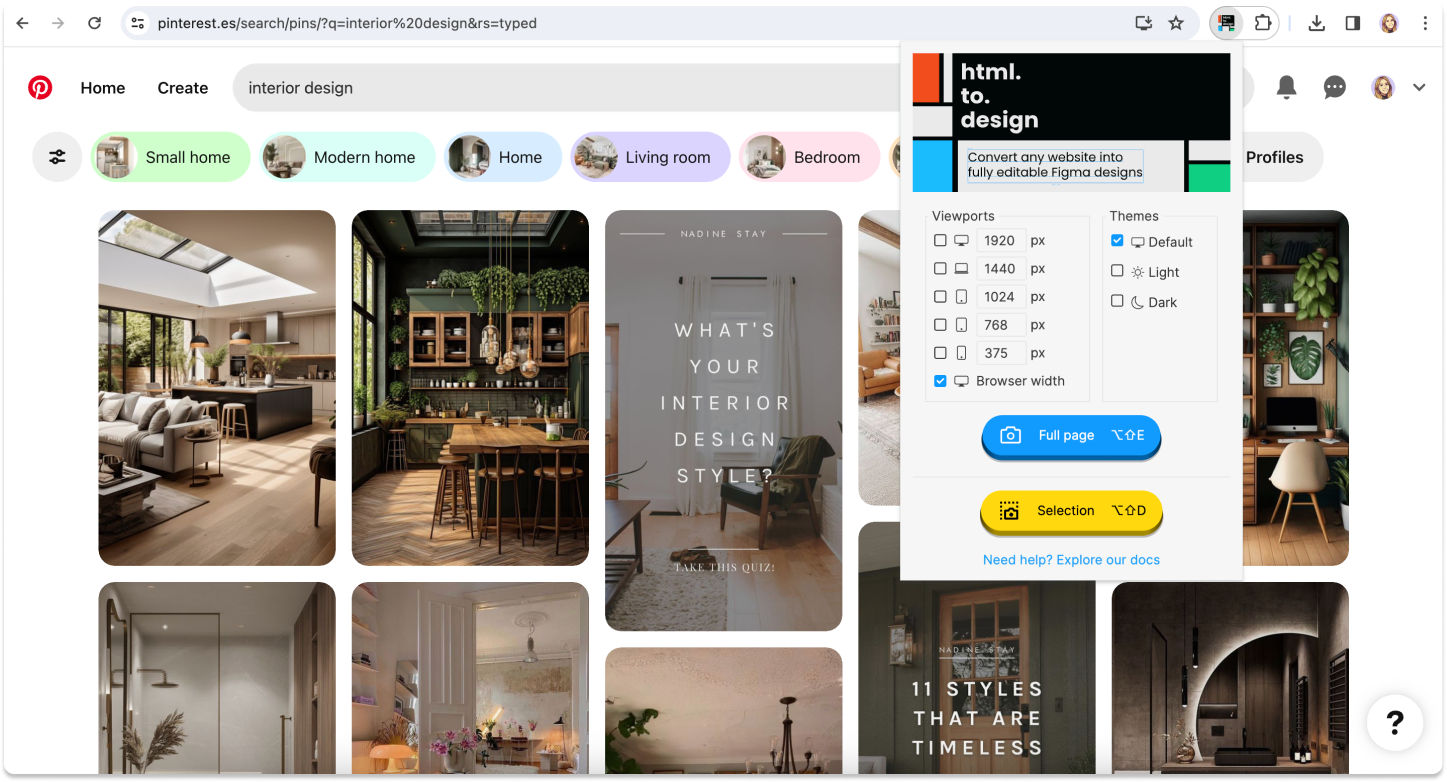
2. Capture the page
If you haven’t already, install the html.to.design browser extension. While still on the page with the images you want to import, run the extension and capture either the full page, or just a selection if you only need a particular image.
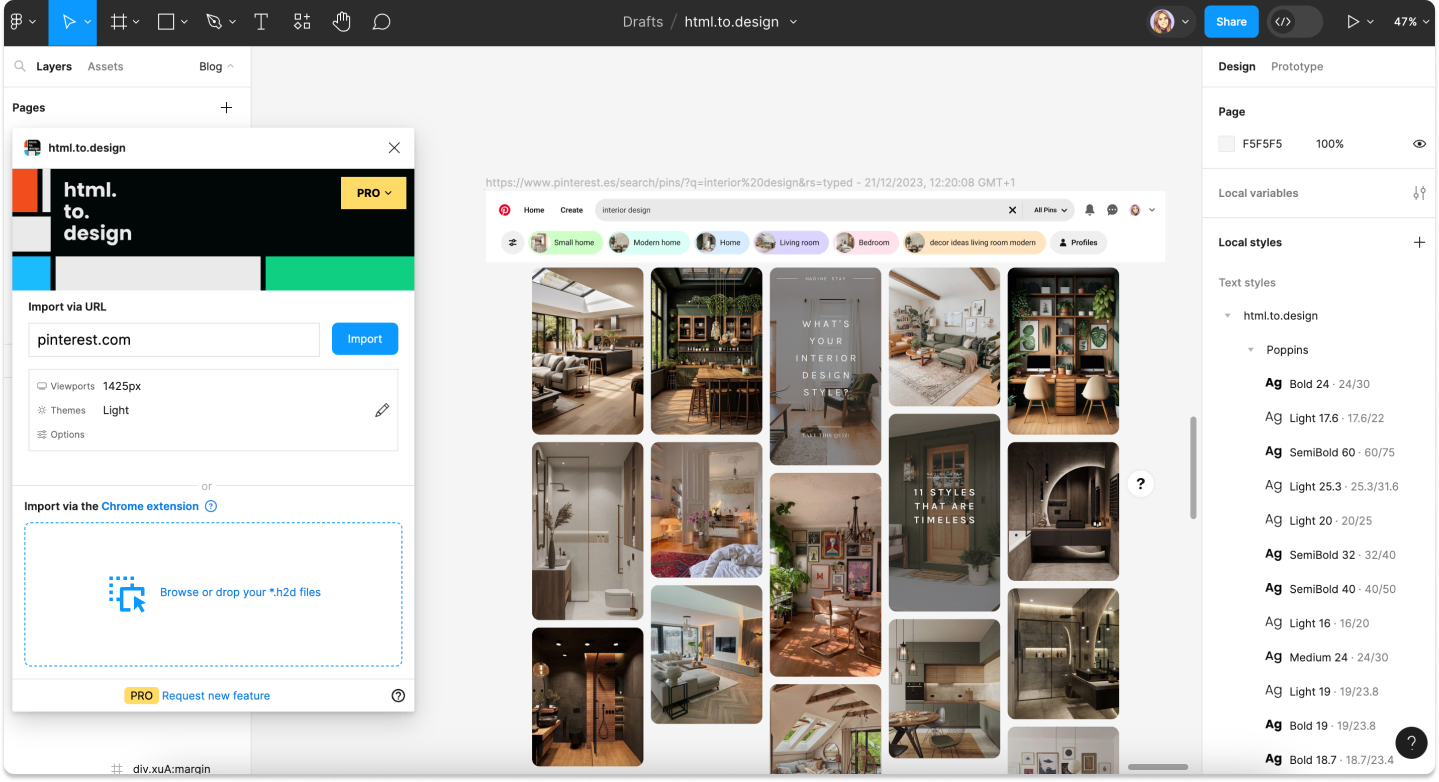
3. Import into your Figma canvas
Next, go to Figma and open a new canvas where you want to import your images from Pinterest. Install and run the html.to.design Figma plugin, then drag and drop the downloaded .h2d file into the plugin or anywhere in the canvas.
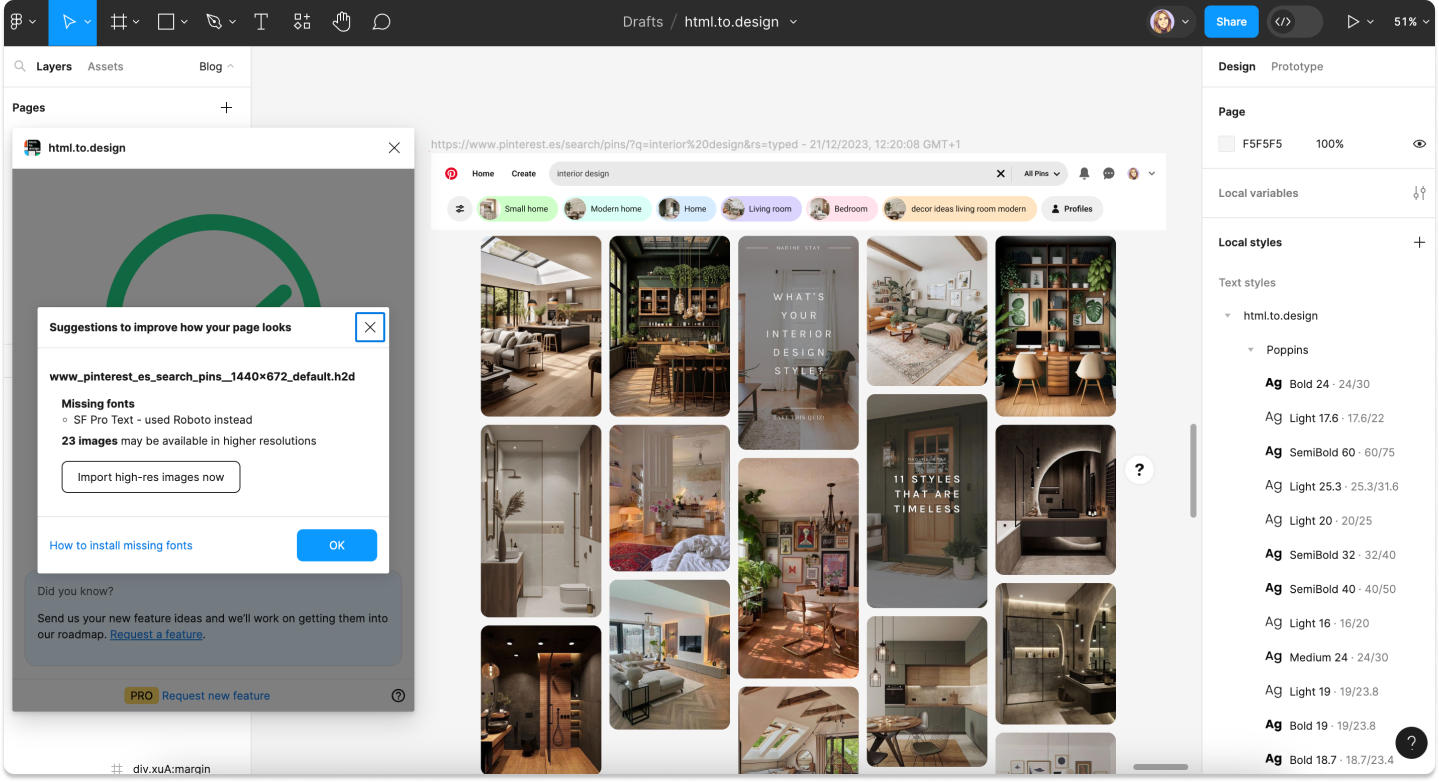
4. Improve low-resolution images
html.to.design will automatically detect if any of the images in the import are low resolution and can be improved. Simply click Import high-res versions and the plugin will instantly improve the images’ quality to a higher resolution.
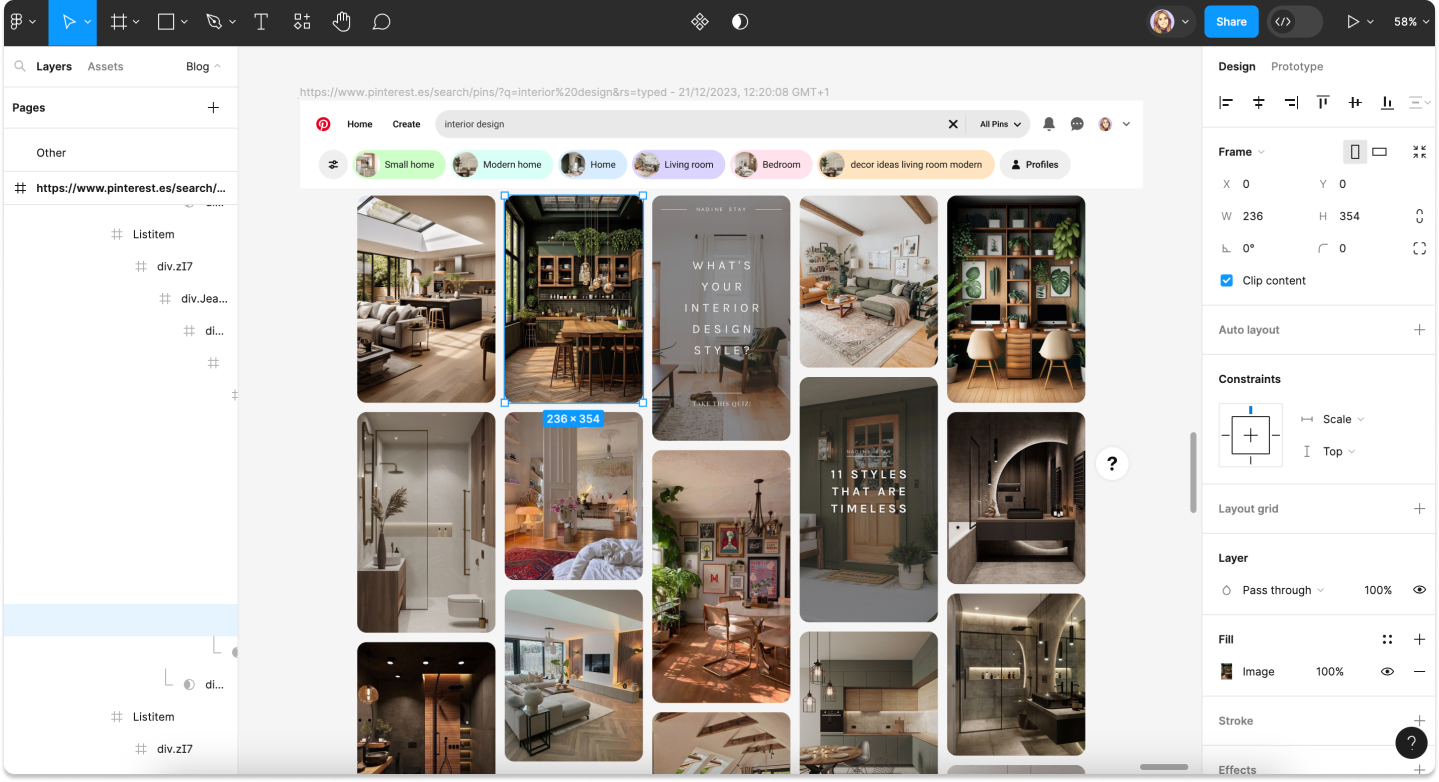
5. You have Pinterest in Figma
Your import is complete! You can now select each image to edit, move and customize as you need. Plus, all images will be top quality and high resolution!
Why import Pinterest into Figma?
Import multiple images in bulk
One of the main benefits of bringing your Pinterest page into Figma is that you can import multiple images all at once. Let’s say you have a group of 10 pins called “Holiday card designs” and you want to edit them in Figma. By capturing and importing that page with html.to.design, you’ll get all 10 images in Figma in one go, as opposed to downloading them one by one.
Instantly improve image quality
Another perk of using html.to.design to import images from Pinterest is that the plugin automatically detects and improves any low-quality images. There’s no need to manually enhance images one by one, or use any kind of upscaler. html.to.design will detect which images can be improved and give you the option to use high-resolution versions instead.
You can do this for all images in one click, directly upon importing, or select images individually and choose to use the high-res version from Figma’s right-side options menu.
Try it out!
html.to.design is not just for importing a standalone website… It can also be used to get all those images you’ve been saving in Pinterest, and bring them directly into Figma. And, in high resolution, too! Have you tried it yet? Tell us what you think @html_to_design.